Flat tire got you fuming? Imagine knowing how each part of your car works and how to fix it. The first step towards that is learning how to use the hydraulic floor jack. It’s going to save you a run to the mechanic for every minor inconvenience and draining your bank account.
Speaking of pros, let’s not forget the equipment. Not all jacks are created equal, and when it comes to reliable power and user-friendliness, VEVOR stands out with its diverse range of hydraulic jacks.
But hold on, before you start pumping like a gym rat, a little knowledge goes a long way. That’s where this how-to-use hydraulic floor jack guide comes in. Before you know it, you’ll tackle car repairs and maintenance like a seasoned pro.
Table of contents
The Basics of Hydraulic Floor Jacks
Before we dive into the nitty-gritty details of how to properly use a hydraulic floor jack, let’s understand it first.
A Hydraulic Floor Jack is a powerful tool that generates enough power using the “pressure on fluid technique” to lift your car. In other words, it’s a combination of design and physics, which allows the seemingly impossible.
Basically, it uses Pascal’s Law, which states that applying pressure at one point of an enclosed incompressible fluid brings out exact pressure changes at every point. So, a small force is applied at a smaller area to generate pressure. What happens? Boom! A much larger force is generated, which effortlessly lifts your vehicle like a feather!
And that’s just the tip of the iceberg. Hydraulic jacks are used in a wide range of industries because of their tremendous benefits. Some of these advantages include:
- Effortless Lifting: Imagine having to lift cars before this handy tool came around. Now, you can lift up to 11,000 pounds without straining your muscles.
- Unmatched Stability: If the idea of a mere 19-pound tool lifting your entire car has you distrusting the whole process, don’t. Hydraulic jacks have incredible stability in their sturdy bases.
- Versatile at its Best: Whether you own a lowered car or a heavy-duty SUV, you can find a hydraulic jack for every size.
What kind of hydraulic jack is the perfect match for you? Well, that depends on your requirements. Let’s scout through the MVPs of the hydraulic jack world – VEVOR’s diverse lineup. Whether you need a small, compact jack that fits in your truck or a powerhouse that lifts to 5 tons, they’ve got you covered. Let’s take a quick peek at their best-sellers:
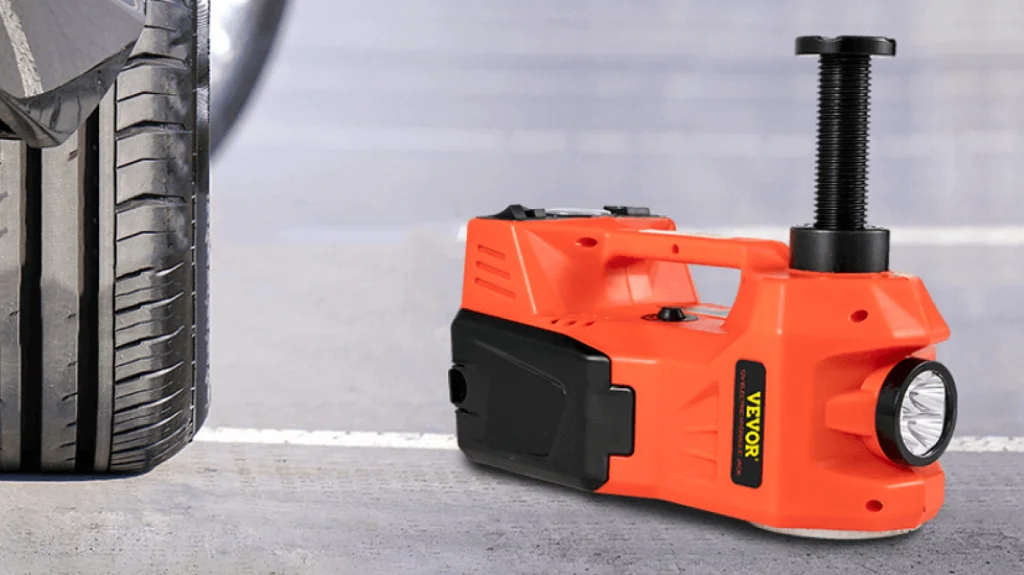
- VEVOR Electric Car Jack 5 Ton: Lift to 11,000 pounds with the push of a button! This model tackles the heaviest beasts out there.
- VEVOR Low Profile Floor Jack 4 Ton: Ideal for lowered cars and tight spaces, this low profile jack packs a punch without height.
- VEVOR Low Profile Floor Jack 2 Ton: Need a portable lifting companion to take on road trips for simple tire changes if need be? Take this jack model for a drive.
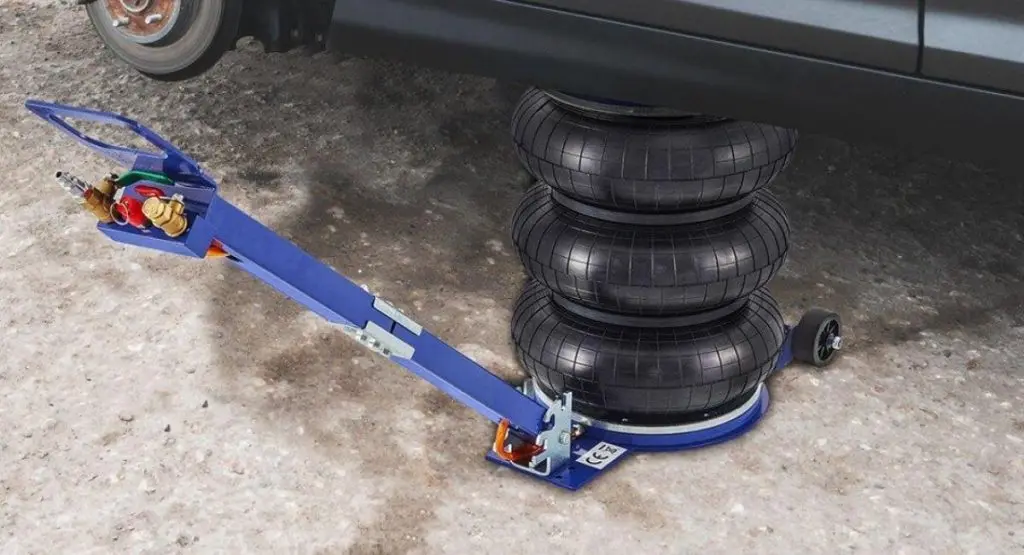
- VEVOR Pneumatic Jack 3 Ton LBS Airbag: Looking for a quick and convenient lift? Hang tight while this version gets the job done within minutes.
Now that you have the basics of a hydraulic jack, its advantages, and some of the best models at your fingertips, let’s get down to business.
Preparing to use a Hydraulic Floor Jack
Safety first, always! You can’t overlook the preliminary steps before jumping ahead to the actual repair game. When you use a hydraulic floor jack you must take a few precautions first. Buckle up and keep these essential prep steps in mind prior to putting your hydraulic floor jack into action.
Get Your Hydraulic Jack in Check
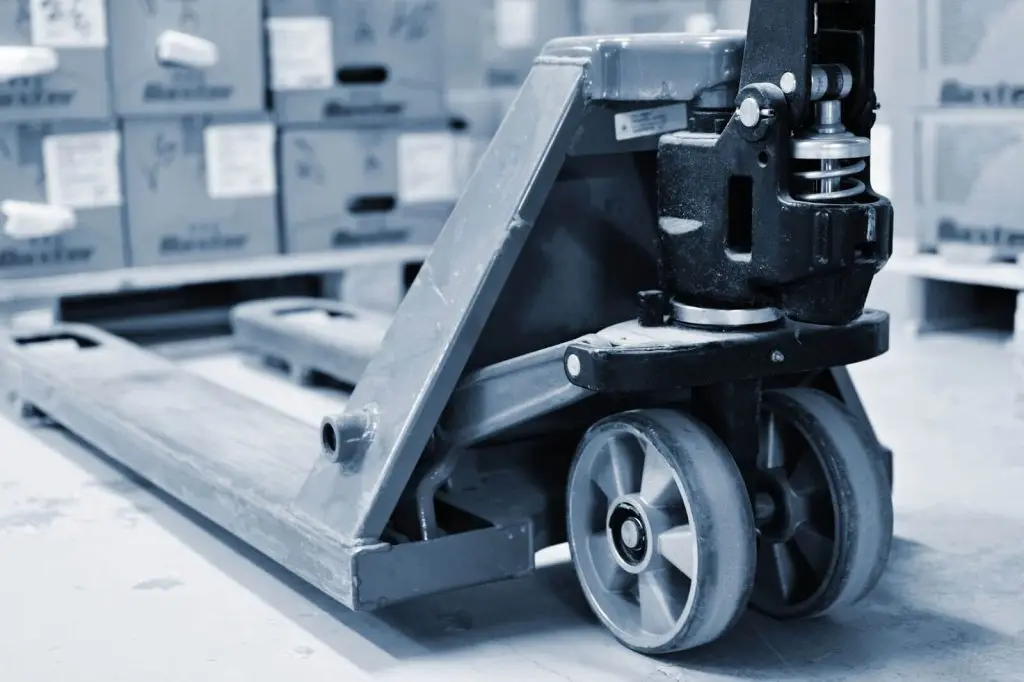
Before sending your trusty jack out on the mission, ensure that it’s in tip-top shape. Check your jack for any damages first. Make sure the jack is stable and placed on a level surface. Additionally, prepare your jack stands and properly position them on the designated lift points beforehand.
Parking the Car
Parking and applying parking brakes to the car is important. Make sure the car is parked on a level and solid surface and the parking brake is applied so that the jack does not sink in the ground instead of lifting the car. Chock your wheels on the opposite side so that the car does not roll away.
Read The Manual
Your vehicle’s manual isn’t meant to be thrown aside once you have the car running. In fact, it’s crucial in matters such as identifying the points from where you are going to lift the car. These lifting points are sturdy and can handle weight, typically near suspension. Avoid fragile areas, like body panels. You wouldn’t want to make up for all those pricy damages for a simple maintenance check gone wrong.
Positioning Your Hydraulic Floor Jack
If you’ve ticked off the preps checklist, it’s time to call in the big guns – your hydraulic floor jack. But before we do that, grab that manual again to help navigate the best lifting spots.
These spots are usually marked with symbols or highlighted areas on the manual. As a rule of thumb, always go for crossbeams and pillars for a sturdy lift. Remember to keep a distance from any fragile parts, including the body panels and doors.
Every car has specified lifting points. Better safe than sorry, right? For this reason, it’s best to dig out that manual and stick to it.
Once your car is parked safe and sound on a solid, level surface and you have read the manual, it’s time to bring out your hydraulic floor jack and put it to use.
Since you have already identified the lifting points, move the jack’s base under the car. A VEVOR Hydraulic floor jack will make moving it to the spot a breeze, owing to its swivel casters.
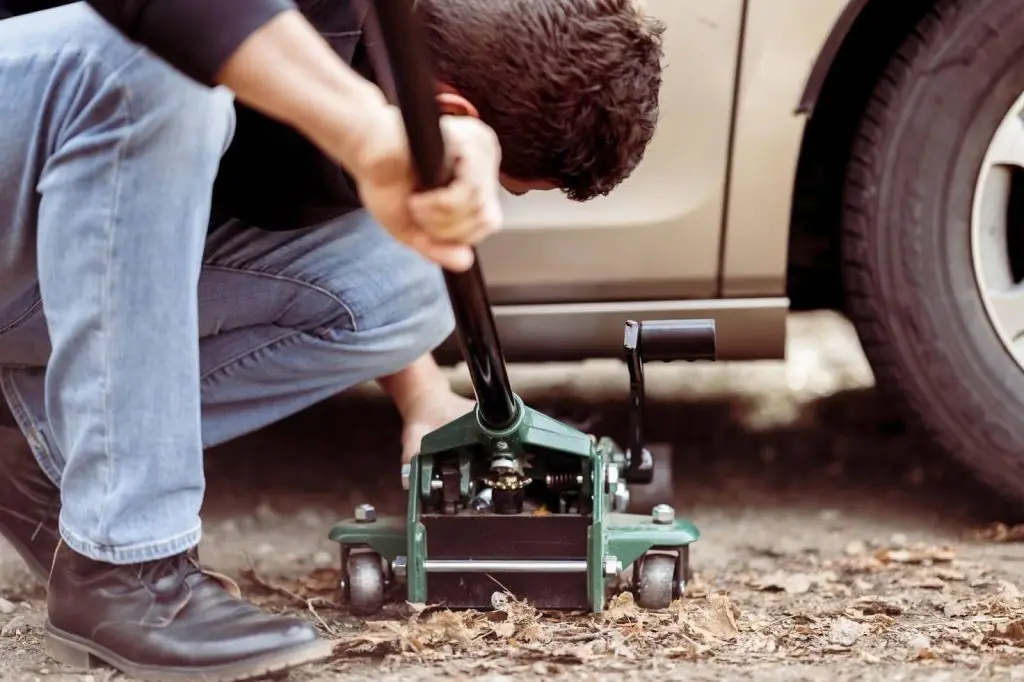
Next, pump the handle slowly. You will see that the saddle starts moving upwards. Pump it until the saddle comes in contact with the designated lifting point. Make sure that the contact is firm and the connection is secure.
Raising Your Vehicle Safely
Now that you have your car prepared for take-off, pump a little more. Leave the aggressiveness in the gym because pumping it here will only increase the chances of slipping. Grip the handle of the hydraulic press in your hand and ensure your pumps are steady and controlled.
Hold that thought. Why not get your hands on an electric hydraulic jack that takes the exhausting effort out of the process? Unlike manual hydraulic jacks that leave you huffing and puffing, VEVOR takes the strain while you sit back and relax until the car is fully up in the air.

As a safety precaution, keep an eye on the saddle and lifting point. Let VEVOR’s secure design ensure a rock-solid connection that doesn’t break off.
If your jack has a pressure gauge, you want to make sure that it does not exceed the weight limit. Most of the VEVOR Jacks come with built-in pressure gauges, letting you know exactly when to stop.
Just before reaching the desired height, place your jack stands to allow a more gradual transition. These jack stands will take over the weight-bearing from the jack, and you’re golden.
Utilizing Jack Stands for Added Safety
You’ve reached the final stage before your car lands on its feet! Jack stands and frees up most of the weight from the jack at this point. Think of them like sous-chef, taking on the burden of the jack.
Wider bases offer additional security for your vehicle. Double-check that connection between the jack stands and lifting points before you ease those worries. A shaky connection is nothing less than a recipe for disaster. The VEVOR hydraulic stands come with adjustable height and a solid build with wider bases making it much more easier and stable.
With your car fully secure, you can initiate the tire change, repair, or maintenance project that had you go through all this trouble.
Lowering the Vehicle Properly
You can’t leave your car hanging in midair, which calls for the last part of the process! The final act is to lower your vehicle on all four wheels safely and precisely.
Slowly release the pressure, ensuring the weight rests on the jack stands. You don’t want to rush through this step if you want your car to make it to ground level without a scratch. If you could use a little help, a high-quality hydraulic jack can lead the way. VEVOR’s controlled release valve makes sure your car lowers smoothly, reducing the risk of sudden drop.
Once more, this is your cue to keep an eye on both the saddle and the jack stands, ensuring they continue to maintain a firm grip with the lifting points. Additionally, double-check if the weight is distributed evenly. Otherwise, make a few adjustments so it is before you proceed to lowering.
Inch by inch, keep lowering until your car touches the ground and the weight shifts to the wheels. You are now ready for your next road trip.
Summing Up
With VEVOR’s Electric Hydraulic Floor Jack and this quick guide on how to use a hydraulic floor jack, you will never have to worry about your car’s maintenance. While you can stick to those age-old hydraulic jacks that can give in at any moment, why not get something that minimizes the labor while ensuring you and your car’s safety?
Don’t forget the preparation steps, like parking, using jack stands, and finding the right lifting points with our clear instructions. When you’re ready to finally get that DIY repair session rolling, follow the step-by-step process. Read the car manual, take out the jack, place it underneath the car, connect a power supply, and push that button.

Hello! I’m at work browsing your blog from my new iphone!
Just wanted to say I love reading your blog and look forward to all your posts! Carry on the fantastic work!
I like the valuable info you provide in your articles.
I’ll bookmark your weblog and check again here regularly.
I’m quite sure I will learn a lot of new stuff right here!
Good luck for the next!
Thanks in support of sharing such a good opinion, piece of writing is nice, thats why i have read it completely
bookmarked!!, I like your website!