| Difficulty | Cost | Duration |
| Moderate | $2.25 to $5.00 per square foot | 30 to 40 hours |
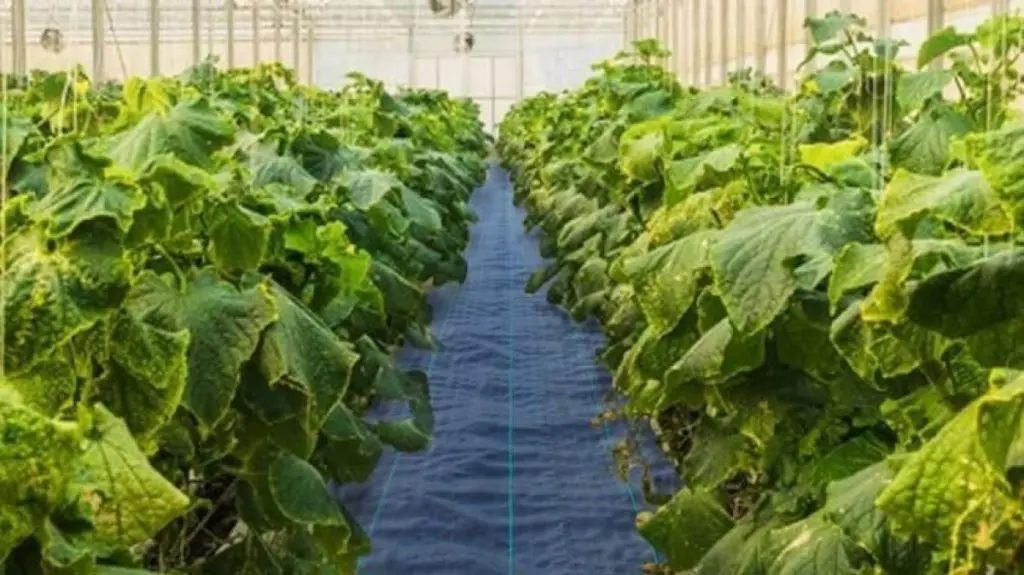
Craving fresh, homegrown produce but battling fickle weather? Well, don’t let the weather give you a hard time; build yourself a DIY high tunnel greenhouse and set yourself up for fresh and organic produce for extended growing seasons. DIY high tunnel is a simple yet powerful structure that extends your growing season, protects your plants from harsh elements, and lets you enjoy juicy tomatoes, vibrant greens, and fragrant herbs long after the frost arrives. Whether you’re a seasoned gardener or a green thumb in the making, this comprehensive guide on DIY high tunnel greenhouse will equip you with the tools and knowledge to build your very own DIY tunnel greenhouse.
This comprehensive guide will navigate you through the entire process, from selecting the right materials and tools to tackling each construction step with confidence. We will also delve into maintenance tips and answer the most commonly asked FAQs about DIY high tunnel greenhouses.
Let’s get started!
Table of contents
Tools and Materials Needed for Your DIY High Tunnel Greenhouse
To transform your backyard into a year-round garden oasis with a DIY high tunnel greenhouse, you will need the following essential tools and materials:
Essential Tools
- Tape measure: For accurately measuring different elements of the structure to ensure a sturdy and well-fitting greenhouse tunnel.
- Shovel: For digging anchor holes or trenches for your frame.
- Level: To ensure your frame is even and stable for optimal growing conditions.
- Hand Saw/PVC Cutter: Depending on your frame material, you’ll need to cut lumber or PVC pipes to size.
- Drill and Screwdrivers: For securing frame components together requires these trusty tools.
- Utility Knife: For precisely cutting greenhouse covering.
- Ladder: For reaching the higher parts of your high greenhouse tunnel.
- Stapler: For securely attaching the covering to the frame.
Frame Materials
You can build a frame for your DIY high tunnel greenhouse with either lumber or PVC pipes.
- Lumber: This pressure-treated wood is a durable and readily available option. But consider eco-friendly alternatives like cedar or redwood. Remember, lumber length needs to match your desired greenhouse size. If you need to make adjustments, use the hand saw from your toolbox.
- PVC Pipes: Affordable and lightweight, PVC pipes offer easy assembly and flexibility for curved greenhouse designs. For extra sturdiness, consider opting for galvanized steel poles.
Greenhouse Covering
For the DIY tunnel greenhouse covering, you will again have two options:
- Greenhouse-grade Polyethylene: This durable plastic film comes in various thicknesses (4-6 mil recommended) and transmits light effectively for plant growth. Consider single or double-layer options for different climate needs.
- Woven Polyethylene Fabric: This offers increased ventilation and insect protection and makes a perfect choice for warmer climates.
Additional Materials
- Anchors: Secure your frame to the ground with concrete anchors, rebar stakes, or ground sleeves.
- Roll Lock Flashing: This waterproof tape seals the ends of your covering for enhanced weather protection.
- Greenhouse Ventilation: For hot weather control, consider installing roof vents, roll-up sides, or exhaust fans.
- Greenhouse Accessories: Optional but handy additions include irrigation systems, thermometers, and humidity gauges.
Remember: This list provides a general starting point. Adjust the tools and materials based on your chosen design, size, and budget.
Step-by-Step Guide to Building Your DIY High Tunnel Greenhouse
Now that you have gathered your tools and materials, let’s embark on the construction journey! Remember, this is a flexible guide, so adapt it to your chosen design and preferences.
Step 1: Site Preparation
Before you begin working on your DIY high tunnel greenhouse project, you will need to first prepare the ground for it.
- Choose your location: Select a sunny spot with well-draining soil, ideally sheltered from strong winds. Access to water and electricity (optional) is a bonus.
- Clear the ground: Remove any existing vegetation, rocks, or debris from your chosen area.
- Mark the perimeter: Using your tape measure and stakes, mark the outline of your desired greenhouse size and shape.
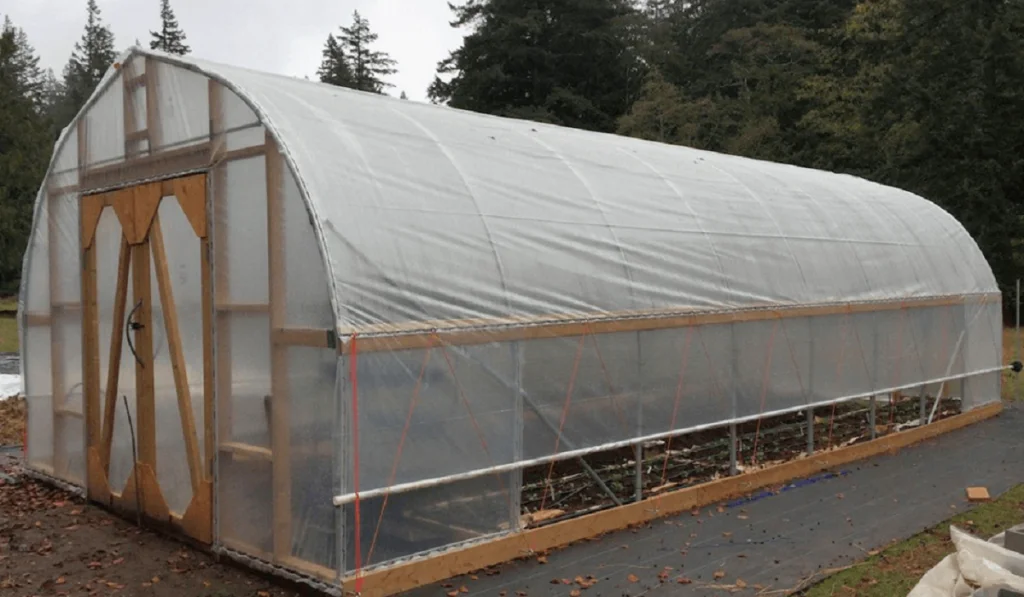
Step 2: Build the Frame
Once you have gathered all the necessary tools and materials and have marked the ground, it is time to begin building the frame.
- Base construction: It is optional. But if you are looking for extra stability, create a base using pressure-treated lumber or concrete blocks. Secure them to the ground with anchors or stakes.
- Upright installation: Depending on your material choice, cut them to the desired lengths and assemble them into U-shaped arches. Secure them to the base or directly to the ground using appropriate fasteners.
- Connecting the arches: Use lumber or metal cross beams to connect the arches at the top, creating a stable tunnel structure. Ensure all connections are secure and level.
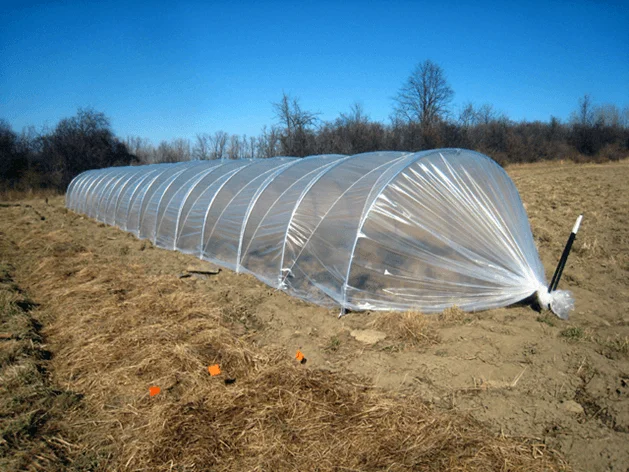
Step 3: Covering the Frame
Once you have built a sturdy frame for your high garden tunnel, it is time to cover it up.
- Unroll the greenhouse covering: Lay the plastic or fabric sheeting flat on the ground outside the frame.
- Secure the covering: Starting at one end, carefully stretch the covering over the frame and secure it to the base and cross beams using staples, clips, or other fasteners. Ensure a taut and wrinkle-free surface.
- Seal the ends: Once you have double-checked that the covering is taut and wrinkle-free, apply roll lock flashing tape to the ends of the covering for weatherproof sealing.
Step 4: Ventilation and Additional Features
Once you have built a frame and put a covering onto it, it is time for additional features like ventilation.
- Install ventilation: Depending on your climate, consider adding roof vents, roll-up sides, or exhaust fans to regulate temperature and humidity in your DIY high tunnel.
- Door construction: Build a simple door frame and attach it to one end of your DIY garden tunnel for easy access.
- Optional extras: Install irrigation systems, thermometers, and humidity gauges for optimal plant care and environment monitoring.
Step 5: Finishing Touches
Once you have built your DIY tunnel greenhouse, it is time to prepare the soil and plant your favorite veggies and herbs.
- Ground preparation: Inside the greenhouse, level the soil and prepare your planting beds. Consider raised garden beds for improved drainage and easier access.
- Plant your delights: Choose your favorite vegetables, herbs, or flowers and start reaping the rewards of your DIY high tunnel greenhouse.
Maintenance and Care Tips
Your DIY high tunnel greenhouse is a magnificent achievement. To help you ensure that your tunnel garden keeps protecting your plants and giving you fresh produce for many years to come, here are some maintenance and care tips for you to consider:
- Regularly check light levels inside your greenhouse and adjust covering materials if needed. Too much harsh sun can scorch plants, while insufficient light hinders growth.
- Proper airflow is crucial for preventing humidity buildup and fungal diseases. Regularly open vents, roll-up sides, or utilize exhaust fans to maintain optimal air circulation.
- Implement a consistent watering schedule based on your plants’ needs and seasons. Avoid overwatering, which can lead to root rot, but ensure the soil doesn’t dry out completely.
- High-tunnel greenhouses can get surprisingly hot on sunny days. Monitor temperatures and adjust ventilation accordingly. Use shade cloths or open vents to prevent overheating.
- Regularly remove plant debris, weeds, and fallen leaves from inside the greenhouse to prevent pest and disease problems. Disinfect tools and surfaces to avoid spreading pathogens.
- Keep an eye out for common greenhouse pests like aphids, whiteflies, and spider mites. Implement organic pest control methods like neem oil sprays or introducing predator insects to maintain a natural balance.
- Inspect your greenhouse covering regularly for rips, tears, or UV damage. Promptly patch or replace damaged sections to maintain optimal protection and prevent drafts.
- Over time, dust and grime can accumulate on your covering, reducing light transmission. Gently wash the outside of the covering with mild soap and water to maintain its transparency.
Extend Your Growing Season Even Further with VEVOR High Tunnel Greenhouses
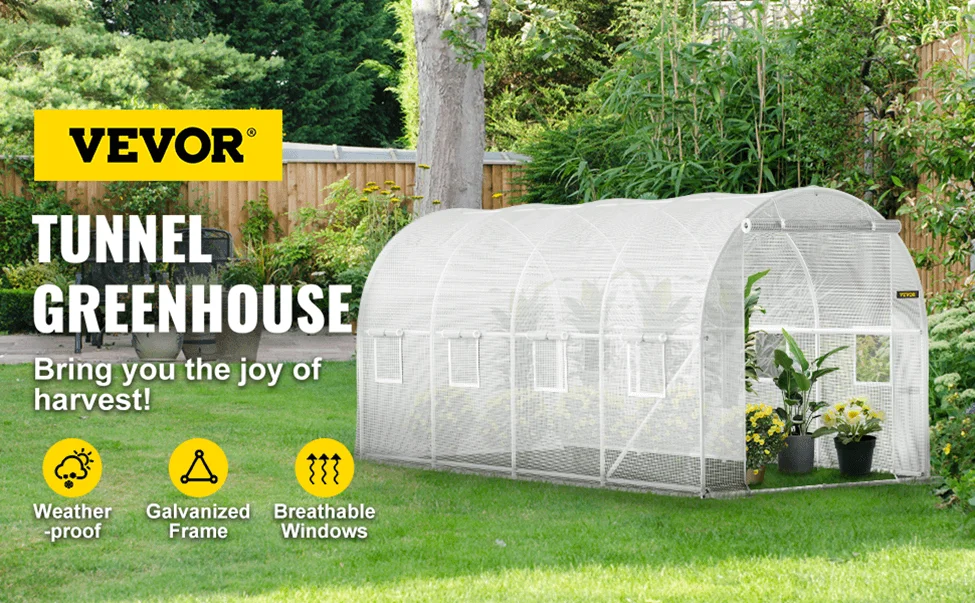
Thinking DIY high tunnel greenhouse project might be too much for you? Well, do not start from scratch. Consider working with a high-tunnel greenhouse kit. High-tunnel greenhouse kits contain all the tools and materials that you will need to build a DIY high-tunnel greenhouse in your backyard for your gardening adventures.
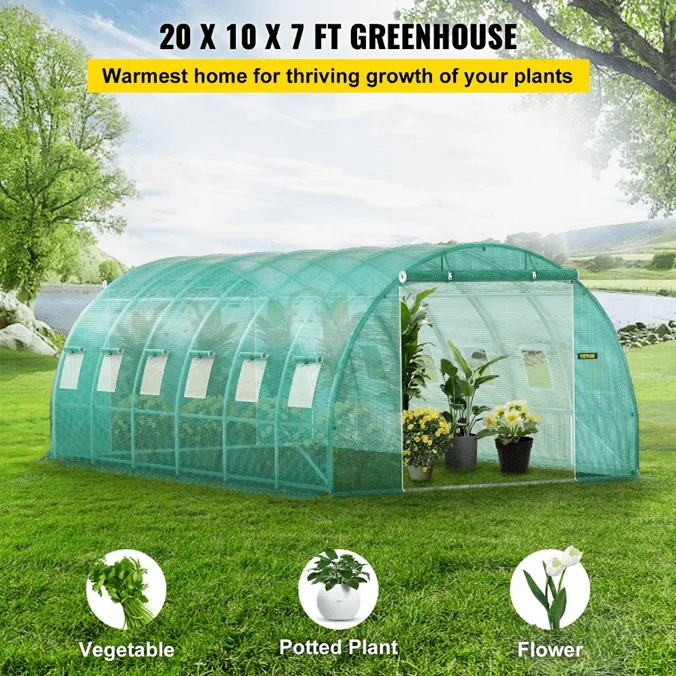
For your high tunnel greenhouse kit, consider going to a trusted brand such as VEVOR, which is known for its quality. Check out this VEVOR Walk-in Tunnel Greenhouse kit. It has a reinforced galvanized structure with 3 top beams and 4 diagonal poles to ensure maximum stability. Moreover, its PE cover is waterproof, bite-proof, and snow-proof, allowing it to weather harsh elements. For maximum ventilation, it features 12 mesh windows and 2 roll-up zipped doors. And the best thing about this VEVOR tunnel greenhouse is that it comes with all the tools and materials that you will need for the project.
FAQs about DIY High Tunnel Greenhouses
How much does a DIY high tunnel greenhouse cost?
The cost of building your own high tunnel can vary greatly depending on factors like size, materials chosen, and additional features. Typically, high tunnel greenhouse kits cost about $2.25 to $5.00 per square foot, depending on the tunnel dimensions and additional features.
How tall is a high tunnel greenhouse?
The optimal height for your high tunnel greenhouse will depend on the types of plants you plan to grow and your own accessibility needs. Standard heights usually range between 9 and 15 feet.
What is the distance between high tunnels?
The rule of thumb about the distance between high tunnels is that the distance from any obstacle should be approximately twice the height of the obstacle. For instance, if your tunnel is 9 feet tall, it should be around 18 feet apart.
Conclusion
Your DIY high tunnel greenhouse can help protect your plants from harsh weather and extend growing seasons. While the article provides a list of materials and tools required for a DIY high tunnel greenhouse project, make sure that you have the materials and tools that might be necessary for your garden tunnel project. Next, follow the steps discussed above to build yourself a magnificent DIY tunnel greenhouse. If a DIY tunnel garden project seems daunting, consider working with greenhouse kits.

Hey there! This post could not be written any better! Reading through this post reminds me of my old room mate!
He always kept talking about this. I will forward
this article to him. Fairly certain he will have a good read.
Thank you for sharing!