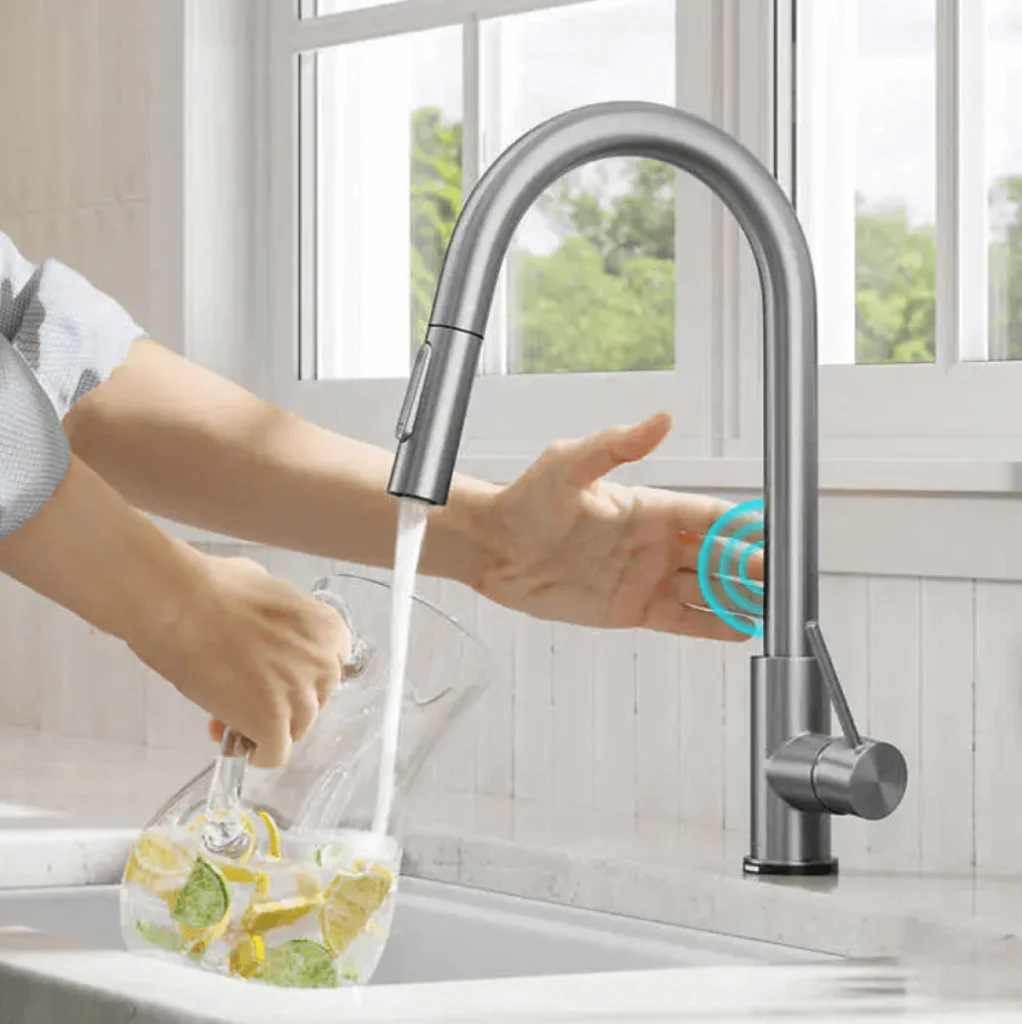
One of the toughest things to store is liquids. From annoying leaks to causing smelly and slippery stains on surfaces, liquids are hard to deal with. There’s always a leak somewhere, no matter how much you wipe clean and tighten locks.
What’s more is that it’s really hard to preserve liquid foods. From atmospheric contamination to poor storing materials, liquids are easily the most perishable foods out there. But, this is where vacuum sealing liquids come in.
Basically, vacuum sealing operates through a method known as vacuum packing. They literally suck out the air from any container before sealing it shut. This way, whatever is in the container has no way out. Through vacuum sealing liquids, you can say goodbye to the usual leaks and smears.
In this article, you’ll know how to vacuum seal liquids, and choose the right vacuum sealing equipment for use….
But before that, let’s tackle one burning question.
Table of contents
Can You Vacuum Seal Liquids?
Just like vacuum sealing solids, you can also vacuum seal liquids. There are different methods and equipment to use in vacuum sealing liquids. Note that there are vacuum sealers that seal liquids in the market. These vacuum sealers for liquids allow you to vacuum seal liquids by using either the freezing or non-freezing method. Both methods are easy to learn and apply, and they also save you money and effort.
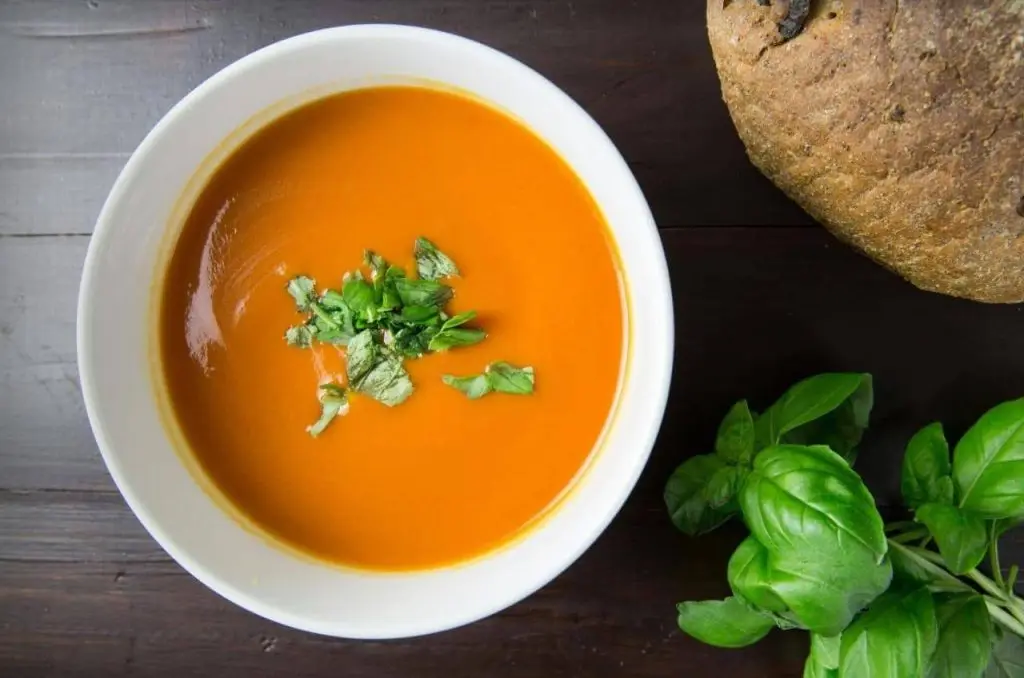
The best part about vacuum sealing liquids is that it applies to different liquid consistencies. You can vacuum seal both thin and thick liquids such as fruit juices, sauce, soups, syrups, and stews. Following this, it’s important to note that the consistency of the liquid determines the best vacuum sealing method to use.
If you decide to go through with vacuum sealing liquids, you should be happy to know that matter the method that you use, you’ll have little to no trouble.
So, let’s go through the steps on how to vacuum seal liquids
Steps To Vacuum Seal Liquids Without Freezing Them
If you’ve ever asked the question “can you vacuum seal liquids without freezing them?”, here’s your answer in a few steps.
Step 1: Prepare Your Liquids for Vacuum Sealing
Having chosen your preferred vacuum sealer, it’s time to prepare your liquids for vacuum sealing. When vacuum sealing liquids without freezing, the first step is to pre-cool your liquids. Rather than freezing completely, pre-cooling basically preserves the freshness of your liquids by cooling evenly. This ensures that the liquids and packaging don’t expand and cause leakage due to heat.
To do this, you can pour your liquids into a container, and place in the fridge for a couple of minutes. You can alternatively place the container of liquids into ice water and stir the water for quick cooling.
Once that’s done, it’s on to the next step!
Step 2: Pour Liquids Into Sealer Bags
Once the liquids are cool, it’s time to transfer them into a proper vacuum sealing bag. Note that you can’t use just any sealer bag lying in your kitchen. The right vacuum sealing bag has a slightly thick texture to avoid tearing easily or expanding.
When you have your vacuum sealing bag ready, fill it with the pre-cooled liquids. When filling your vacuum sealing bag, make sure you leave enough headspace to minimize overfilling, and also give room for easy handling. Be gentle when pouring to avoid spillage – especially on the edges of the seal.
To avoid spillage, you can place your vacuum sealing bag in a container, fold out the edges before filling, and get onto the next and final step on how to vacuum seal liquids without freezing.
Step 3: Vacuum Seal the Liquid
Having filled the vacuum sealing bag, it’s time to vacuum seal. The first thing to do is to angle the vacuum sealing bag or pouch. This is usually necessary when using edge sealers, as you need to hold the edges when sealing. Although you may not need to angle the vacuum sealing bag when using a chamber vacuum sealer, it helps with ensuring that the liquids flow to the bottom of the bag when vacuuming to avoid spillage.
When vacuum sealing liquids, use the “skip” feature to vacuum seal without removing the air in the vacuum sealing bag. This helps with retaining freshness for liquids. Once the sealing is done, run a second seal cycle for extra safety.
The non-freezing method is faster and easier than the freezing method we’ll be discussing next.
Steps for Vacuum Sealing Liquids: Freezing Method
Vacuum sealing liquids without freezing is great for really watery liquids. But for thicker liquid like soups and sauces, it’s better to use the freezing method. It’s easy to do, and really gives meaning to vacuum packing liquids.
Step 1: Prepare Liquids for Vacuum Sealing
The first step when freezing is to prepare the liquids for vacuum sealing.
To get started, pour out the liquids into portioned containers. When frozen, the liquids will take the shape and size of their containers, which may be too big for the vacuum sealing bags. As such you should use small to medium-sized containers. Once you’ve poured out the liquids, you should then place the bag in your freezer for hours to ensure either a partial or complete freeze.
When the liquids are properly frozen, it’s time to move them into vacuum sealer bags.
Step 2: Fill the Vacuum Sealer Bag
For this step, you need thick high-quality vacuum sealer bags that can handle the weight of the frozen liquids. Depending on the sizes of the frozen liquids, you can fill a big vacuum sealer bag with several frozen chunks. If a big-sized vacuum sealer bag is unavailable, you can use what you have, and only fill to the level of weight the bags can carry. Interestingly, you can also vacuum seal meat with liquid this way.
Don’t forget to leave enough headspace of about 1 to 2 inches for proper sealing. You can always shuffle the frozen chunks so that they’ll settle to the bottom of the bags. Once you’ve filled the vacuum sealer bag, it’s time to seal.
Step 3: Seal the Vacuum Sealer Bag
Keep in mind that there are different sealing instructions for the different types of vacuum sealers, so you’d best follow the instructions on your vacuum sealer for the best results.
For the chamber vacuum sealer, you only need to straighten out the edges of the vacuum sealer bag, and insert it into the sealing chamber. Once inserted, press the “vacuum seal” button and watch. The vacuum sealer will first suck out the air from the bag before sealing in the frozen chunks. You can also double seal the bag for extra safety.
And once you’ve checked and made sure the bag is as it should be, you can then move on to freezing.
Step 4: Freeze the Vacuum-sealed Liquid
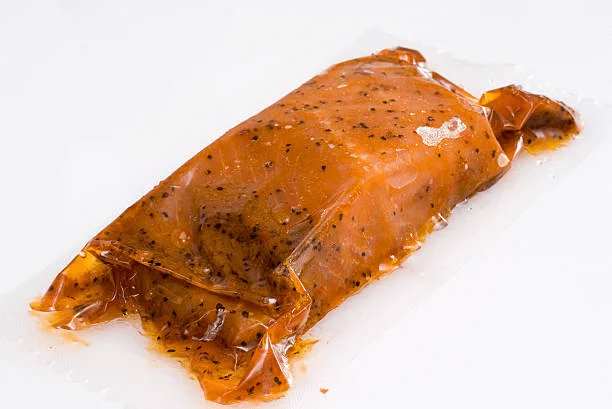
The final step after vacuum sealing is to freeze the sealed bag of frozen liquids. To get started, first label the sealed bag to clearly identify its contents. Your label should include the content, sealing date, and any additional information like portion sizes. Once labeled, all that’s left is to store the bag in your freezer.
Just like that, you’ve successfully vacuum sealed your liquid. It’s a simple process – but, there’s a little bit more to it. Before you even start the process, it’s first important to own the right vacuum sealer machine. There are various vacuum sealers on the market but not all of them are right for the job.
Choosing the Right Vacuum Sealing Equipment
There are different types of vacuum sealers in the market, and they fall under three categories; edge or suction sealing, chamber vacuum sealing, and handheld vacuum sealing. While all types of vacuum sealers are efficient, chamber vacuum sealers are the most efficient. Chamber vacuum sealers are bigger, more durable, and are designed to preserve both dry and moist foods.They are ideal for most kitchen uses.
Choosing the right vacuum sealer determines how effective your vacuum sealing would be. Edge and handheld vacuum sealers are great for minor and short-term sealing. But the best vacuum sealer for liquids is a chamber vacuum sealer. Chamber vacuum sealers are designed to handle all kinds of vacuum sealing demands – including vacuum packing liquids. What’s more is that chamber vacuum sealers, above all others, will give you greater vacuum control and better results.
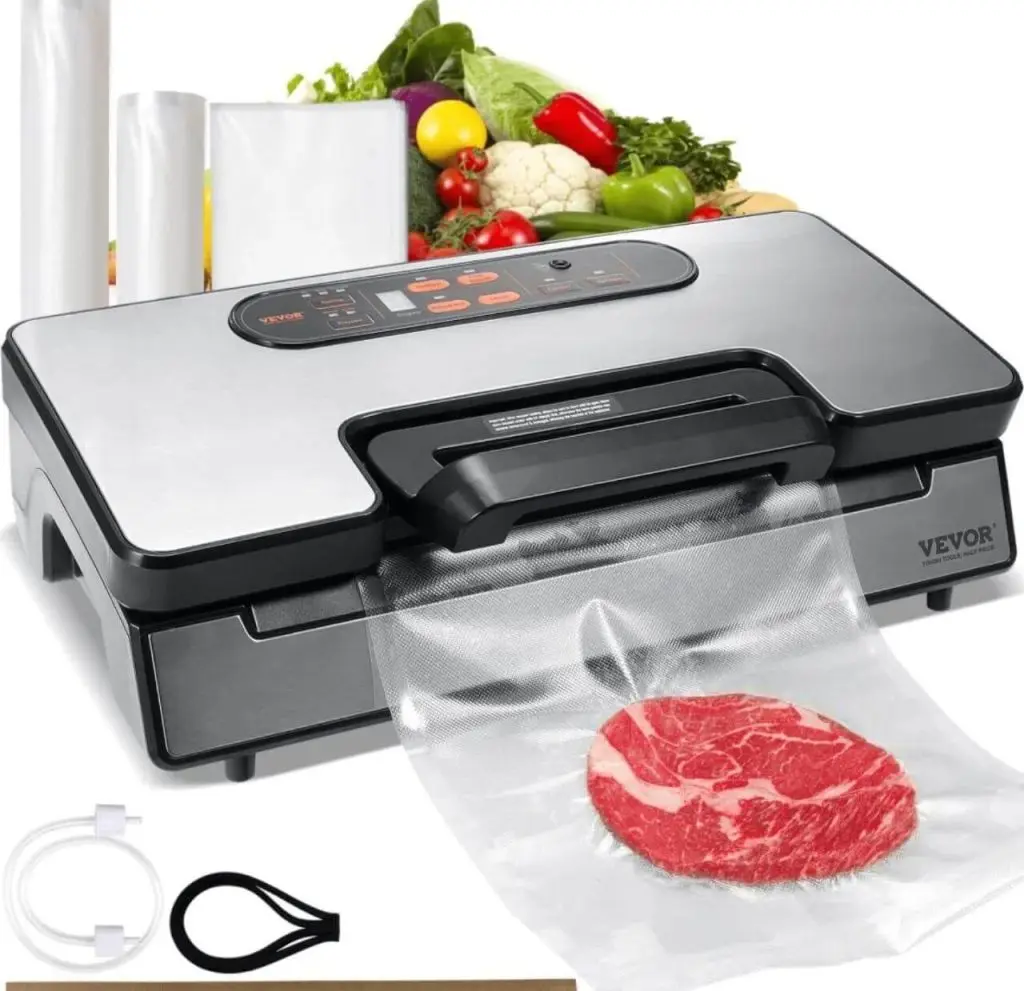
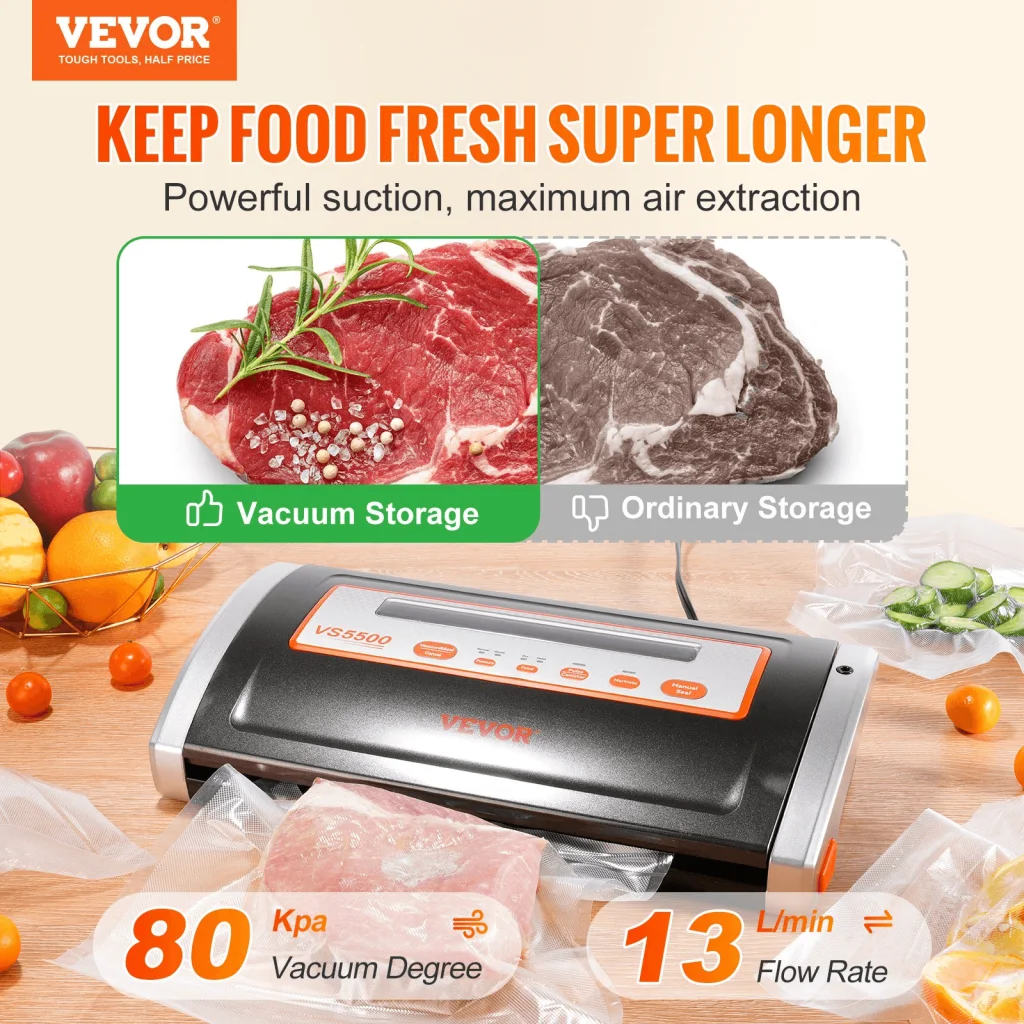
Vacuum sealers are great for preserving food (liquid or solid), and one of the best ones on the market is the VEVOR Vacuum Sealer. VEVOR chamber vacuum sealers are ideal for all kinds of sealing, and they are compatible with both thick and thin sealing bags. They’re easy to use whether for vacuum packing liquids or regular vacuum sealing. As with lots of VEVOR products, VEVOR chamber vacuum sealers are cost efficient and give you value for money.
Key Takeaways
Reading through the article, here are the key things to note:
- Yes, you can vacuum seal liquids following two methods (freezing or non-freezing).
- When using the non-freezing method, you only need to pre-cool your liquids, pour them into sealer bags, and seal without necessarily sucking out the air.
- When using the freezing method, you should first freeze the liquids and pack in bits into thicker sealer bags. When you’re done, seal the bags and store in your freezer.
- To get the best result in vacuum sealing, you need to choose the right machine, and the best vacuum sealer for liquids is a chamber vacuum sealer.
- VEVOR vacuum sealers are perfect for both domestic and commercial use. They are easy to use, cost-efficient, and only need a little space on the kitchen counter.
FAQS About Vacuum Sealing Liquids
Q: Can I use a jar to seal liquids, instead of vacuum sealer bags?
Technically yes, you can use a jar to seal liquids. But, it’s hard to properly seal a jar’s lid shut, and even harder to unseal once frozen. Also, you’ll need more storage space when using jars. Hence, it’s better to use vacuum sealer bags. You’ll save your strength, use less space, erase leakages, and enjoy portion control when you use vacuum sealer bags.
Q: How do I clean my vacuum sealer?
You can clean your vacuum sealer by following its instruction manual. First unplug the machine, and use a damp cloth to wipe the exterior. Soak a soft cloth in water with mild soap, and squeeze. Use the damp cloth to wipe the sealing bar and gasket, and drip tray gently. Leave to dry once you’re done.
Q: How long will vacuum-sealed liquid last?
Generally, vacuum-sealed liquids can last between six months to over a year. The precise shelf-life of vacuum-sealed liquid varies based on the type of liquid. Liquids like soups and sauce can last up to 2 years, whereas milk, cream, and fruit juices may stay between 3 to 6 months.

