Sublimating your apparel is fun if you know how to do it. With a little effort, you can create magic through your favorite designs. Sublimating a shirt is easy, but you need to figure out the perfect time for different kinds of fabric. Now, you may want to know more than just the basics, like how long to sublimate a shirt or what materials you need to sublimate a shirt. We are here to guide you with the much-needed information.
In this article, we will guide you on why time and heat settings are important in bringing out the perfect print of a shirt. You will learn what materials are needed while also getting the hang of some practical steps involved in getting the right print every time.
So, let’s get straight to business and find out how long it takes to sublimate a shirt, tips and tricks for flawless printing, and answers to some FAQs.
Table of contents
Why is Sublimation Time and Temperature Important?
You might be thinking sublimating a shirt is just pasting a design over the fabric. But there is more than that when it comes to sublimating shirts. The secret to getting those sharp shirt prints lies in setting the temperature and time perfectly. Another thing that matters a lot is the fabric of a shirt. Just as one size doesn’t fit all, similarly, time setting isn’t the same for every shirt.
Remember, when we talk about the perfect time and temperature settings, it does not mean being nitpicky. Instead, it is more related to chemistry—too little pressure or too little time means the color dye won’t reach deep within the fabric fibers. This means the dye can come off or fade away with multiple washes—which you don’t want.
How Long to Sublimate a Shirt?
As we have already discussed why temperature and time settings are important, we will now learn how long to sublimate a shirt and the time needed for different fabrics. Below, we will take a closer look at what temperature and heat settings different fabrics need.
| Fabric | Temperature | Time | Pressure |
| White 65 – 100% Polyester | 385 F (196°C) to 400 F (204°C) | 40 – 75 seconds | Light to Medium |
| Colored 65 – 100 % Polyester Shirts | 385 F (196°C) to 400 F (204°C) | 40 – 75 seconds | Light to Medium |
| Poly Cotton | 390 F | 35 – 45 seconds | Firm |
| Neoprene (mouse pads and coasters etc.) | 390 – 400 F | 40 seconds | Medium |
The table above helps you get an idea about the different time and heat settings for white and colored polyesters. These require high heat with high temperature and pressure. In comparison, fabrics like poly cotton need less time at the same temperature. When it comes to fabrics like Neoprene, they need higher heat settings with less time and pressure.
It is always advisable to test the fabrics before sublimating. Getting the right prints every time can be tricky, but you can get the hang of it by practicing more. The key to remember is that sublimation shirt time and temperature is not a science; it is more of an art – the more you practice, the better the results are.
What Materials Do I Need to Heat Press a T-Shirt?
As we talk about sublimating t-shirts, there are a few essential items that you need to get your desired results. For this reason, we have listed down accessories that will help you get those perfect prints on shirts every time you sublimate. So, without further ado, let’s check out all that you should get your hands on.
Sublimation Ink
You cannot sublimate shirts with any ordinary ink of your choice. To sublimate, you need special sublimation ink. This ink can only be used with special sublimation printers with appropriate ink tanks.
Sublimation Paper
Another essential item is a sublimation paper, which is heat-resistant and is used to transfer your design onto a shirt.
Heat-Resistant Tape
It is important to keep the design print in its place when pressure is put on the shirt. Without this tape, your design will end up being smudged during the printing process.
Shirts of Different Fabrics
As obvious, you need a variety of shirts for sublimation. You can try using white polyester, colored polyester, cotton, polycotton, and Neoprene.
Heat Press
A good quality heat press can make all the difference. It transfers your designs from a sublimation paper to the fabric.
Computer
And finally, you would also need a computer so you can design your own sublimation prints and then use a sublimation printer to have those designs printed out. You would also require a sublimation printer.
How to Heat Press a T-shirt Effectively? Our Step-by-Step Guide
Now that you have enough information about the essential items for the sublimation of a shirt, it is time to learn the necessary steps of this process. For this purpose, we have written a detailed guide so that you can start sublimating shirts effectively.
1. Setting Up Your Heat Press
First off, you need your heat press machine settings just right. It’s too hot, and your shirt will look like it sunbathed too long; it’s too cool, and the design might as well look like a ghost.
2. Preheat Your Pressing Machine
To start, preheat your press to the specific temp for your fabric type—cotton is different from poly blends. Then lay out that tee smooth with no wrinkles or lint. Place your transfer paper down with care because where it lands, it sticks.
3. Lay Pressure on the Fabric
The pressure needs to be firm but not too much so you get an even print. If too much pressure is applied, the print will turn out wrinkly or stiff.
4. Press Time and Temperature Setting
Lock down that heat press lid firmly over the sandwiched shirt and transfer the design print. Your average time ranges from 25–30 seconds depending on material, but keep an eye out because every second counts.
VEVOR Heat Press Machine—Easy T-Shirt Customization
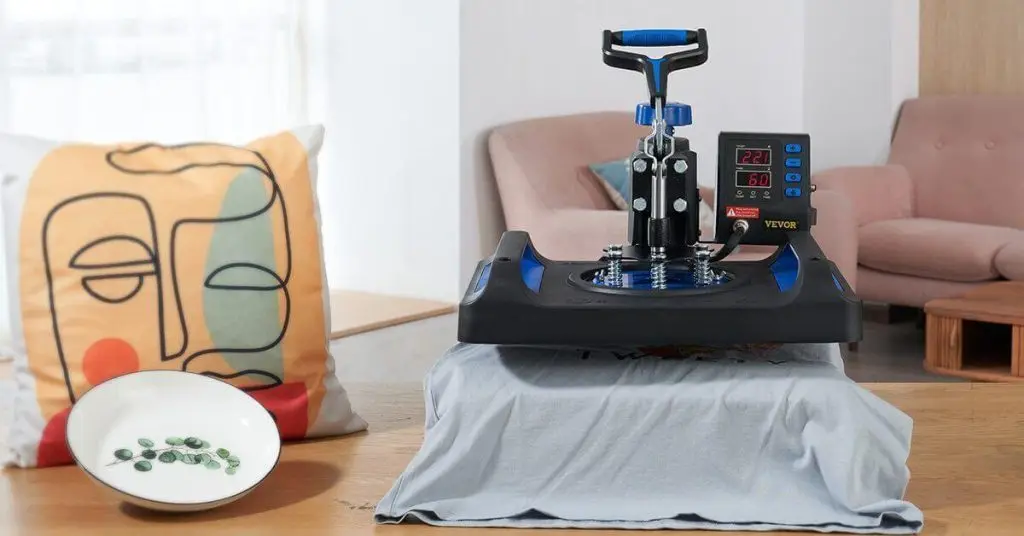
If you have ever tried using a sub-standard heat press machine, you would know how it ruins designs by producing crinkly prints. But with a high-quality heat press machine like VEVOR, you don’t have to worry anymore.
With its large heating pad, a VEVOR heat press machine can give you 20,000 hours of service life. It comes with a soft heating liner, which can press a variety of fabrics. This liner also reduces unpleasant smells during heat pressing.
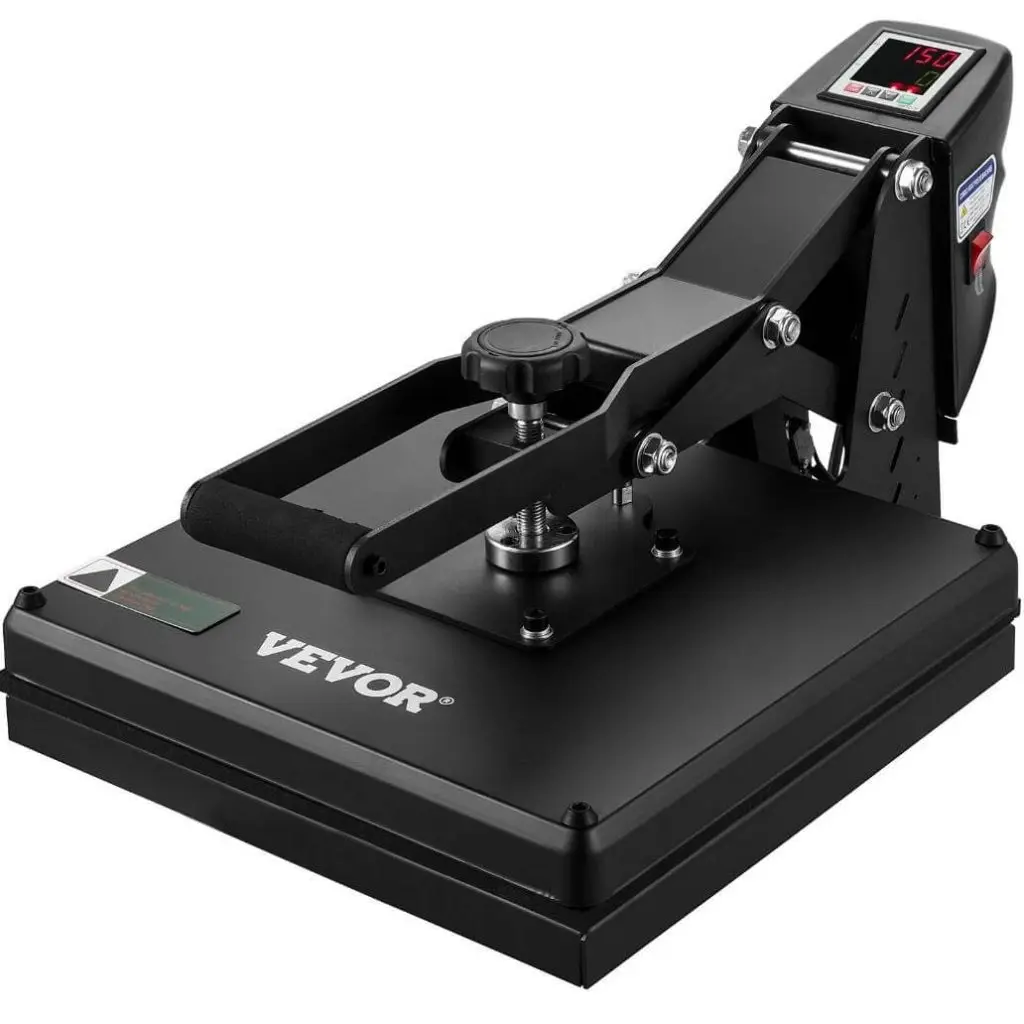
To get the perfect temp for sublimation shirt, this heat press comes with a precise control panel that lets you regulate the time and temperature accurately. It also has an inbuilt alarm system which goes off when the press machine has finished heating.
With Teflon-coated platens, VEVOR keeps you safe from accidental burns and scratches. These Teflon coatings also lessen the risk of adhesion between clothes and platen, providing you with an excellent transfer result.
So, if you want colorful and sharp design prints on your polyester or cotton shirts, the VEVOR Heat Press Sublimation Machine is your go-to option.
FAQs About Sublimating T-Shirts
Ever wondered why your sublimated shirts look dull and smudgy? Or maybe you’ve had the unfortunate experience of watching your masterpiece turn into a crispy piece of modern art. It’s all in the details, specifically temperature and material.
Q: What is the best temperature for sublimation?
The perfect temperature generally lies around 385-400°F (196-204°C). However, as discussed earlier, the temperature and time settings are different for every fabric.
Q: Can you sublimate on a 100% cotton T-shirt?
Cotton is not the best choice when it comes to sublimation. You need synthetic fibers to have the perfect prints. However, special coatings can make sublimating a cotton shirt possible.
Q: Why are my sublimation shirts burning?
Your shirts might be burning because you have either set the temperature too high or are pressing them for too long. To get your prints right, set your temperature and time accurately.
Q: How Long Do Sublimation Prints Last?
The DIY shirt prints can withstand numerous washes if done right. With proper care, your sublimated shirt can stay with you for a long time without the designs fading away.
Conclusion
Now that we’ve pressed through the heat of sublimation, it’s clear why precision with time and temperature is important—it’s your secret to vibrant tees. Now that you know how long to sublimate a shirt, set the temperature and time right. And remember: too cool or a minute shy can leave your shirt looking as dull as dishwater. But get it right? You’re in for prints that pop like rainbows.
If you ever hit a setback, though, don’t sweat it. Just come back here for a quick look and get some sane advice. By following the instructions and all the settings, you will be able to bring out the magic of your creativity.

