Introduction
Today, home is like heaven on earth, nurturing a comfortable place and keeping you separated from all the hassles and pollution of the whole world. No noise. No work tensions. Pure peace of mind
What if we say tensions can still penetrate your body? It is now possible due to unoxygenated air entering through your doorstep. Sometimes, leaded air causes severe cancerous issues. To relax your body, you need a perfect room with quality air. Is that even possible?
Yes. We have better solutions, such as HEPA filters, to install and purify your air. HEPA filters have been here for decades, but no one has harnessed their True excellence. No worries, today, we will dress it up in a king’s cloak. In this guide, you’ll learn how to install HEPA filters in AC. Also, you’ll get guidance on maintenance and replacement. Let’s talk about it!
Table of contents
Understanding HEPA Filters
What are HEPA filters, and how do they work?
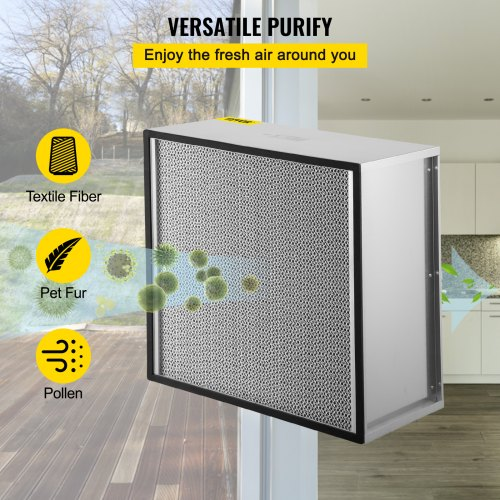
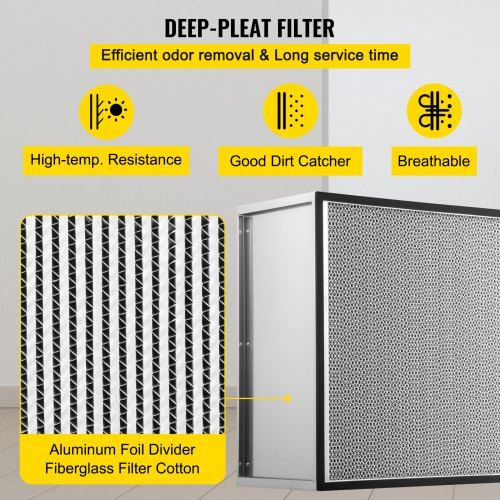
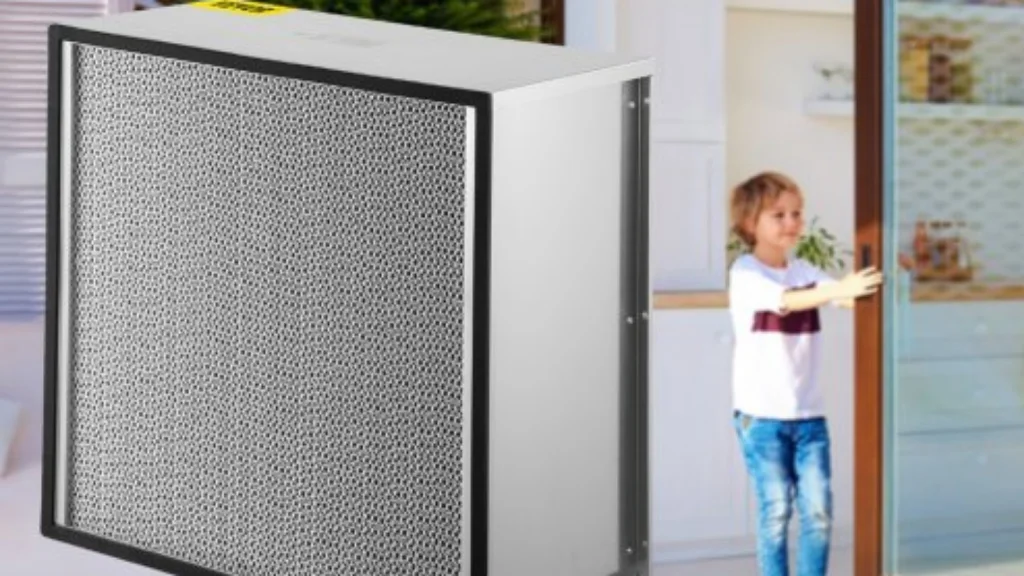
HEPA filters are special mesh-manufactured filters capable of trapping small particles in the air. They force the air to pass through the mesh. Tiny particles of up to 0.3 microns in size are captured and eliminated from the air, ensuring indoor air quality.
Different Types Of Particles HEPA Filters Can Capture
HEPA filters can catch up to 0.3-micron particles. Many types of matter fall into this category.
- Pollen: 10-100 microns
- Pet dander: 0.5-100 microns
- Dust: 0.5-100 microns
- Fungal spores: 2-100 microns
- Tree and grass pollen: 20-30 microns
- Ragweed pollen: 10-20 microns
- Mold spores: 2-20 microns
- Bacteria: 0.5-5 microns
Importance of HEPA filters
HEPA filters are a million-dollar deal if you want to purify your air in the AC systems. It furnishes many health benefits, bringing the utopia to your dwelling.
Here are some key benefits of HEPA filter installation.
- Improved Air quality. HEPA filters catch the particles and pollutants. It improves the overall air quality, minimizing toxic effects on your lungs.
- Good health. If you have a lung problem, filters can be your supporters. They minimize the toxic allergens that aggravate your asthma or COPD.
- Minimal maintenance. You don’t have to worry about the HVAC system maintenance. HEPA filters are already removing toxins and ensuring better safety of your AC systems.
Tools and Materials Needed
Before installing the HEPA filters, you need a complete list of materials and tools. It includes the following options.
List of tools required for the installation process
Invite the safety and keep all the necessary prepared for the quick installation jobs. Some of the best tools suitable for safe HEPA filter installation include:
- Gloves. Wear it in your hands and keep your hands safe and protected when installing the filters in the HVAC systems.
- Safety goggles. Don’t let your eyes get damaged due to dust or air particles. Conjunctivitis is common. Safety goggles keep it miles away.
- Ladder. If your HVAC system is fixed to the ceiling, have a ladder. Start ascending.
- Screwdriver. Loosen the nuts and open up the HVAC system for HEPA filter installation.
Materials needed for proper HEPA filter installation
Keep the following materials handy whenever landing your first HEPA filter installation.
- HEPA filters. Your magic filters must be ready on the table for installation. Ensure the quality and excellence in every single component of your HEPA filters.
- Gasket Seal. Ensure an air-tight seal with a gasket for complete closure.
- Adhesive materials. Let the glue and acrylic-based adhesive ensure the practical joints between the filters and HVAC installation slots.
- RTV materials. Close your dovetail joints with the RTV materials where the gasket does not work. Closed-cell sponge polymers are the indication points of such materials.
- Flat frame. The gasket helps seal the frames and ensure the perfect alignment of the HEPA filters on the site.
Step-by-Step Installation Process
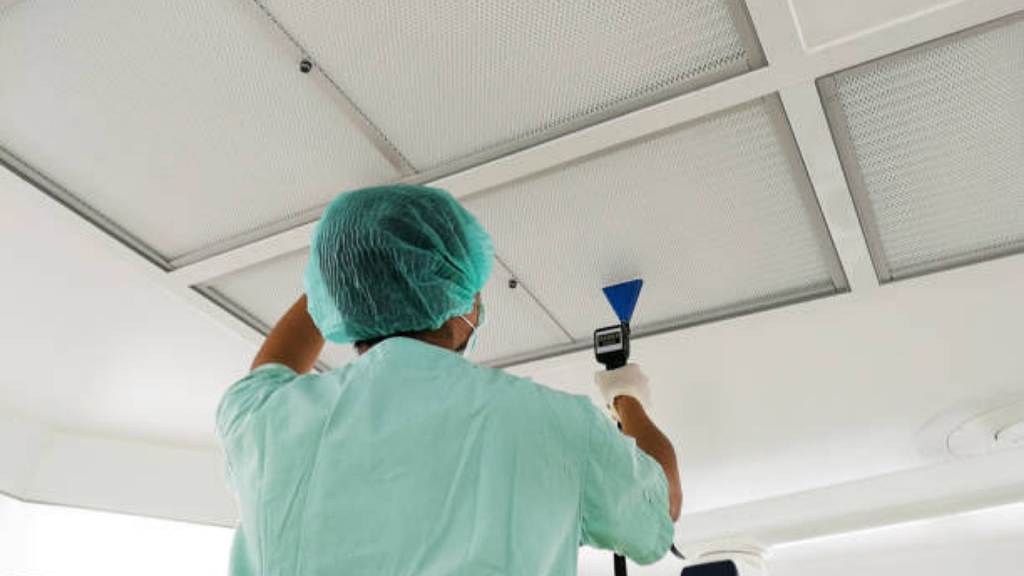
HEPA filter installation isn’t easy-peasy. There are some safety checks you need to follow to get the optimal installation efficiency. Let’s talk about the step-by-step guide with safety instructions.
Preliminary checks and safety measures
Don’t jump into the installation process unless you know the following rules.
- Always follow the manufacturers’ instructions when transporting or storing the HEPA filters. It must be stored in a safe place, away from moisturization.
- Remove the dust of particles trapped in your HVAC systems and affecting their performance. Wipe out all the liquid and dry your HVAC system after the cleaning process.
- After cleaning, wait for at least 12 hours. Look at the HVAC system and ensure no particles are left.
- Disassemble and inspect the HEPA filters to ensure there are no leaks or problems in place.
- Deploy a flat frame for the correct installation of the filters.
- Apply glue evenly to the sealing strips for good air tightness and effective installation of the filters.
Step 1: Turning off the HVAC system and ensuring proper ventilation
Let’s start the job for which we have been talking so much earlier. Turn off the on/off button. Check whether the HVAC is still working. If yes, recheck and unplug the switch from the power source. Doing so will instantly turn off the HVAC system.
Don’t rush. Cool down and let the HVAC system have some time to rest. Check the ventilation system. Prepare your ladder to bring down the HVAC system or ascend on the ceiling.
Step 2: Removing the existing filter and assessing its condition
Wear gloves, goggles, and all necessary tools for your safety during removal and installation. A screwdriver can be a kingmaker. Open the parts of your HVAC system and locate the existing filters in your AC. Usually, you can get it from the air handler or furnace, which is its exact location. Remove the filters and check where the problem is deep down in parts of the filters.
If the repair is possible, you can save costs. Otherwise, you already have the new one to complete the HEPA filter installation task.
Step 3: Installing the HEPA filter correctly into the designated slot
The place where you have removed the old filter is your target slot. Whenever you are installing the new filters, confirm it is clean. Also, take some time to clean up the designated installation point.
Now, you can install the filters correctly into the place.
Step 4: Securing the filter in place and checking for any gaps or leaks
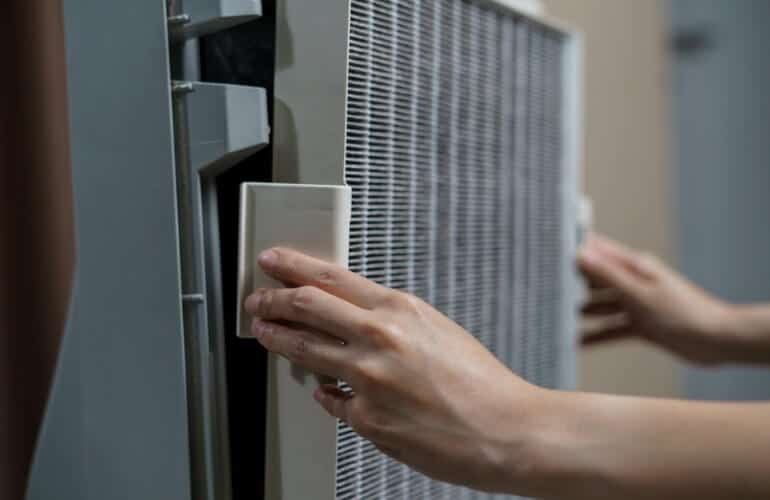
Turn on the magic of sealing and acrylic-based adhesives to create a tight seal. Apply the glue to the gasket sealing strip. Combine the frames and create an airtight seal.
Your job is not done yet. Check for leaks or any weak points. Consider dovetail joints to be of prime importance in the installation process. Snuff out all the gaps instantly.
Step 5: Restarting the HVAC system and checking for proper functionality
Let the screwdriver flick on the complete installation process. It is time to test what you have already done. Plug the switch into the power source and turn on the HVAC system.
Screen through the whole air filtration process. Does it work perfectly? It can be a turning point where you need to decide the functionality. Think about the cleaned air.
Enjoy the purified air that is good for your lungs!
Maintenance and Replacement
Maintenance and replacement allow a longer life without worries. Here are some tips and tricks to follow.
Regular maintenance tips
Get off the beaten track and get a longer lifespan of your HEPA filters with the following tips.
- Use pre-filters to catch the larger particles before they destroy your filters.
- Regularly inspect your HEPA filters.
- Check the air quality and look for any impurity signs.
- Ensure indoor environment cleanliness to avoid dust trapping in filters.
- Unclog your filters if they catch the dust over time.
Signs indicating the need for HEPA filter replacement
Once your eyes get the attention of the following red flags, get inclined to HEPA replacement.
- Discoloration. Once the filter starts changing color, replace it for better air purity.
- High energy bills. Old and clogged filters consume more energy. Replace them to save from lofty bills.
- Foul odor. Is a lousy smell coming out? Hurry up! Replace the filter.
- Expired filters. Every filter has a specific lifespan. You have to replace it after some time.
Steps to follow when replacing an old HEPA filter with a new one
You can follow the above-detailed steps for the HEPA filter replacement. Here are some quick steps.
- Turn off your HVAC system and locate the old filter.
- Eliminate it and install the new one.
- Create an airtight seal with gasket sealing strips.
- Test and enjoy the quality air.
Conclusion
HEPA filters are pretty of an efficient deal for everyone’s home. They not only nurture the pure air but also provide luxuries in your home. If you are an asthmatic patient, it is a paradise. You don’t have to worry about air pollution or consider multiple checks with your doctors. Even for a normal life, filters are a good addition with excellent air quality.
HEPA filter installation is also an effortless task requiring a little knowledge combined with some necessary tools. You don’t have to be an expert for their installation. Attention to DIY instructions in this article is more than enough to disclose the exact process. To keep your financial troubles away, examine the filters regularly and get them replaced with quality ones.
VEVOR has delivered premium-quality filters with versatility, ease of installation, and cutting-edge technology. You get nothing but a filter with all the amenities in your den. Guess what? All HEPA filters are available at affordable prices. Explore them right away!





 Arabic
 Danish
 Dutch
Dutch English
 Finnish
 French
 German
 Greek
Greek Hebrew
 Hungarian
 Italian
 Norwegian
 Polish
 Portuguese
 Romanian
 Russian
 Slovak
 Spanish
 Swedish