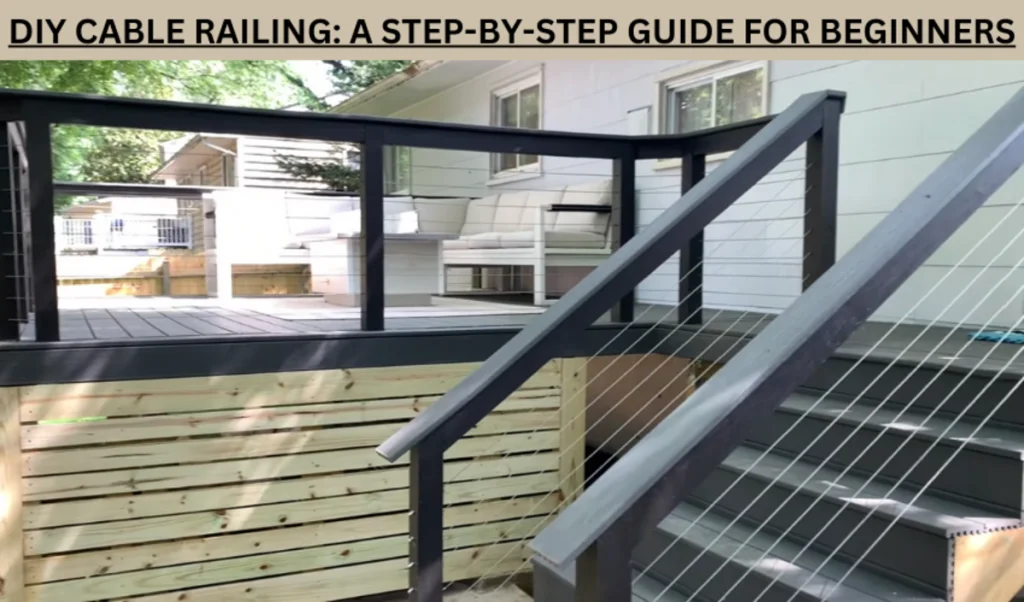
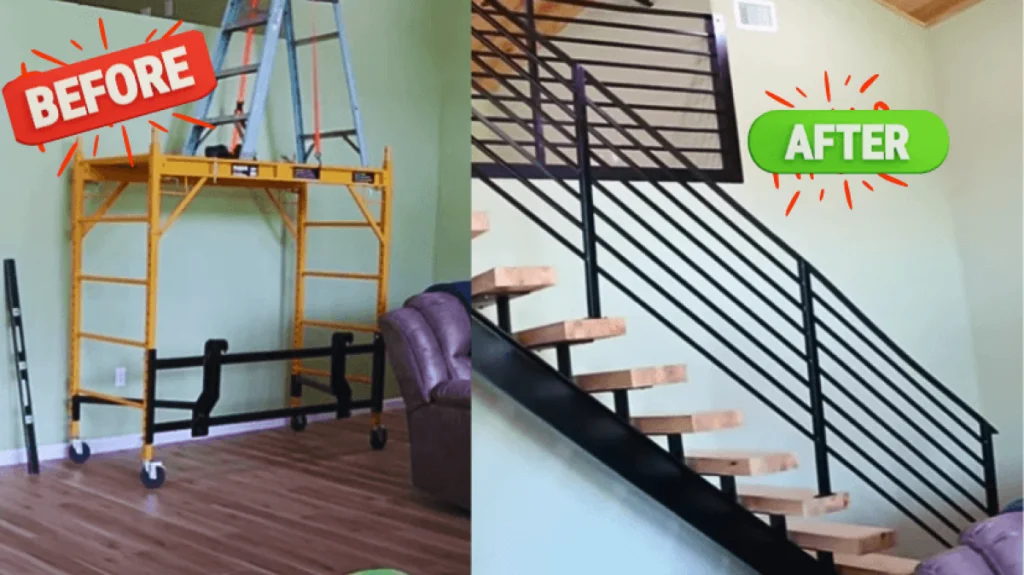
Suppose you’re tired of the typical railings and want to introduce a contemporary element into your space. DIY Cable Railing could be the answer to your problem. This is because DIY cable railings are cheap, durable, and offer lower-level maintenance. Besides this the cable railing is durable and offers rust resistance. In this beginner’s step-by-step guide. You will unveil insights on making clean and strong cable railings that perk up your space. This guide serves a clear purpose: enable you to embark on this DIY project with confidence. Equip yourself with the knowledge and skills. Get ready to reinvent your space using this DIY Cable Railing guide.
| Sr. No. | Aspect | Difficulty Level | Cost per linear foot | Time Requirement |
| 1 | Overall Difficulty | Moderate to Difficult | $25 up to $75 | 1 up to 3 days per 10 linear feet |
| 2 | Post Installation | Moderate | $10 up to $20 per post | 1 up to 2 hours per post |
| 3 | Top Rail Installation | Easy | $5 up to $10 per linear foot | 1 up to 2 hours per 10 linear feet |
| 4 | Cable Installation | Moderate | $5 up to $10 per linear foot | 2 up to 3 hours per 10 linear feet |
Table of contents
DIY Cable Rail – Tools and Materials You Need
DIY Cable Rail – Tools You Need:
- Cable Cutter
- Drill
- Wrench
- Tape Measure
- Level
- Screwdriver
- Allen Wrench Set
- Tensioning Kit
- Swaging Tool
- Lag Screw Driver
- Wire Rope Cutter
- Safety Glasses
DIY Cable Rail – Materials You Need:
- Stainless Steel Cable
- Cable End Fittings
- Lag Screws
- Posts
- Wood/Steel Posts
- Cable Tensioners
- Washers
- Wood or Metal Top Rail
- Quick Connect Fittings
- Wood or Metal Bottom Rail
- Cable Protector Sleeves
- Threaded Terminal Studs
- Post Base
- Cable Spacers
- Allen Screws
DIY Cable Railing: How To Install Cable Railing – Step By Step
1. Plan DIY Cable Railing Project
A. Assessing Your Space:
Determine whether it is an external or internal installation. For the inside rooms, it is advisable to blend the stylish cable railings with your design. Secondary weathering treatments may be necessary for exterior installations. Know what you are looking for – there are minimalistic designs as well as complex ones. The choice of materials and layout will be directed by your knowledge of what you like.
B. Understanding Local Building Codes:
Before proceeding with the cable deck railing DIY project, it is necessary to know and observe local building codes. These codes guarantee safety compliance and construction standards. Know the codes concerning the railing, cable spacing and overall structural problems. Compliance with the codes mentioned above ensures safety in the installation and also future legal problems. Then, have a local authority or an expert check the building code compliance of your DIY cable railing installation.
2. Preparing Your Workspace for DIY Cable Rail
A. Clearing the Installation Area:
When starting a DIY cable deck railing project, start by decluttering the installation space. There should be no obstacles, objects or rubbish that might interfere with your work. This generates a broad and clear working area, which allows to management tools and materials with greater ease. Pay close attention to the pathway that you will be working on in order to have a clear environment for installation. Not only does it simplify the process, but it also reduces the chances of accidents or damage to your property.
B. Ensuring Safety Measures:
Make sure the ladders or platforms that you might use are stable. Before drilling or cutting, identify and mark any potential hazards like electrical wires or pipes. By focusing on safety measures, you create a safe environment for yourself as well as other people.
3. Measuring and Marking Cable Railing Installation
A. Determining Cable Spacing:
Precisely determine the cable spacing in order to make a neat and safe DIY cable railing. First, determine the total length of your railing and divide this figure by the number of cables that you intend to install. This gives you uniform spacing between each of the cables. Use tape for measurement and marking of exact cable spacing.
B. Post Locations Determination:
Visualize the perfect design of your cable railing by positioning posts through planned positions. Measure the entire length of your railing and identify what portion needs bracing. In most cases, posts should not be placed further than 4 to 6 feet apart. Mark these locations on the railing to keep yourself oriented during your installation, ensuring solid support for the overall structure.
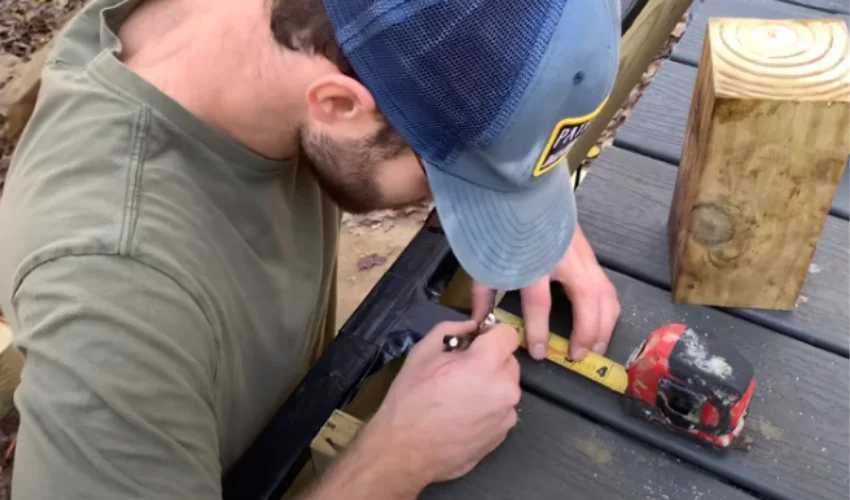
C. Locate Drilling Points:
When installing DIY cable railings, Mark drill points for quality accuracy. After defining cable spacing and post location, mark the specific locations of drill holes by using a pencil or marker on either posts or rails. Ensure consistency in the measurements and label each point.
4. Setting Up Anchor Posts
A. Drill Holes for Anchor Posts:
Begin by indicating the precise points for your support post. Bore clean and straight holes in the selected wood/metal material using a drill that has an appropriate bit diameter. Ensure that the depth is compatible with anchor specifications. In order to prevent splitting or rough edges, one should drill a pilot hole before enlarging it to the desired size. Measure twice and drill once – the accuracy at this stage determines a strong base.
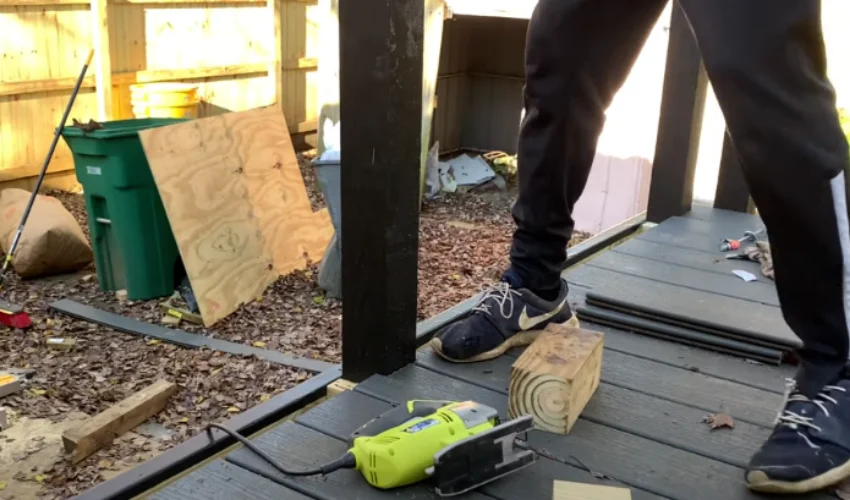
B. Securing Anchor Posts:
Place the anchors firmly into the holes, making sure that they fit nicely. For wood, use lag screws; for metal, select appropriate anchors. Tighten as firmly as possible without over-torquing. Recheck the alignment and make necessary adjustments. The strength of your anchors governs the success determination of your cable railing system, so ensure you install them firmly.
C. Ensuring Level Alignment:
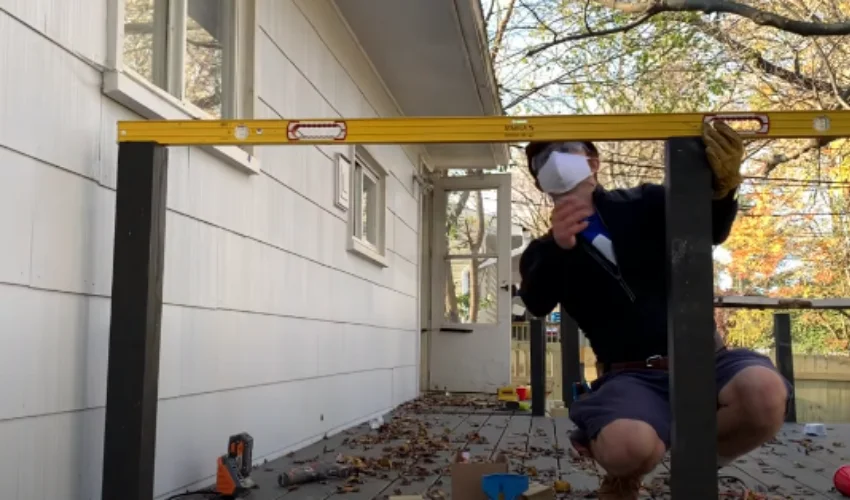
Level alignment becomes not only a matter of aesthetics but also a requirement for functionality. If you have a level tool, check once again that the anchor posts are perfectly vertical and in scale with the overall design. Align the posts where necessary, shimming as needed to ensure true and plumbed results. Remember that this basic step is crucial to the overall success of your cable railing project.
5. Installation of/Setting Up Intermediate Posts
A. Post Spacing Determination
First, determine the post spacing for your DIY cable railing. Calculate the total length of the railing and divide it by post spacing.
B. Setting Up Intermediate Posts
Following this decision on the spacing, you may now set the intermediates firmly. When necessary, drill pilot holes and install the posts with lag screws or anchorages. Make a close fit to prevent any wobbling or instability.
C. Make Sure Even Alignment and Height
In order to produce a formal appearance, ensure that each of your intermediate poles is the same height and alignment. Use the level to ensure that all the posts are uniform in terms of their heights. Ensure alignment along the railing. Adjust where necessary.
6. Installing Cable Railing and Fittings
A. Drilling Holes In Posts and Inserting Cables
After installing the intermediate and anchor posts now, it comes to drilling the holes into the anchor and intermediate posts. You can see that in the image below.
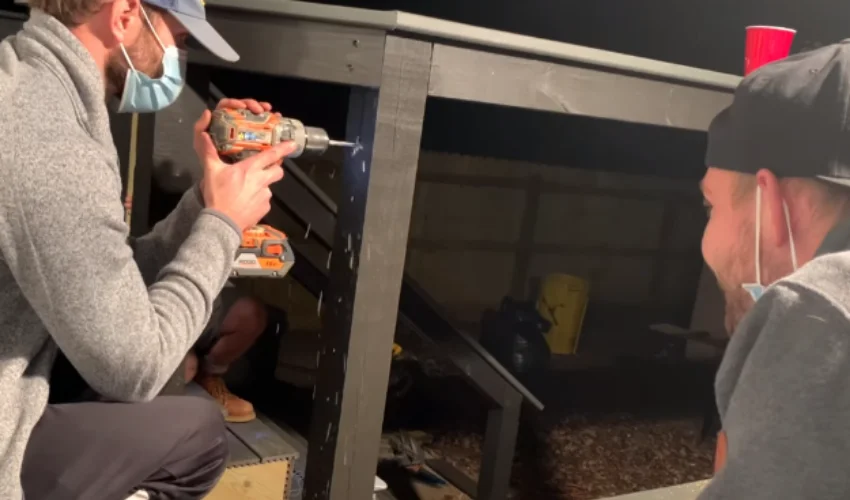
After that, you need to insert the cables. But before that, you need to place the stainless steel cover fixing within drilled holes in the posts. This will maintain the precise installation.
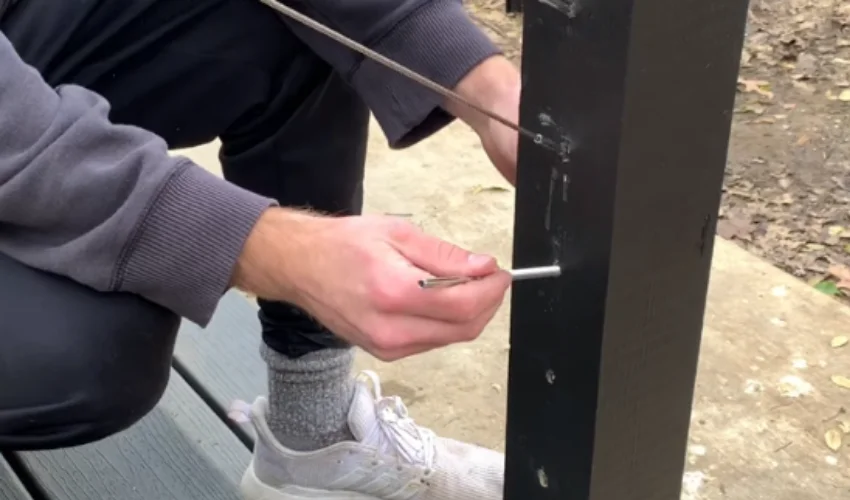
Later, insert the cable railing into the hardware. This is essential for the longevity of the posts and helps keep their structure intact.
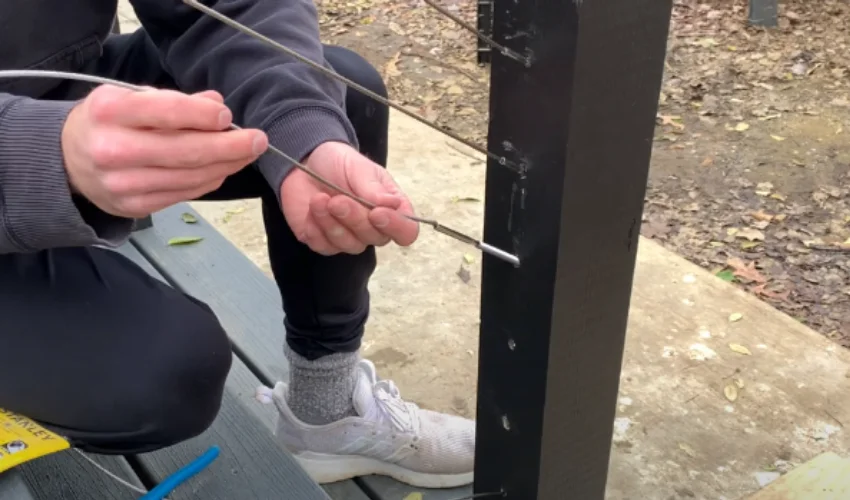
B. Cutting and Preparing Cables:
First, measure the exact lengths of your stainless steel cables using tape. Have a cable cutter to make easy and accurate cuts. When cutting, safety must be ensured by putting on protective gloves and eyeglasses. After cutting, check each cable end very carefully to confirm remains no fraying. Pass your cables through holes in the posts provided throughout to ensure equal distribution for an even appearance.
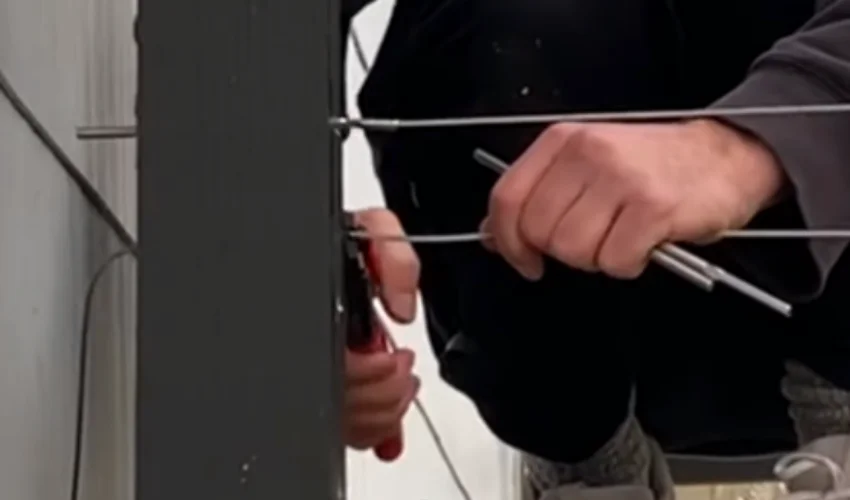
C. Installing Cable Fittings:
Armed with the cables, you can now install the cable fittings. Use a swaging tool to seal the fittings onto the cable ends. Install it under the manufacturer’s guidelines to ensure proper installation. Pay attention to the spots allocated on your posts where fittings would be installed. They are very significant in ensuring tension and stability. While you lock the fittings, keep them in perfect alignment to give consistency and smoothness throughout your entire railing system.
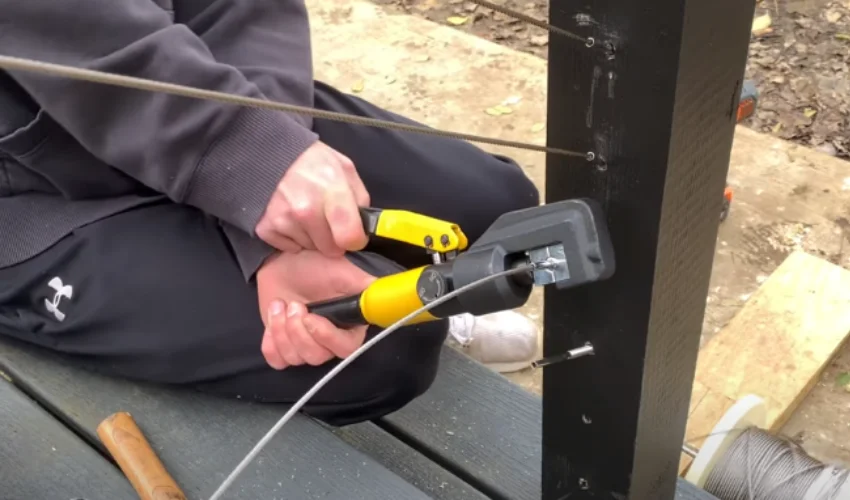
D. Ensuring Tangle-Free Installation:
Properly plan the cable layout and remove unnecessary bending of cables in order to have kink-free installation. Offer a systematic technique of threading the cables through specified holes to prevent loops. To maintain equal space between cables, use cable spacers, as this enhances the looks of the wiring. After you start the process, keep checking the tension periodically and adjust up or down to maintain a steady tension.
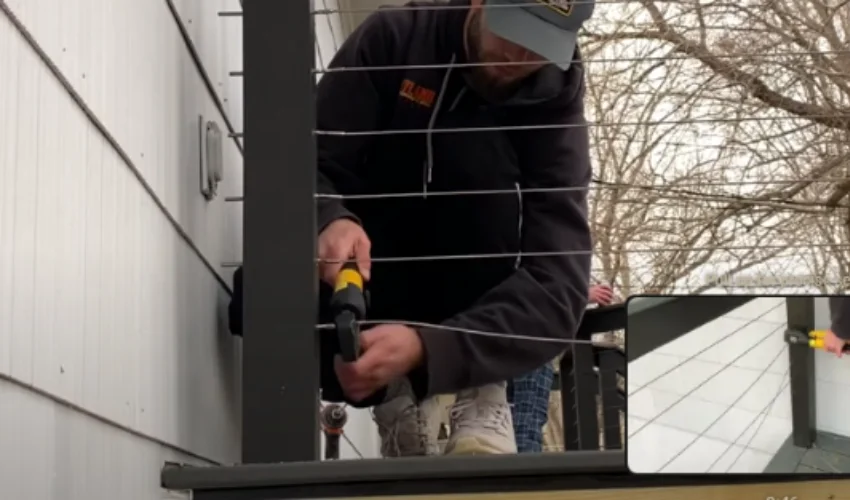
7. Tensioning the Do It Yourself Cable Railing
A. Using a Tensioning Kit:
Master the tensioning kit to create a solid DIY cable railing. First, connect the cable to an anchor point, then fasten the other end to a termination post. Using the turnbuckle or other components of the tensioning kit, adjust and fine-tune cable tension. Turn in the clockwise direction to increase tension and counter-clockwise to release the tension.
B. Achieving Optimal Tension:
In order to ensure a perfect finish, it is important to achieve the required tension. Use your tensioning kit economically until the cable feels tight, with little spring. Tension is critical; do not over-tighten, which may break the integrity of the system. Keep tension uniform throughout the railing, checking periodicity.
C. Ensuring Stability and Security:
In your DIY cable railing project, stability and security are not negotiable. Make sure that each cable is properly tensioned to maintain overall stability throughout the whole system. Check regularly for any signs of loosening or wear on all anchor points and termination posts. Check tension levels periodically to ensure a safe setup.
8. Securing End Posts
A. Properly Anchoring the Last Post:
Make sure the last post’s hole is wide and deep. Fix the post firmly and fill in the concrete around it. Use a level to ensure that the post is standing straight. Prior to the concrete setting, ensure the depth and alignment. This guarantees a secured anchorage for your cable railing system.
B. Confirming Stability and Alignment:
Once the end post has been secured, make sure it is stable by performing a light shake on it. Make sure it does not shake. Use a level to ensure both vertical and horizontal alignment.
9. Finishing Touches
A. Trimming Excess Cable:
After installing your cable railing, use the cable cutter to trim off any excess cables neatly. Measure twice and cut once for accuracy. Removing hanging wires not only improves aesthetics but also prevents possible safety hazards. Ensure that it remains tidy, crisp, and firmly affixed.
B. Applying Finishing Elements:
Finally, it is time to give the finishing touches. Disguise any visible hardware using sophisticated coverings. Select materials that go well with your overall look—pick decorative caps or trim pieces. This phase not only improves the aesthetic value but also provides additional safety features for the installed parts.
C. Final Inspection for Safety and Compliance:
Inspect your cable deck railing DIY project once more before you celebrate its success. Also, check that all cables are properly tensed, posts are firm, and connections are well-tightened. Confirm local safety regulations compliance. The final triumph is a safe and code-compliant cable railing.
DIY Cable Railing Installation Tips
Use a Cable Railing Kit:
Make your project simpler with the cable railing kit. Kits are supplied with all the constituent parts, so you do not waste time searching for necessary elements while avoiding incompatibilities between components.
Maintain Consistent Cable Tension:
Attain a professional look by keeping the cable tension of the railing even. This guarantees a tight and pleasing outcome.
Use a Cable Cutter:
A good quality cable cutter should be invested for neat and accurate cuts. The right tool guarantees easy installment and a perfect finish.
Install Cable End Caps:
Place end caps on each cable end for safety and appearance. This stage brings a professional touch to your DIY project.
Check and Double-Check Measurements:
Accuracy is key. Carefully verify all measurements to prevent mistakes and guarantee a perfect fit for your wire railing.
Use a Drilling Template:
Use a template to simplify the drilling process. This ensures the precise location of the holes for posts, hence a consistent look.
Use Qualitative Drill Bits:
Purchase top-notch drill bits for clean and efficient drilling. Good tools make the process smoother and help achieve a better outcome.
Employ Cable Lacing Needles:
The cable lacing needles streamline the threading process, allowing one to direct through the post openings readily. These tools help in making the installation more time-saving and frustration-free.
Conclusion
In the end, armed with the information from this manual, you are now equipped to tackle your DIY Cable Railing project. The solution is at your fingertips – from the equipment to the building materials, you hold the reigns. So, why wait? Take control and transform your environment with a modern twist. You’ve seen it can be done. Now it’s your turn. Plunge into the realm of Do It Yourself Cable Railing installation with ease. To find quality tools and materials, start with VEVOR’s product to fuel your project. Take this opportunity to create a beautiful and durable cable railing that reveals your sense of style as well as the level of craftsmanship.

