If you need to do some painting at home, then making your own DIY paint booth might be your best option. Sure, you could always purchase an expensive paint booth, but you might not have the budget for that.
While there are more cost-effective options out there, such as VEVOR’s Inflatable Paint Booths, you might just be the kind of person that likes making your own objects and working on your own projects.
So, today we want to teach you how to make a DIY paint booth. First, we’re going to talk about what exactly a paint booth is, and then we’ll move on to talking about what the benefits of them are. Once we get through the basics, we’ll teach you exactly how to make your own DIY paint proof in a step-by-step manner.
Table of contents
What’s a Paint Booth?
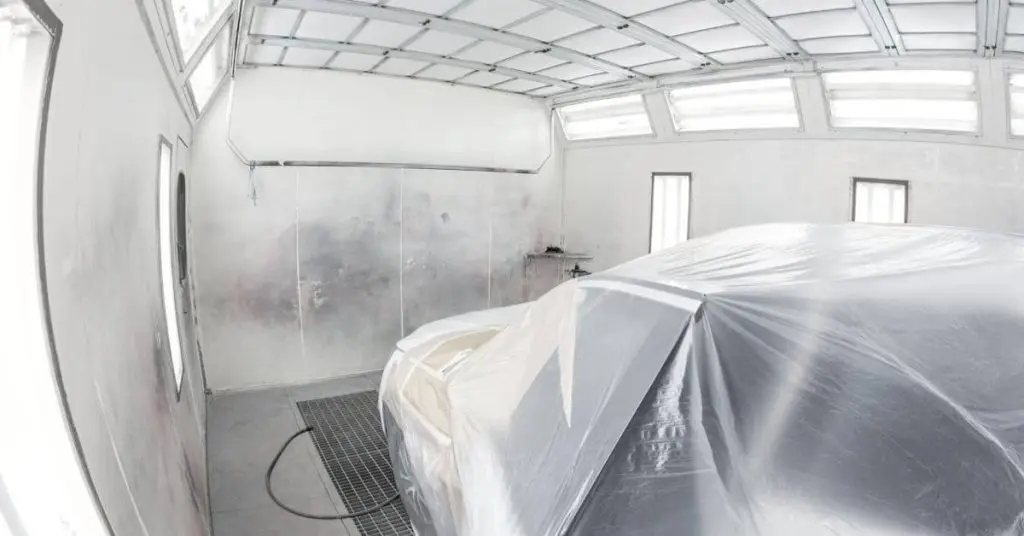
A paint booth is a special structure designed for one specific purpose, and that is for painting. These are structures that create a controlled environment designed for painting.
These can come in very many different shapes and sizes and materials, from inflatable units to more permanent structures, as well as those that you can make at home. The whole point of a paint booth is to provide you with a dust-free and clean space where you can evenly and safely apply paint to any object.
Paint booths serve two main purposes, to provide you with a clean environment that won’t contaminate a paint job. And to provide you with a safe environment that you can comfortably paint in without feeling at risk of being poisoned by the very same paints that you are using. Paint booths generally have ventilation and filtration systems for these exact purposes.
The Benefits – Why Make a DIY Paint Booth?
Yes, buying an inflatable paint booth, such as one from VEVOR is a fantastic option. That said, there are some reasons why you might want to try making your own DIY paint booth.
Material Control
If you purchase a paint booth, you have no control over what materials are used in its construction. However, if you build your own DIY painting booth at home, you can control exactly what materials go into building it. This means that you can choose the most durable, eco friendly, and cost effective materials that will provide you with the absolute best results.
Budget Friendliness
Although cost is generally not one of the first benefits that we would ever list when it comes to any product or item, the simple fact of the matter is that creating your own DIY paint booth will end up costing you much less money than buying one. Although we don’t have any exact figures for you, because it really depends on the exact materials you purchase, and the size of the paint booth you wish to build, the fact is that you will only spend a fraction of the amount when building your own compared to purchasing one.
Build to Suit Your Needs
Perhaps one of the biggest benefits of building your own DIY paint booth is that you can customize it any way you see fit. You can make it as large or small as you need, you can create chambers as you see fit, you can add all of the ventilation infiltration as you feel is necessary, and so much more. The simple fact is that being able to customize a DIY paint booth is perhaps the biggest benefit of all, because it provides you with exactly what you need.
A Great Learning Experience
If nothing else, building your own DIY paint booth allows for a great learning experience. It teaches you to work with your hands, how to purchase materials, and so much more.
How to Make Your Own DIY Paint Booth: Step-by-Step
Now that we know what the benefits of building your own DIY paintings are, let’s go through a step by step process on exactly how to do so. If you follow the tips that we’ve listed below, building your own DIY paint booth should not be very difficult at all. Let’s start by taking a look at all of the different materials you’ll need.
Required Materials
- Connectors and PVC pipes to create the frame.
- Tarps or plastic sheeting to create the enclosure.
- Furnace filters to allow for adequate filtration.
- Box fans to create ventilation.
- Zip ties or duct taped secure the plastic.
- Scissors or a utility knife to cut the plastic.
- A permanent marker for marking.
- A measuring tape for measuring.
- Lighting fixtures and extension cords for illumination, although this is optional.
Step 1: Create a Plan and Measure
The first actual step in the process of creating your own DIY paint booth is to make a plan. First, you need to account for the amount of space you have. Obviously, your DIY paint booth can’t be larger than the space you have to put it in.
With that being said, it also needs to be large enough to fit the largest of materials that you plan on painting. Therefore, your first step is to make a solid plan and figure out exactly how large your paint booth is going to be.
At this time, you’re also going to figure out the exact materials you’ll use and more. The idea is to create a rough design or blueprints including the placement of ventilation, filters, and of course, the overall dimensions.
Step 2: Build the Paint Booth Frame
The next step here is to build the frame of the paint booth. Doing so is not very hard, as you can simply use PVC pipes and connectors. To start, build the base following a rectangular shape.
You’re going to use T-connectors at the corners to allow for greater stability and to connect the 90° angles.
You’ll then use vertical pipes at the corners of the frame to produce vertical lift. These vertical beams will support the sides of the booth and the roof. You’re then going to use horizontal PVC pipes to form the frame of the roof.
Step 3: Create an Enclosure
The third step to create your own DIY paint booth is to cover the frame with your tarps and plastic sheets. First, you’ll need to measure how large your tarps or plastic sheets will need to be, and then use your cutting tools to cut them to size.
With the plastic sheets cut to size, you’ll then use your zip ties or duct tape to secure the plastic pieces to the frame. You’re going to start at the top, with the roof, and then work your way down to the bottom.
Make sure that the plastic is very tight and does not contain any gaps whatsoever. You’ll then leave one side open partially so you can create a door flap for easy access. You can then use Velcro strips or duct tape to secure the door.
Step 4: Install Filtration and Ventilation
Now we come to one of the most crucial steps, installing ventilation and filtration. First, you’re going to take your box fans and place them at one end of the booth.
This will blow air out of the booth. You’re going to cut holes in the tarps or plastic sheeting so that you can fit the box fans through the sheets. You’ll then use duct tape to affix the plastic sheets to the fans to create an airtight seal.
Once that is done, you’re then going to do the same on the other end, but instead of using box fans, you’re going to install those furnace filters. Installing furnace filters at the opposite end of the booth will allow clean air to get in. Once again, use duct tape to create a solid seal.
Step 5: Test the Booth
All that is left for you to do now is to test your DIY paint booth. Turn on the filters and the fans to ensure that the paint has proper air flow. Also inspect the whole unit to ensure that there are no gaps or areas that let air out.
Recommended For Your Project
An Alternative – VEVOR Inflatable Paint Booths
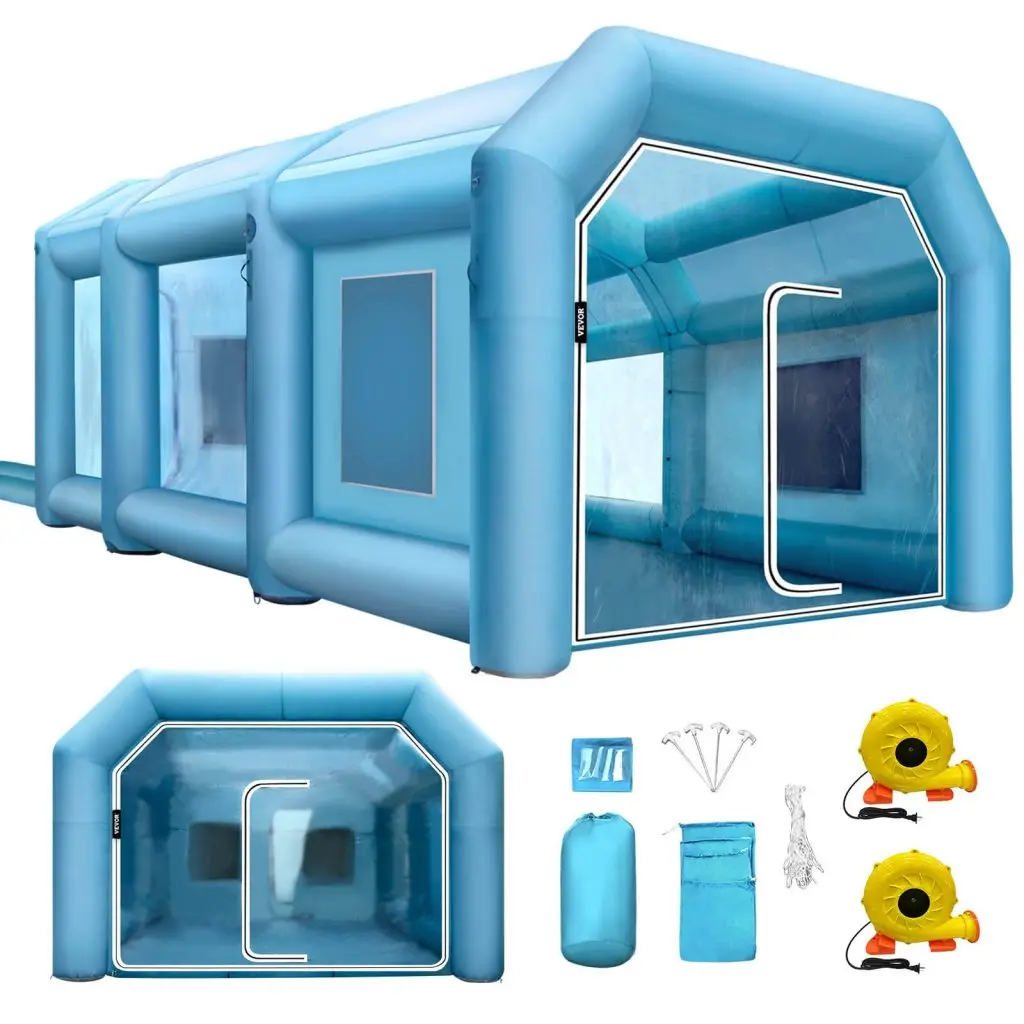
If building your own DIY paint booth just seems like too much work for you, there is another great option at your disposal, the VEVOR Inflatable Paint Booth.
This inflatable paint booth from the trusted VEVOR brand name is made out of 201 D Oxford cloth combined with PVC, therefore offering you enhanced physical durability and weather resistance. It’s totally waterproof and highly resilient towards physical damage.
It also comes in six different sizes, therefore allowing you to choose the one that works best from your needs, from small models that are great for craft work to the largest models that are ideal for painting whole vehicles. All models come complete with dual blowers, one to inflate the unit and one to provide for adequate ventilation.
Every inflatable paint booth also comes with a comprehensive filtration system to ensure optimal safety and air quality during your painting job. These are very versatile inflatable pain foods that can be used for many different purposes.
FAQ
What materials should I use to build a paint booth?
To build your own paint booth, using PVC pipes is best. PVC is relatively affordable yet also tough and durable, while being lightweight. This makes PVC ideal for making the frame for your DIY paint booth. For the coverings, using tarps and plastic sheets is best, because they provide a good barrier against contaminants and dust.
How can I make sure that my paint booth has adequate ventilation?
To ensure that your DIY paint booth has adequate air flow and ventilation, make sure to use furnace filters at the intake area positioned in the proper way, to suck in clean air. At the same time, you want to properly position the ventilation fans at the other end to expel all contaminants and dirty air.
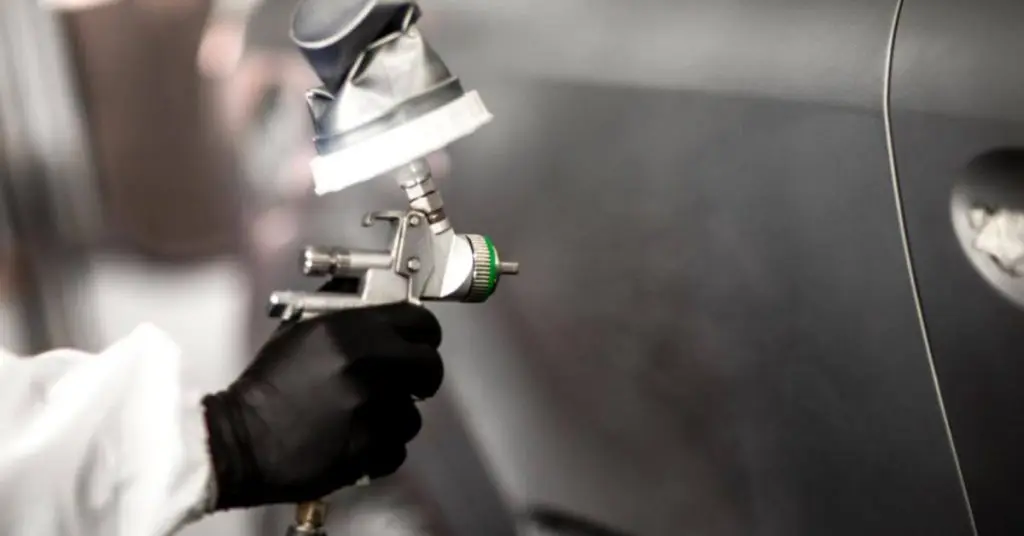
Is a DIY paint booth ideal for spray painting?
As long as your DIY paint booth has proper ventilation and filtration, and as long as you are wearing the proper respiratory protective equipment, then yes, a DIY paint booth is more than ideal for spray painting.
Can VEVOR Inflatable Paint Booths be used for professional purposes
In case you are wondering, yes, the inflatable paint booths from VEVOR are more than suitable for a wide variety of professional applications.
Making a DIY Paint Booth Conclusion
If you are the handy type, then making your own DIY paint booth is something we certainly recommend trying. It provides you with exactly what you need because you can build it to your required specifications, not to mention that it’s also cost effective. With that being said, if building your own DIY paint booth is just too much work for you, then a professional solution such as a VEVOR Inflatable Paint Booth is likely best for you.