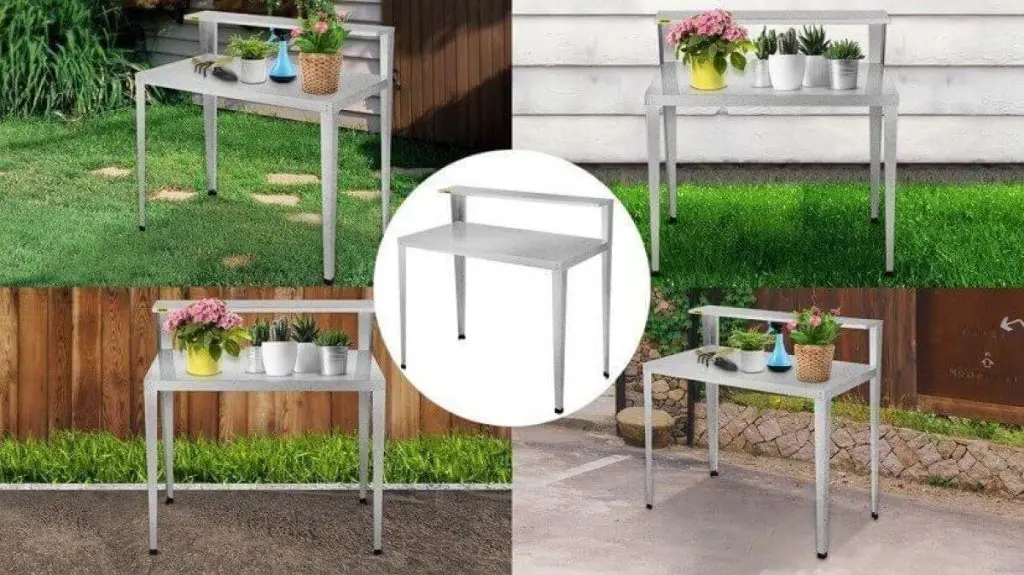
If your compound features rocky ground or plenty of trees, maintaining a garden can prove challenging. Raised garden beds provide a workable answer to these typical gardening problems.
Raised garden beds, or DIY raised planter boxes—improve your gardening practically. They keep your plant safe from pests, offer great drainage, and since you won’t have to stoop so much to take care of your plants, they also help lessen back strain. They can also be attractive and accentuate your yard or patio.
This post will go over the detailed directions on how to make a raised garden bed and the advantages of these structures.
Table of contents
What is a Raised Garden Bed?
In this section, we’ll look at the meaning of raised garden beds and the different types that you can explore.
Definition and Types of Raised Garden Beds
A raised garden bed is basically a big planting box above ground level loaded with nutrient-rich soil ideal for growing flowers, herbs, and vegetables. They range in form, scale, and material from several sources. The following are some varieties:
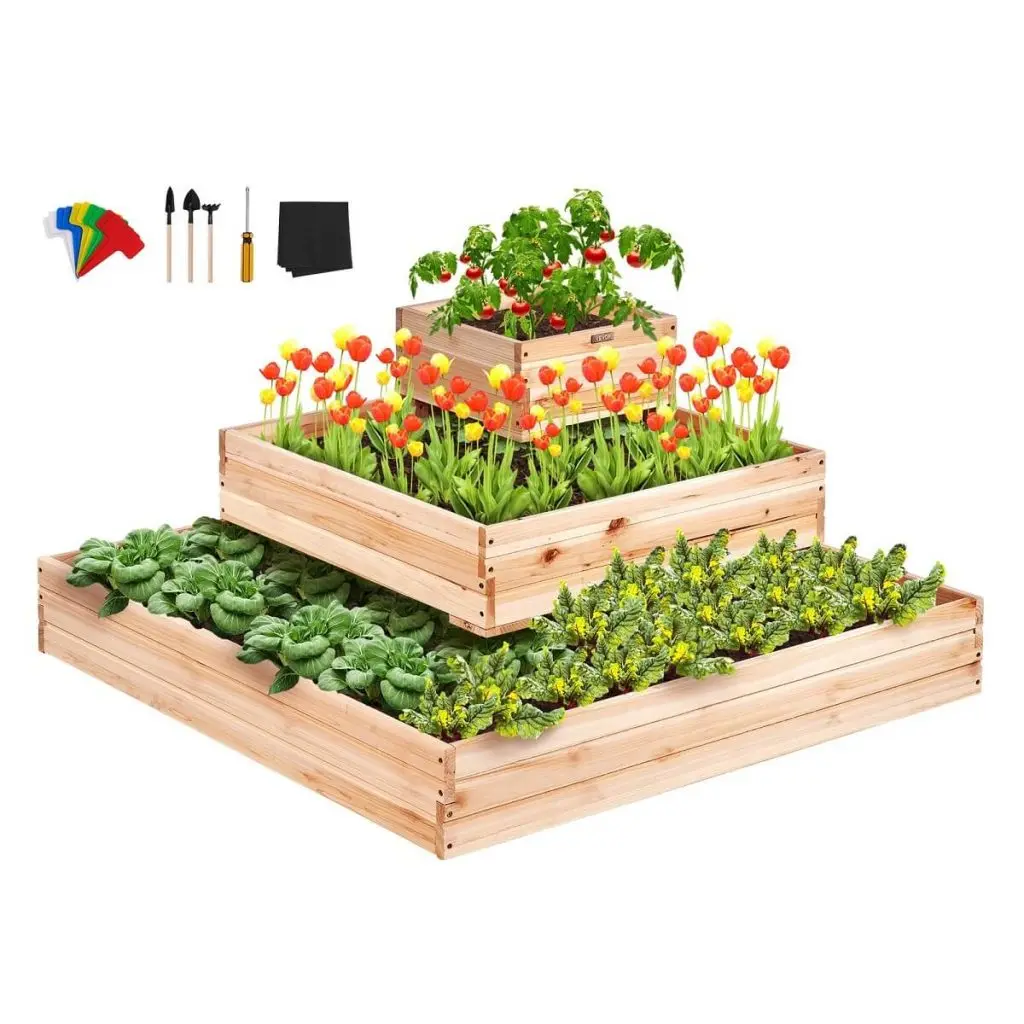
- Wooden raised garden beds: They are often used and are made from cedar, redwood, or even recycled pallets.
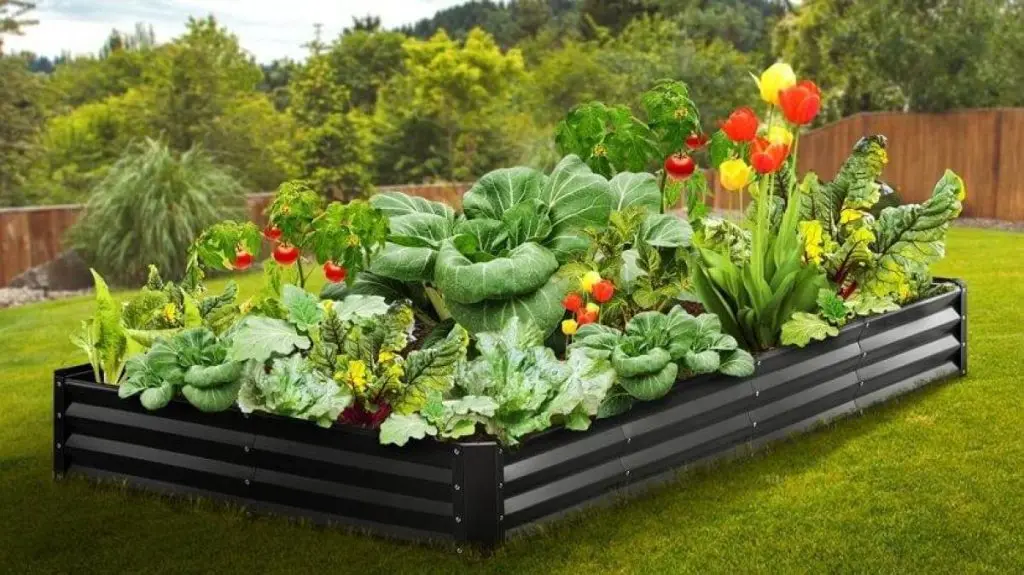
- Metal raised garden beds: They are modern and study garden beds made from galvanized steel or corrugated metal.
- Concrete raised garden beds: They are more permanent constructions that give your yard a traditional, refined look.
- DIY raised planter boxes: They are made from items you already have at home. Raised planter boxes are cheap and environmentally friendly.
Benefits of Using Raised Garden Beds
Gardeners often choose raised garden beds because of their several benefits, which include:
- They guarantee rich nutrients and freedom from weeds and pests by giving total control over the soil used.
- Raised beds help to prevent water from accumulating around plant roots, therefore lowering the danger of root rot.
- They make gardening easier for those with mobility problems since they don’t have to bend or kneel as much.
- Investing in raised garden beds Do It Yourself projects can simplify pest control and help keep animals away from your plants.
- Raised beds’ soil heats up faster in the spring and drains better in the fall, therefore enabling a longer growth season.
Planning Your DIY Raised Garden Bed
You should put in some time planning before you begin constructing your elevated planting boxes for garden. Your DIY raised planter box will look fantastic and function well if you plan it out beforehand. The following are some DIY raised beds plans that will be helpful:
Choosing the Right Location
Plants, in general, do best when given enough sunshine. That being said, you need to find a site that gets 6–8 hours of sunshine every day. To avoid water collecting around the roots of your plants, you should ensure that there is excellent drainage. Having raised garden beds already improves drainage, but putting them in a particularly well-drained spot makes all the difference.
Selecting the Best Materials
The materials you use to construct your raised garden bed will determine how long it lasts. Think of using timbers like redwood and cedar, which are naturally pest-resistant and rot-resistant. Other long-lasting metal choices include galvanized steel and corrugated metal.
Measuring and Designing
Typically, a basic raised garden bed is 8–12 feet long, 6–12 inches high, or 24 inches for plants with deeper root systems, and 4 feet wide for convenient access from both sides. Plan your arrangement around your area and planting goals, using many beds if possible. Also, leave adequate space between beds for strolling and using tools to create a functional and attractive garden.
Tools and Materials Needed for DIY Raised Garden Beds
Raised garden bed building requires some essential tools and materials to make the process smoother and more enjoyable.
Essential Tools
To build your raised garden bed, here are the necessary tools you need:
- Tape measure, for accurate measurements of your bed
- Saw, to cut wood or other materials to the desired dimensions
- Power drill, for assembling the bed, making it easier to screw pieces together securely
- Shovel or garden spade are useful for filling the bed with soil once it’s constructed
Required Materials
For materials, start with your chosen construction material. If you’re using wood, opt for rot-resistant varieties like cedar or redwood.
- Lumber: You’ll need enough lumber to create the frame, typically four pieces for the sides and possibly more for internal supports if your bed is large.
- Galvanized screws or nails: Best for assembly, as they resist rust and hold up well outdoors.
- Soil: A mix of topsoil, compost, and other organic matter to fill your bed, providing a rich growing environment for your plants.
How to Build Raised Garden Beds: Step-by-Step Instructions
To make your own raised garden bed, follow these detailed directions to guarantee it’s strong, practical, and ready for use.
Step 1: Preparing the Site
Making the site ready comes first when creating raised garden beds. Choose first a spot with good drainage and at least six to eight hours of daily sunlight. Remove any grass, rocks, or trash from the area so your bed has a neat surface. As much as you can, level the ground using a shovel to help maintain the stability of your raised garden bed and stop water from gathering.
Step 2: Assembling the Frame
It’s time to put together your raised garden bed’s frame. Starting with your selected materials—wood or metal, measure and cut them to the required sizes. Cut four pieces for the sides of a basic bed: two larger pieces for the length and two shorter pieces for the width.
Arrange the parts to create a rectangle or square, then attach them at the corners with galvanized screws or nails. If your bed is longer than eight feet, install extra supports in the middle to prevent bowing.
Step 3: Securing the Structure
Once your frame is put together, you must fasten it for dependability and strength. Check the frame’s alignment with a level; modify as needed. If you are building on uneven ground, you could have to dig trenches or place support blocks under the frame to guarantee it sits evenly.
Step 4: Filling the Bed with Soil
Select a good soil mix that offers your plants an abundance of growing conditions. To guarantee correct drainage and nutrient availability, a suitable mix usually calls for topsoil, compost, and other organic materials. To increase drainage and cut the amount of soil required, spread a layer of coarse material—such as straw or small branches—at the bottom of a deep bed.
Step 5: Planting Your Garden
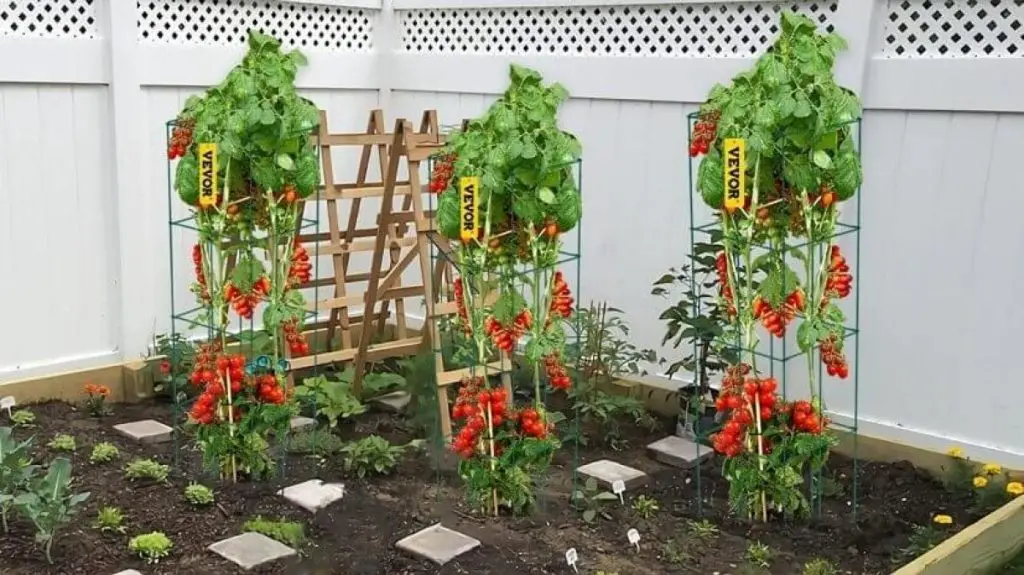
It’s time for the interesting part—planting your garden. Organize your space by grouping similar-need plants. For instance, place taller plants like tomatoes or corn in the center or back of the bed to prevent shadowing shorter plants. For every kind of plant, dig trenches or holes following planting directions. Carefully bury the seeds or plants into the ground, cover them, and water extensively.
How to Maintain Your DIY Raised Garden Bed
If you want to have a healthy and productive DIY raised garden bed, then maintenance is essential. Below are some maintenance DIY raised garden box ideas.
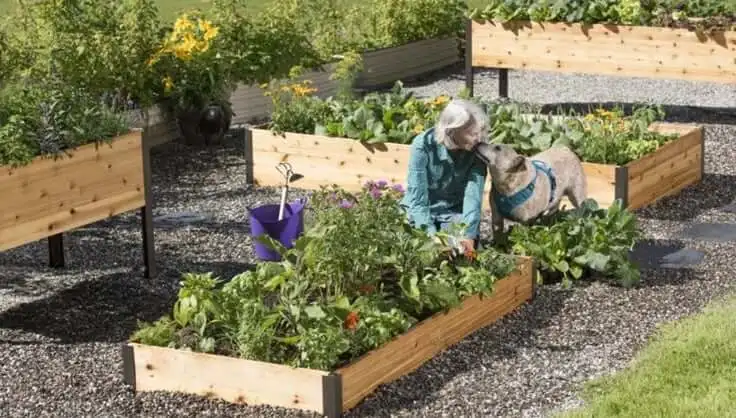
Regular Watering and Weeding
Plant health depends on regular watering, particularly in raised garden beds—which dry out faster than in-ground beds. Water your garden deeply and consistently: best times are early morning or late afternoon to reduce evaporation.
Soil Health and Fertilization
Add well-rotted manure or compost to restore nutrients and enhance soil structure every season. Organic fertilizers, such as fish emulsion, can offer extra nutrients to your plants. Aim for a balanced, nutrient-rich environment by routinely checking the soil pH and, if needed, adjusting it.
Seasonal Care and Protection
Get your raised garden bed ready for seasonal variations to maintain year-round output. Add a fresh layer of compost in spring and look over the bed for any winter repairs needed. Make sure you water consistently during the hot summer months and consider covering delicate plants with shade fabric.
Common Mistakes to Avoid
Even with the best intentions, it’s easy to make a few mistakes when building and maintaining DIY elevated garden beds. Here are some common mistakes to avoid to ensure your DIY flower bed garden thrives:
Overwatering or Underwatering
Inappropriate watering is one of the most common mistakes made in maintaining raised garden beds. While underwatering stresses plants and slows their growth, overwatering can cause root rot and other plant diseases. Water deeply and regularly to let the ground dry out slightly between waterings.
Using the Wrong Materials
Selecting incorrect materials for your raised garden bed could cause problems with durability and perhaps damage your plants. Steer clear of chemically treated wood, which can contaminate the ground and compromise plant life. Rather, choose natural, rot-resistant wood or think about utilizing galvanized metal.
Poor Placement and Planning
The location of your raised garden bed can affect plant development negatively. Make sure your garden bed has sufficient drainage and is in a location that gets maximum daily sunlight. Ineffective planning can also result in overcrowding, insufficient access, and maintenance problems. Measure and design your garden bed carefully before construction, considering elements including plant spacing, paths, and water and harvest access ease of use.
Benefits of Using VEVOR Raised Garden Beds
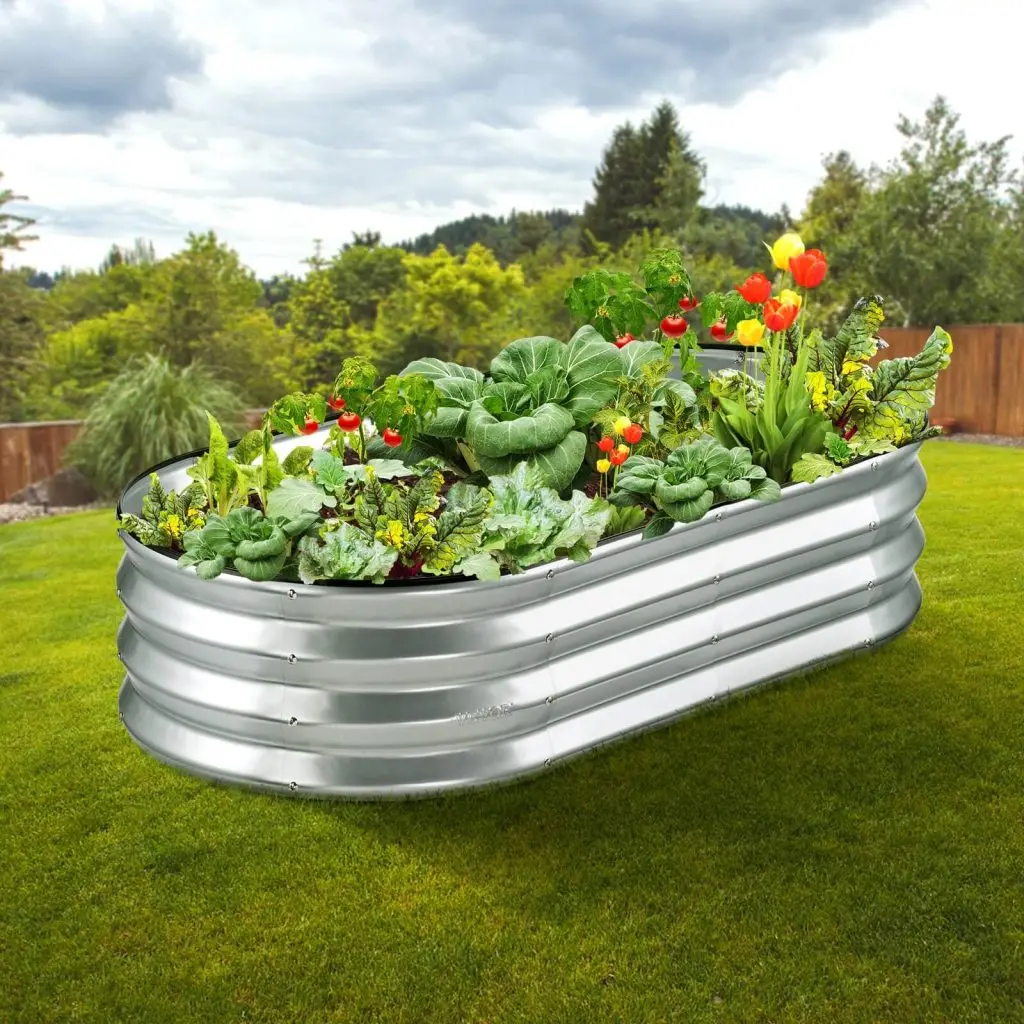
Whether for engineering, cars, or agriculture, VEVOR products are remarkably high-quality and creatively designed. As a brand that cares about general consumer needs, VEVOR has several products that can be valuable when building your garden bed. Moreover, their items are easy for do-it-yourselfers to utilize since they are designed to be user-friendly.
Among their outstanding selection of products is the VEVOR Galvanized Raised Garden Bed, an item we recommend for everyone wishing to have healthy and successful garden beds. We have listed some of the benefits of using VEVOR products for your raised garden bed below.
Recommended For Your Project
Durability and Quality
VEVOR goods have excellent quality, which guarantees multiple years of use. Their elevated planter box, for example, is made from 0.03″/0.8 mm thick double-layer galvanized metal with a rust-proof coating, therefore guaranteeing durability in harsh weather conditions.
Affordable Pricing
VEVOR products are really competitively priced. You can affordably obtain their robust products without breaking the budget. This affordability does not, in any sense, lower the quality VEVOR produces.
Wide Range of Products
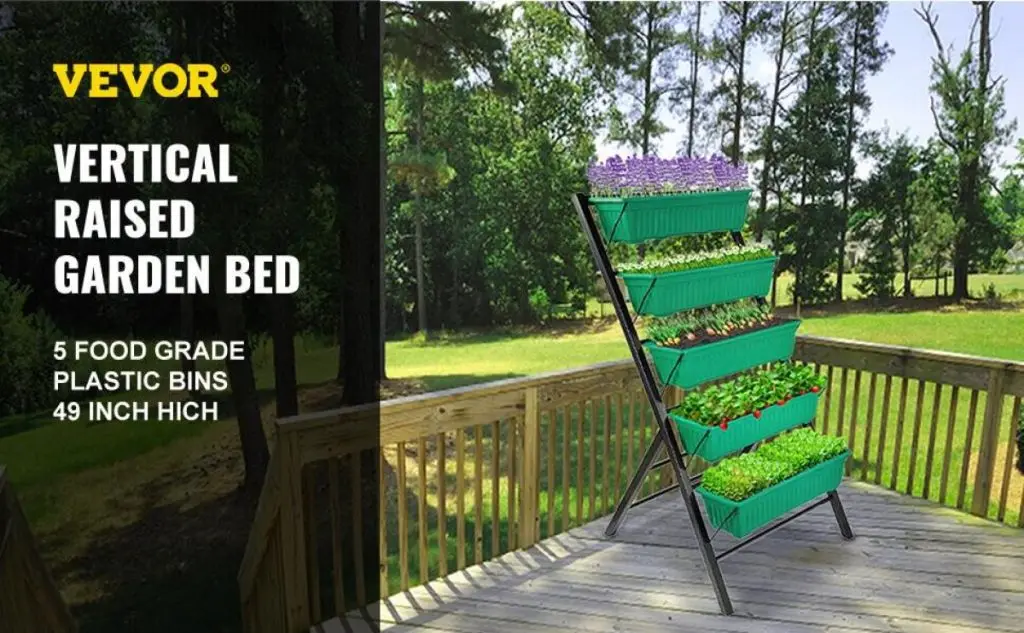
VEVOR presents a wide range of items to meet different gardening requirements and tastes. The brand offers tools, equipment, and specific gardening ideas, including the do-it-yourself raised garden bed. Apart from the Galvanized Raised Garden Bed discussed above, you may also consider investing in the VEVOR Wooden Raised Garden Bed. The wide variety available at this brand lets you choose the ideal items to fit your particular needs.
Conclusion
Creating your own do-it-yourself raised garden bed is a great way to change your gardening experience. This article covered the key actions on how to build inexpensive raised garden beds from planning to designing and maintenance. Also, keep in mind the need to pick a suitable site and excellent materials for your garden.
This is the ideal moment to begin your home-raised garden bed project. Accept the pleasure of gardening and see how your outside area comes alive. While you’re planning to start, you should check out the various VEVOR garden products and invest in them as they will make the whole process seamless and effective, and at affordable prices. You should visit the VEVOR website to explore these items and other products for your everyday needs.

