So, you’re preparing to build a DIY raised garden bed? Great! Also called planter boxes, raised garden beds can make excellent spaces to grow food in the yard. Besides, they’d always make a healthy, functional, and efficient addition to your home.
While garden bed kits can provide an easier way to build a raised garden bed, most garden bed kits use too thin wood, which negatively impacts their durability. However, it’s easy to feel overwhelmed about making a DIY-raised garden bed. That’s why we’ve curated this step-by-step guide on how to build a planter box.
You’ll also find helpful recommendations on excellent raised garden bed products from VEVOR, a leading manufacturer of household supplies globally. You can count on VEVOR’s range of household supplies, including its DIY gardening boxes for durability, functionality, and affordability in one piece.
Table of contents
What is a Raised Garden Bed?
If you don’t have prior experience creating a planter box, chances are high that you’d love to try your hands on the project. We explore the meaning and importance of raised garden beds DIYers build.
Definition and Benefits
A raised bed is a freestanding bed constructed above the soil’s natural grade/terrain. Contrary to planting directly into the soil right from the ground, a raised bed is raised above the existing soil level. A planter box is usually enclosed within a structure to create a planting bed.
In some climes with native sandy soil or rampant gophers, it’s virtually impossible to grow food right in the ground. However, raised garden beds give you better control over the soil condition, quality, and texture. Raised beds can also host the ideal soil for your plants. They’re excellent for blocking off burrowing pests and weeds, thanks to the protection of hardware clothes and landscape fabrics.
Meanwhile, mastering how to create a flower bed and getting one over in the yard offers your body and back excellent ergonomics and easier gardening, when compared to in-ground planting. Finally, DIY flower beds look great, and help to provide dimension, interest, and defined aesthetic spaces across your garden or yard.
Different Types of Raised Garden Beds
There are generally three types of raised garden bed materials you’d find at your walk-in mart or an online store. They include metal, wood (typically cedar), and plastic. You want to avoid using treated wood for your raised garden beds because they contain anti-rot chemicals, which could adversely impact your plants.
Planning Your DIY Raised Garden Bed
The first step in mastering how to build a garden bed box involves planning your DIY project. You want to plan the perfect location for your planter box while you choose the right materials for it. Lastly, you want to prepare the dimensions and customization options for your project and create a working budget for the task.
Choosing the Right Location
Most veggies love as much sunshine as possible. You want to select a location with maximum exposure to sunshine all day, and if possible, all year long. Meanwhile, you want to install your raised garden bed in a highly accessible location rid of full shade to allow your veggies to grow maximally.
Selecting Materials
Wood is the most popular material option since it’s affordable, easy to work with, and readily blends with the natural environment. Meanwhile, it’s best to use untreated wood (e.g. cedar, redwood, or hemlock that won’t decay quickly).
Metals, on the other hand, are more costly. However, they’re more durable and last longer, compared to wood. You may also want to note that the degree of relative affordability varies from one location to another.
Deciding on Size and Shape
There are various options of sizes and shapes possible when building a DIY raised garden bed. That said, a modest raised garden bed will court around 4′ wide x 8′ long x 2′ deep.
Note that different plants require varying soil depths to grow maximally. Others won’t successfully thrive when planted alongside certain species. Kindly understand the soil and planting requirements of your intended vegetation when deciding the required dimension(s) of your garden bed.
Budgeting for Your Project
Meanwhile, note that the cost of your DIY project would generally be different based on your location. However, a DIY raised garden bed could cost anywhere from $25 to $50 per square foot of garden space for wooden raised beds. Stone, metal (steel), and brick are more expensive.
Suppose you’re considering minimizing cost. You may want to use wood to reduce your budget. Otherwise, you could convert materials already available in the home for your DIY project.
Tools and Materials Needed
The next phase in mastering how to build a raised garden bed in this review details the tools and materials necessary for your intended project. You may already have some of the following tools or equipment in your toolbox. Otherwise, you can reach out and purchase these tools from your local hardware stores or online stores.
List of Tools
That said, here are some of the top tools and materials you’d need to create your DIY raised planter box:
- Untreated, durable, long-lasting wood, preferably cedar.
- Framing angles
- Hex screws
- Washers
- Nuts
- Shovel
- Power drill
- Drill bits
- Tape measure
- Pencil
- Bolt tightener or wrench
- Framing square
- Miter saw or circular saw
- Power drill
- Measuring tape
Meanwhile, you may also include optional tools/equipment like:
- Mending braces (galvanized) to stabilize the longest sides
- Non-toxic food-grade wood sealer for improved longevity
List of Materials
You’ll also require a range of materials to successfully create an easily raised garden bed. Here are some materials to get ahead of your DIY raised garden bed project.
- Lumber
- Soil
- Compost
- Weed-blocking landscape fabric for under-the-beds
- Hardware cloth to gopher-proof
Next, we explore how to create a planter box using all the tools and materials above.
How to Build a DIY Raised Garden Bed
The next phase of our step-by-step guide on how to build a raised planter bed involves rolling up the sleeve and getting to work. Here’s a straightforward 5-step guide on how you can complete your DIY raised garden project anytime soon.
Step 1: Preparing the Site
Do you have a small space or obstacles you could walk around with partial or no shade? You possibly already have a cool flower bed location.
Some veggies are more shade-tolerant than others so these could thrive on partially shaded flower beds. Consider putting up some afternoon shade if you live in regions experiencing extremely hot summers.
You want to clear the area, ridding it of any obstacles that could prevent the healthy growth of the plants in your garden. Once you’ve got the right site, mark the layout ahead of the DIY project so you’re certain of the right place to site the frame.
Step 2: Assembling the Frame
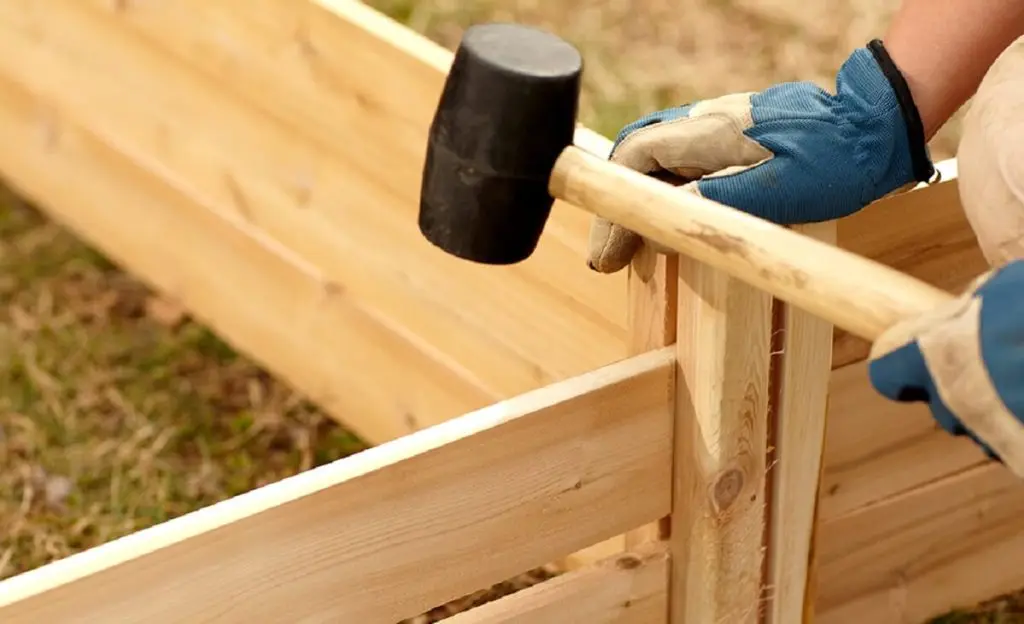
Once you have all the wood cut to size and holes drilled, you’re ready to assemble the bed frame. However, you want to assemble the shorter ends of the raised garden bed first. Next, you can stand up the shorter ends on their sides before adjoining them to the longer ends. That way, you won’t have to stand 6 feet or more to adjoin shorter sides to longer sides.
Step 3: Securing the Bed
Next, it’s time to secure the bed using anchors and adding supports. Consider positioning 2’x4′ corner stakes in each corner and down into the ground. Screw the garden box into these corner posts. Once you’ve done that, you’re ready to take out the temporal supporting blocks from beneath the bed frame.
Step 4: Adding Soil and Compost
The soil is the most important element of your garden bed. The more organic matter in the soil, the better. Meanwhile, you also need soil with efficient aeration for the healthier growth of microbes. Here are some helpful soil requirements for your garden bed.
Another 40% portion of your soil should contain the topsoil. You can readily purchase bagged topsoil for raised beds at lumber stores, garden centers, or a local farm supply. The filling should create space for 20% aeration for drainage.
Ensure that your compost is packed with 40% nutrients. You may compost at home or purchase bags from a local garden store. Avoid using fresh manure; instead, choose aged manure.
Step 5: Planting Your Garden
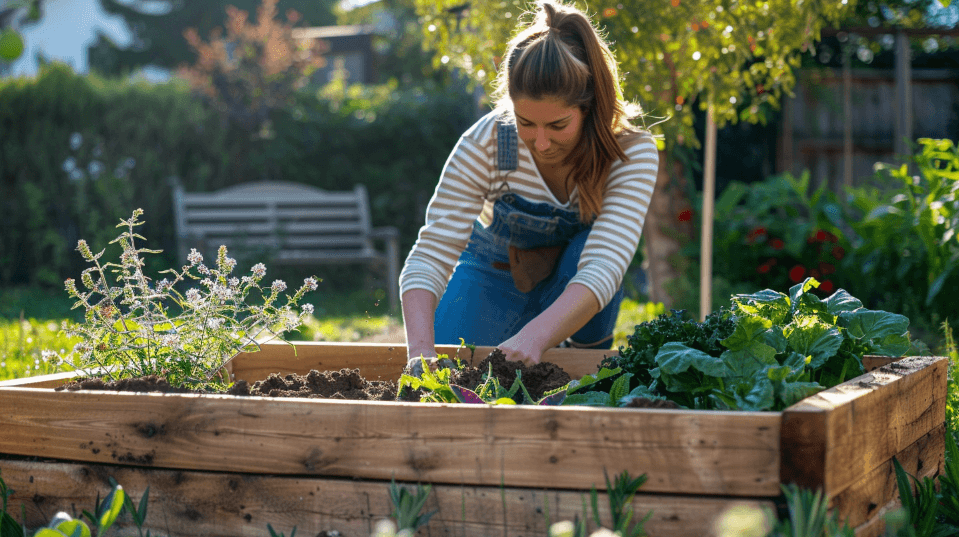
To plant your raised garden, simply scrape the top inch of garden soil off to the side of your raised bed. Sprinkle your seeds in the planting area and then gently toss the soil back over them. Excellent seedling options include leafy greens, basil, carrots, radishes, and other small-seeded plants.
Tips for Maintaining Your Raised Garden Bed
Once you’ve put up your raised garden bed and planted your flowers you’re ready to apply some helpful maintenance tips in this guide. This section explores some helpful tips for maintaining your raised garden bed.
Regular Watering and Weeding
Water only when the soil is dry as soil in raised beds tends to drain faster than in-ground soils. Check the soil often by sticking a finger into it. It’s time to water once the top inch is dry.
Seasonal Care
During the warmer months, you want to choose lightweight and breathable materials like cotton or linen. These materials will help prevent excessive sweating in the garden bed when night falls. Meanwhile, you could consider using flannel or microfiber bed sheets to provide additional warmth and insulation during the cooler months.
Common Problems and Solutions
Also, supervise your raised garden bed daily for signs of pests and diseases. Daily visits will also help you quickly catch your harvest (of veggies, herbs, and fruits) at the peak of ripeness.
Recommended For Your Project
VEVOR Raised Garden Bed: Alternative Choice
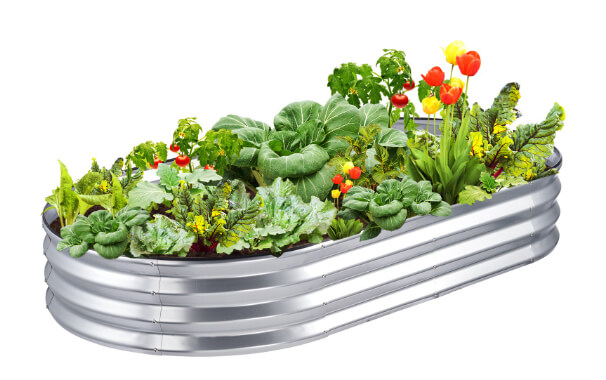
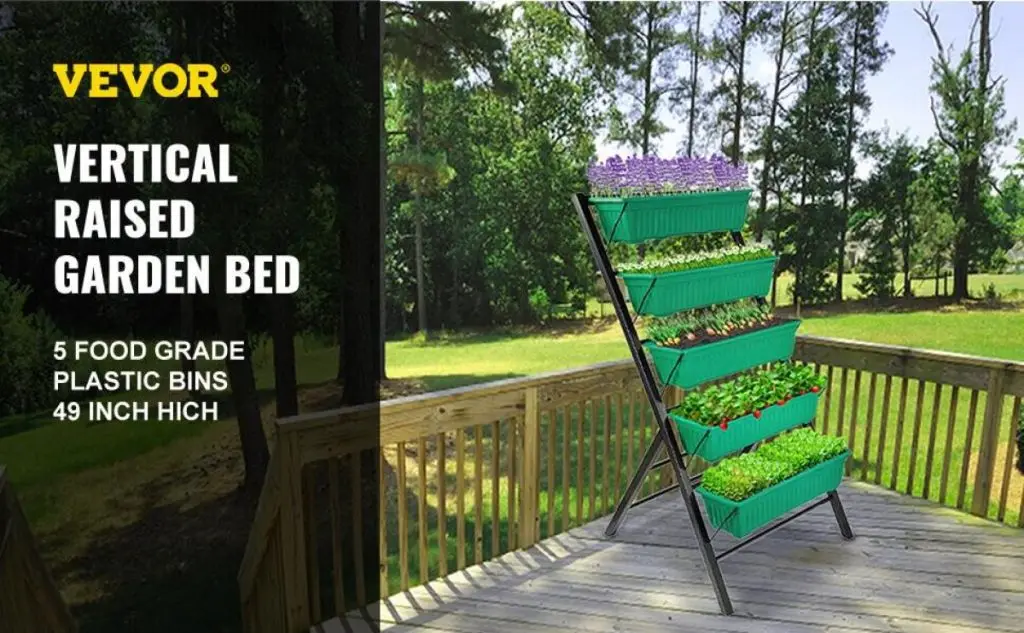
VEVOR’s raised garden beds are your best alternative to a DIY raised garden bed. In case you want to go for the option of buying rather than building one, we recommend that you buy a raised garden bed from VEVOR. Here are some top features and benefits of a VEVOR planter box.
- Secure Experience. Avoid enduring hand injuries while gardening by leveraging VEVOR’s garden bed products. They’re
- Their planter boxes are all folded and feature rubber strips, preventing injuries and fatigue. Each item also comes with gloves for total security during installation and gardening.
- Unique Possible Bed Configurations. VEVOR’s garden bed products allow you to flex your creativity by choosing among 5 possible shapes after assemblage.
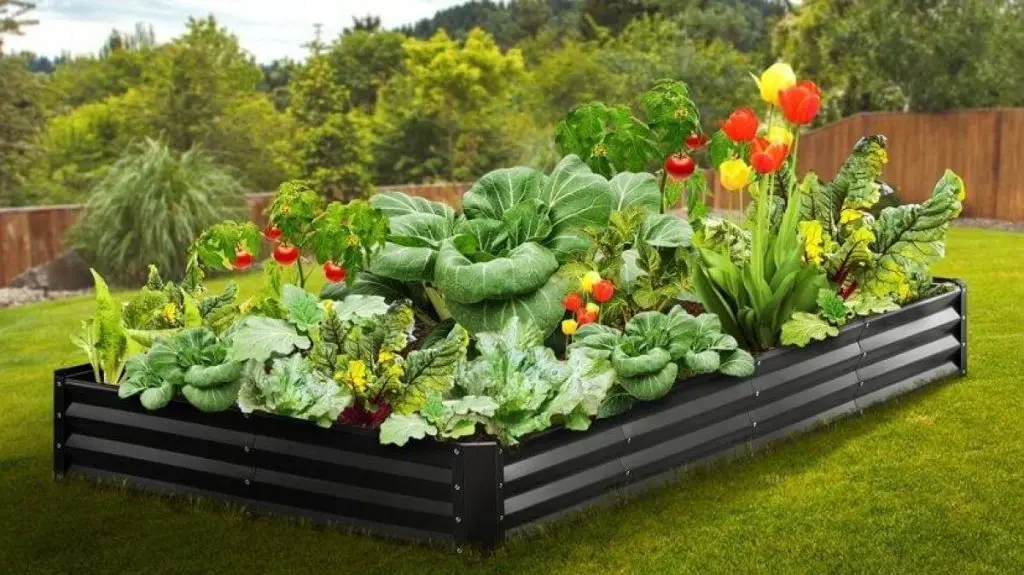
- Top-quality structure. With its unbeatable 0.03″/0.8 mm thick double-layer galvanized metal and rust-proof coating, VEVOR’s raised garden bed gives you the chance to create a premium and stable construction. You also get to create a top-quality structure that gets so sturdy and can withstand the harshest conditions while you care for your garden.
- Excellent drainage. VEVOR’s raised garden bed boasts of an efficient open bottom that ensures excellent drainage to shield your plants’ roots. That means you don’t have to worry about water accumulating while you enjoy growing veggies, fruits, herbs, succulents, and more in your yard.
- Seamless assemblage. VEVOR’s raised garden beds come with complete screws and pre-drilled holes for fast and seamless installation. It takes 5 minutes to finish the assembly and requires no other tools so even novices can easily complete a DIY raised garden bed project.
Conclusion
Raised garden beds are highly efficient means of growing veggies and other plants in your yard. They can also provide an aesthetic boost to your outer space.
The first step to setting up your raised garden bed involves preparing the site. Afterward, assemble the frame and secure your new DIY raised garden bed using anchors and other relevant supports. Lastly, add soil and compost before seeding to kick off your DIY garden bed.
Meanwhile, your DIY raised garden bed projects can be easier and more effective when you employ high-brow raised garden bed products from VEVOR. Check out VEVOR’s collection of top-notch garden bed products and make a rewarding choice of supplies for your next DIY planter box project you’ll be proud of.

