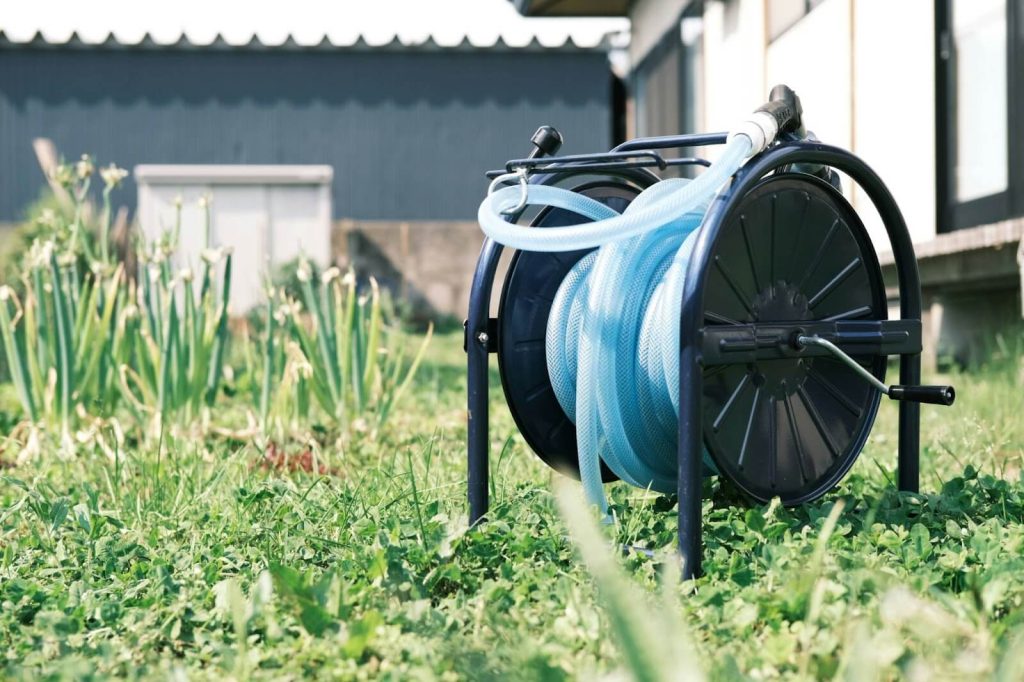
Hose reels are large, clunky pieces of plastic boxes with a random design that teaches hose knotting. Even when there are many types and brands of garden hose reels that you can find in the market, you do not need to worry much as you can learn how to make a DIY garden hose reel by using a bucket.
It is generally cheaper to build your own hose reel since you only need some materials that you can obtain either at your local stores or the back of your garage. This makes the hose reel easily adjustable in the size, shape, and functionality of the hose reel. This guide will provide you with DIY hose reel ideas to make a sturdy garden hose reel.
Table of contents
Why Choose a DIY Hose Reel?
Choosing a DIY hose reel offers several advantages. Firstly, it is cost-effective. If you have constructed your own do it yourself hose reel then you will end up saving some money as opposed to purchasing a fully made one. This means that you don’t have to spend additional money to acquire the raw materials that you will need because you can recycle what you have. This makes them economical to run.
At the same time, in a DIY project, one enjoys autonomy on the material to be used in a given project, including the quality of the material that will be used in constructing a given project. So, you have the ability to achieve long-lasting results.
The design, color, and functionality you want can be selected by you so that the chosen one suits your needs. For example, you can screw on a handle to allow easy rotation of the extension cord or attach a clip to allow hanging the extension cord on a wall.
Making your own hose reel is also environmentally friendly. It contributes to waste reduction by providing a new definition to used or old items. This is in line with the efforts of the nation to encourage the preservation of natural resources and the protection of the environment. You are going to reduce the amount of pressure on existing resources since you will not be demanding new ones.
Materials Needed for Your DIY Hose Reel
Before you start your project, you need to gather all the supplies from your storeroom. So, make a checklist of the things you will need to create your DIY water hose reel.
List of Basic Materials
- Plastic or Metal Bucket: The main component to hold the hose.
- Hose Connector: To attach the hose securely to the reel.
- Rotating Spool or Drum: Optional, to help wind the hose smoothly.
- Mounting Brackets: If you plan to mount the bucket on a wall or stand.
- Bolts and Screws: For securing various components together.
- Handle: For easy winding of the hose.
- Paint or Waterproof Sealant: To protect the bucket and other materials from the elements.
Optional Upgrades for Enhanced Functionality
If you want to customize your homemade hose reel, you can add these parts:
- Crank Handle: Makes winding the hose easier.
- Wheels: For a portable hose reel.
- Hose Guide: Ensures the hose winds evenly around the bucket.
- Additional Storage Hooks: For holding hose accessories like nozzles and sprinklers.
- Anti-Tip Base: To provide stability if the bucket is free-standing.
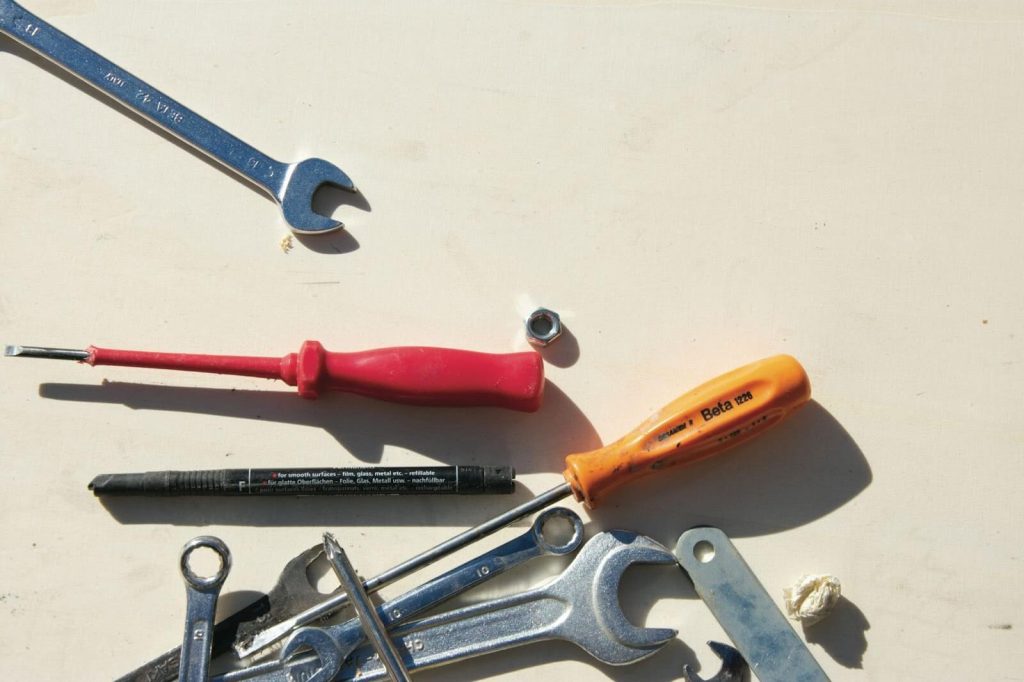
Tools Required
Here is a list of the tools you will need for your garden hose reel DIY project.
Basic Tools for Construction
- Drill
- Screwdriver
- Wrench
- Measuring Tape
- Marker or Pencil
Advanced Tools for Custom Features
If you are keen on adding custom features, you’ll need these additional tools:
- Jigsaw or Hole Saw
- File or Sandpaper
- Hot Glue Gun
- Pliers
- Level
Step-by-Step Guide to Building a DIY Hose Reel
Wondering how to make a hose reel at home? We have a detailed guide for you. Follow these simple steps and you’ll have your hose reel ready to water your plants.
Step 1: Preparing the Materials and Tools
The materials and tools required to build a home are crucial and should be sourced out. From the above guidelines, we have discussed the tools and materials that will be required in the construction of your homemade water hose reel. So, collect all the things you need and check them off your list once you have them all.
Ensure that you continue to organize all the tools in such a way that they are all easily accessible. Next, identify and, if possible, draw lines where the bucket will be drilled for its hose connector or the place for its handle.
Step 2: Assembling the Frame
Start by assembling the frame using the bucket. Drill a hole near the bottom of the bucket for the hose connector. Then, attach the hose connector securely. Next, if you’re using mounting brackets, drill holes at the back of the bucket and attach the brackets. Ensure that the bucket is stable if it will be mounted.
If you are adding a rotating spool inside the bucket, attach it now to make sure it spins freely. Secure all parts with bolts and screws and check for stability. This will form the basic structure of your homemade garden hose reel.
Step 3: Adding the Reel Mechanism
Now, add the reel mechanism. Place the handle on the side of the bucket and check for free movement around the spool or drums. If you wish to use the crank handle then it should be fixed sideways on the bucket so that you can pull it to your convenience.
It is always advisable to carry out some experiments in order to ensure it functions well. This part needs to be done carefully, otherwise your garden hose reel homemade project will likely fail.
Step 4: Attaching the Hose
Attach the garden hose to the reel. Feed the hose through the hole with the hose connector, ensuring it is secure and leak-free. Wind the hose around the spool or inside the bucket, depending on your design. If using a hose guide, attach it now to ensure the hose winds evenly.
Make sure the hose can be easily pulled out and wound back in without tangling. This step guarantees that your hose reel functions correctly and keeps the hose organized and easily accessible.
Step 5: Finishing Touches and Customizations
Finally, add finishing touches and customizations. Paint or apply a waterproof sealant to the bucket to protect it from the elements and add a personal touch. Attach any optional upgrades like wheels for portability, additional storage hooks for hose accessories, or an anti-tip base for stability.
Check all connections and attachments to ensure they are secure. Test the hose reel by winding and unwinding the hose a few times.
Expert Tips for a Successful DIY Project
It takes time to master the art of DIY, or what is usually referred to as the do-it-yourself culture. Any do-it-yourself venture must embrace some fundamental tips and get the simplest things done right.
Choosing the Right Materials
If you do not use the right tools and materials, the job becomes difficult. There are important factors that have to be put into consideration while selecting the best hose reel for use. You need to use good quality materials to ensure that your hose reel is long-lasting.
Ensuring Stability and Durability
Again, the key here is to choose the right materials. You can choose a plastic bucket for your DIY garden hose reel because plastic is resistant to corrosion. However, plastic is not as sturdy as metal. Alternatively, metal is a strong option but it is not corrosion-resistant.
If you are using plastic buckets, make sure they are thick and of high quality. If you want to use a metal bucket, make sure you’re using a sealant at the end to protect it from the elements.
Common Mistakes to Avoid
For a successful DIY hose reel, you need to plan thoroughly and use quality materials. You must test the reel mechanism during assembly to avoid issues like tangling. Consider ergonomics for comfortable use, positioning handles at a convenient height. Don’t skip safety measures: wear gloves and goggles, use tools correctly, and keep your work area organized. These tips help avoid common mistakes, resulting in a durable, efficient, and user-friendly hose reel.
How to Maintain Your Garden Hose Reel DIY
So now you have your DIY garden hose reel installed, everything that is left to do is to ensure you maintain the unit for longer use. Adopt the following tips to have the best experience with your hose reel.
Regular Maintenance Tips
You need to maintain your DIY garden hose reel to make sure that it lasts for a long period of time. Establish a routine of checking your hose reel at least twice in 6 months. Examine for leaks, damage, or cracks. Adjust any loose bolts or screws.
The hose should come out of the reel smoothly. To prevent future problems that are more serious, resolve any difficulties as soon as they come up.
Troubleshooting Common Issues
It should not be a surprise that leaks are among the most common problems gardening hoses suffer from. Leaky areas should be repaired in good time to avoid blowing the water bill out of proportion and also reduce the wastage of water. It also makes your garden hose have a longer life expectancy. You can now relax, knowing deep down that you are not at the end of the world if you do find a leak. You can fix it by replacing the worn-out parts.
Every garden hose, no matter how good, occasionally becomes clogged. It occurs when minerals or debris, especially in hard water areas, accumulate inside the hose. As a result, the hose gets smaller.
So, how can a clog be found and cleared? You must first identify the bottleneck. Remove the hose from the faucet, take off the nozzle, and inspect through the hose to accomplish this. If you find that it is too long to look through completely, you can insert a plumber’s snake. Either of these will happen:
- Remove the obstruction, resolving the issue for you.
- Become stuck, so you are aware of a significant obstruction, or
- Proceed smoothly, meaning a clog is not the problem.
Seasonal Care Tips
We do everything within our power to ensure that the hose is not exposed to unfavorable conditions, but there is always this risk that they might get affected by extreme temperatures.
During the summer season, get into the habit of using the hose reel and ensure you wrap the hose appropriately so that you do not have a kinked or tangled hose. You should store the hose reel under shade to avoid the reel getting brittle from the hot sun.
During the winter season, it is befitting to disengage the hose reel and store it where it will not be subjected to extremely low temperatures. High heat can damage or crack the hose. Ensure you remove any water that remains in the hose to prevent the buildup of dirt.
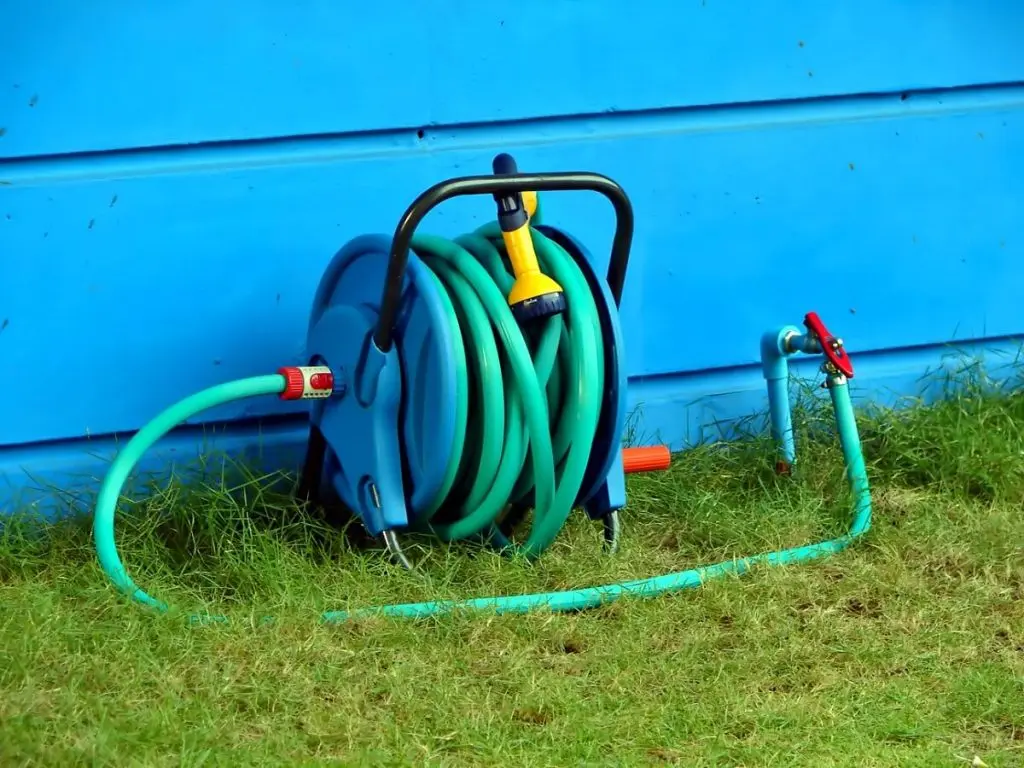
Discover the Benefits of VEVOR’s Garden Hose Reel

Although there are cheap DIY garden hose reel ideas out on the market, these reels are not as strong and long-lasting as the pre-made ones. If you do not want to spend a lot and still get a good quality garden hose reel, you can use the VEVOR Retractable Hose Reel.
Why Choose VEVOR’s Garden Hose Reel?
There are several reasons why you should select this garden hose reel from VEVOR. Firstly, VEVOR is well recognized for its products that are quality-made and long-lasting. Their hose reels are made from a combination of high-quality materials and well-thought-out designs for the best performance in harsh conditions and heavy usage.
Garden hose reels from VEVOR showcase the convenience of customers as their main design principle. They come with controlled features like handles that turn easily and mechanisms that will give a smooth pullback.
Key Features and Advantages
Here are some of the key features and advantages of using VEVOR’s retractable hose reels.
- Auto rewind system
- Wall-mount & 180° coverage
- Stays locked in position while watering
- Reliability and durability for years
- Multi-purpose applications
Recommended For Your Project
Customer Reviews and Testimonials
Don’t just take our word for it. Look at customer reviews and testimonials for the product.
“I bought the VEVOR retractable garden hose reel last month and I am so happy with it! It came in a big box and was easy to set up, even for someone like me who isn’t very good with tools. The best part is the retracting mechanism, it works smoothly and pulls the hose back neatly without any tangles. Definitely recommend it!”
-Sarah
“The VEVOR hose reel is a must-buy! I’ve been using it for a few weeks now and it’s been fantastic. The quality is top-notch, you can tell they used good materials. The retracting feature is super handy, saves me so much time and hassle compared to my old reel. Great product!”
-Alex
“I was skeptical at first but decided to give VEVOR a try with their retractable hose reel. I’m quite surprised with the results! It’s sturdy and feels like it will last a long time. The hose rewinds smoothly every time. It’s made watering my garden much easier. Overall, I’m happy with my purchase and would recommend it to others.”
-Jonah
Conclusion
Trying a DIY project can be a rewarding experience, especially when you make something that successfully works. Do try out this DIY garden hose reel. We’re sure it won’t take up a lot of your time. If you don’t have the time to put together a DIY hose reel, you can try the VEVOR Garden Hose Reel. It will give you the feel of a DIY project since it has easy installation steps and the convenience of using a ready-made product.