Have you ever looked at a professionally done room and wondered how the walls have been made to look so perfect? It’s not by any chance that one gets that perfect finish on the drywall, it requires the right sanding. Sanding is an important process that will either make or mar the appearance of the final result of your drywall project. If you skip sanding, you will be left with an uneven surface, some humps, and some lines that will be very conspicuous once you start painting.
With the right equipment and methods, many of which are listed in this article, you can attain that perfect finish that makes your walls look like a professional finisher painted them. In this article, we will provide you with professional advice, the necessary equipment, and the detailed process of how to sand your drywalls to the best.
Are you ready to take your home improvement project to the next level and build walls that are masterpieces? Let’s look at some drywall sanding tips.
Table of contents
The Importance of Proper Drywall Sanding
Achieving a Smooth Surface
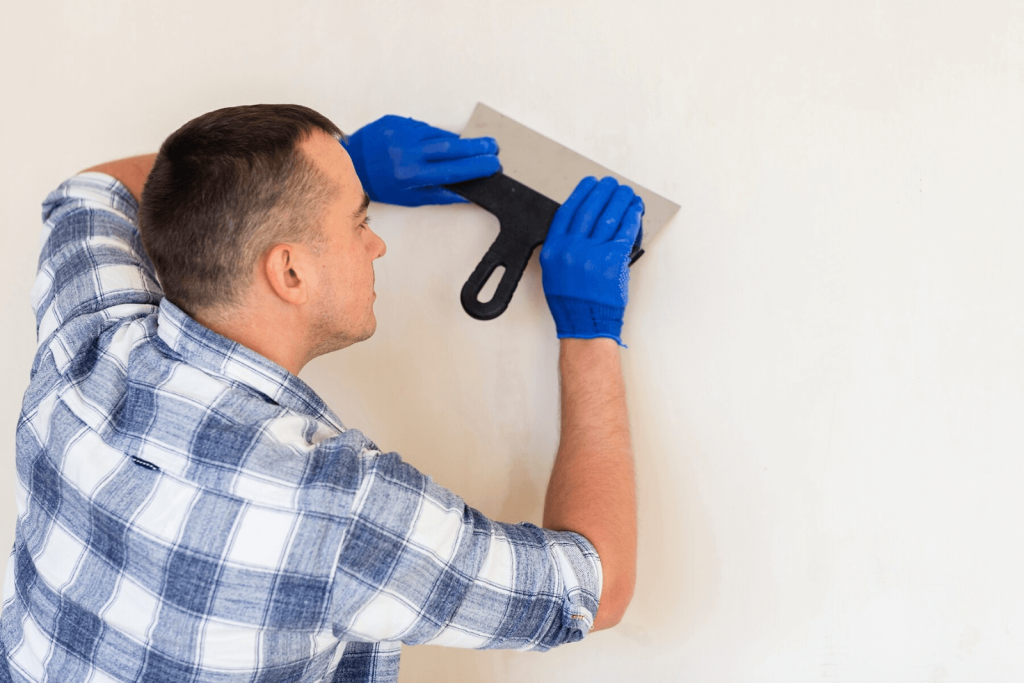
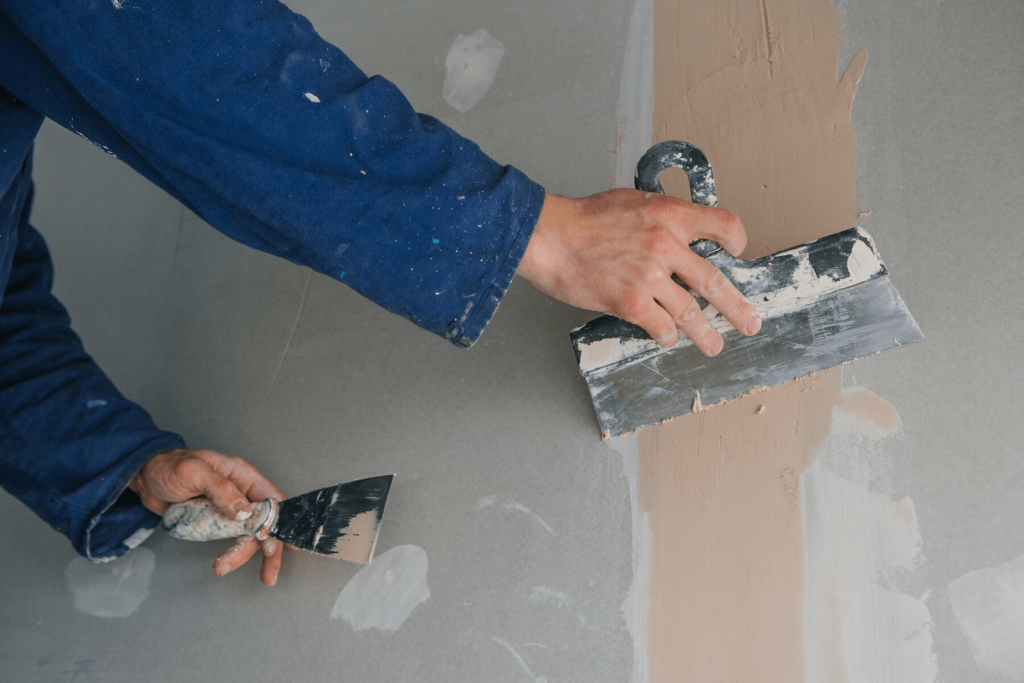
Just picture this, you are putting your hand on a newly painted wall and you can feel the imperfections that are hidden underneath the paint. This is the consequence of the poor sanding – the surface is rough and has many imperfections which are quite noticeable and affect the general appearance of the room. It is vital to sand the surface properly to the extent that you will achieve the desirable smooth finish especially when painting.
That is not all; when you take time to sand your drywall, you are not only trying to strip off excess joint compounds. You are also ensuring that the surface is smooth so that when you apply paint, there will be no patches that will show-through. This is the distinction between a space that appears to be recently completed and one that seems professional and luxurious.
Preventing Common Issues
Have you ever seen joints or lines on a wall even after it has been painted? Or even worse, those ugly bubbles or rough ridges that one wakes up with, yet they were not there the night before? These problems have more often than not been attributed to poor sanding or perhaps inadequate finishing.
With the right sanding technique, all of these issues can be avoided and the surface will be smooth, and perfect. In order to eliminate those joints and seams, one ought to sand them properly in order that they can hardly be distinguished once the paint is on. It will also help to level the surface so that ridges and bumps which may be resulting from excessive joint compounds or even imperfections in the drywall can be gotten rid of easily.
Thus, sanding is one of those invisible stars in the process of drywall finishing. It is the technique that distinguishes between a basic project and a fantastic one; the process that ensures that all of your efforts are not in vain. Let’s take a look at the essential tools and procedures you’ll need to become a pro at drywall sanding.
Essential Tools for Drywall Sanding
Choosing the Right Sander
When it comes to drywall sanding, not all products are the same, and not every sander will perform the job properly. However, this is not always the greatest or most practical tool for the job, particularly when sanding bigger surfaces.
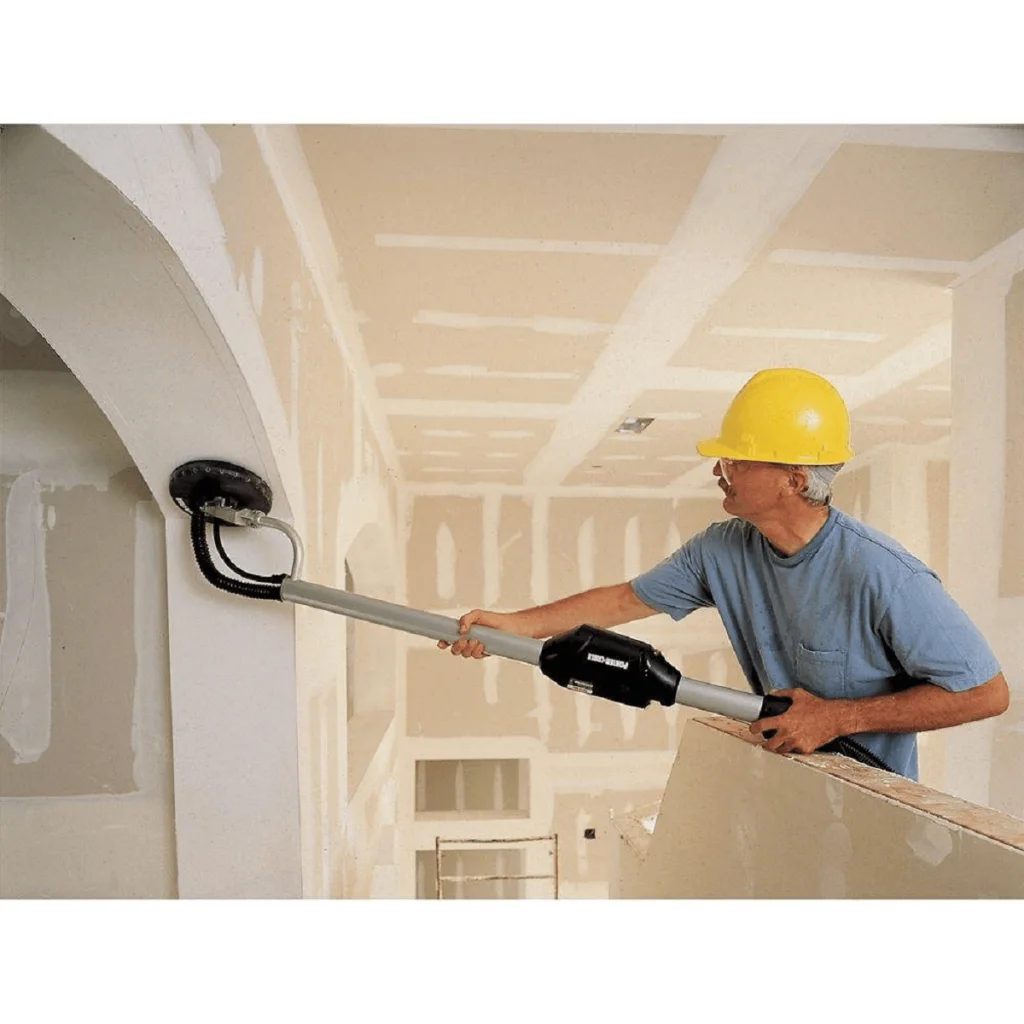
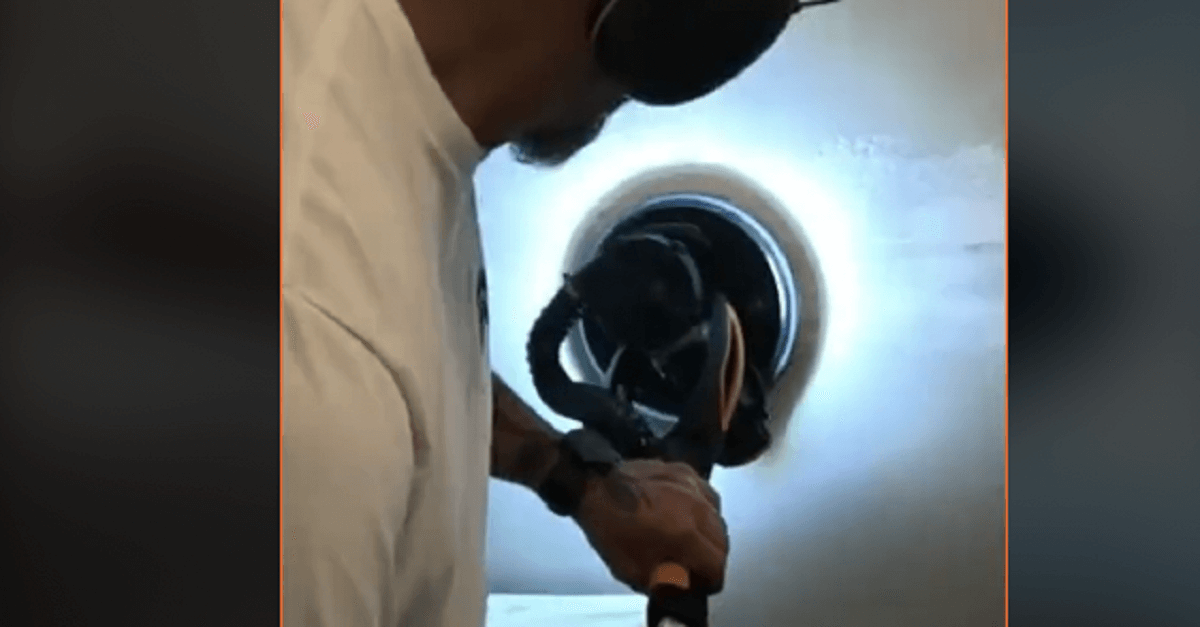
This is where the VEVOR drywall sander comes into play as one of the best drywall finishing tools in the market. This creative gadget is specifically intended for drywall sanding and comes with a long handle to enable you to sand high ceilings without much effort. It is light and is built to last, this makes it easy to grip and control while sanding thus making the task very easy.
However, the actual advantage comes from the design of the head of the VEVOR drywall sander. Unlike the standard hand sanders that may produce scratches and uneven surfaces while sanding the drywall. The VEVOR sander has a head that is specially designed to move gently on the surface of the drywall to give it a perfect finish.
Additional Tools and Materials
Of course, no drywall sanding toolkit would be complete without the right sandpaper; the following are some of the best choices. What is more, it is vital to achieve an optimum level of grit selection. Using too-coarse paper could cause you to break the drywall paper or create scratches on the wall; using too-fine paper will require hours of sanding just to get little to nothing done.
Generally, the best results can be achieved using 120- or 150-grit sandpaper; this will remove the majority of the bumps and ridges without removing too much material. When sanding drywall, dust can be an issue, so be sure to get dust masks, goggles and other safety gear to protect your eyes and lungs.
Expert Tips for Sanding Drywall
Preparing the Area
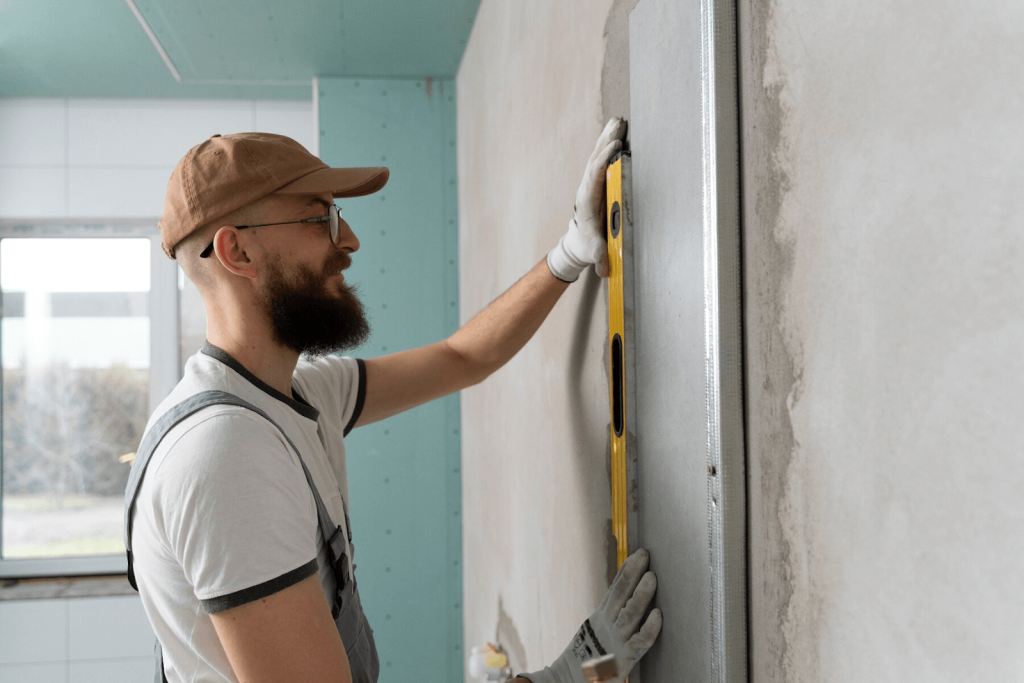
Before you take up a sander, make sure the area is adequately prepared. Begin by emptying the room of any furniture or decor that could get in the way or become covered in drywall dust. Next, cover any surfaces you want to protect with plastic sheeting or drop cloths, including floors, windows, and built-in cabinetry.
Proper lighting is also required for effective drywall sanding. You’ll want to ensure that your workspace is well-lit, either by opening curtains and blinds or installing additional lighting. Having adequate lighting will make it easier to detect any flaws or missed locations throughout the sanding process.
Sanding Techniques
With regard to sanding, there are a number of important points to remember. First of all, no matter the situation, always use shallow touch pressure. Applying more pressure can also harm the drywall surface as well as result in an improper and ugly surface. However, let the sander work and concentrate on evenly gliding the tool across the surface of the wood.
The last tip is that it is recommended to sand in circular motion, not in straight lines. This assists in preventing the formation of groves or scratch lines on the drywall and hence a better finish is achieved. And remember, the surface of joints, corners and the places around the outlets or the light fixtures are the areas which are usually thick with joint compound.
Using the VEVOR Drywall Sander
After going over the fundamentals, let’s see how to make the most of your VEVOR drywall sander. First, make sure the proper sandpaper grain is firmly attached and bubble- and crease-free on the sander’s head.
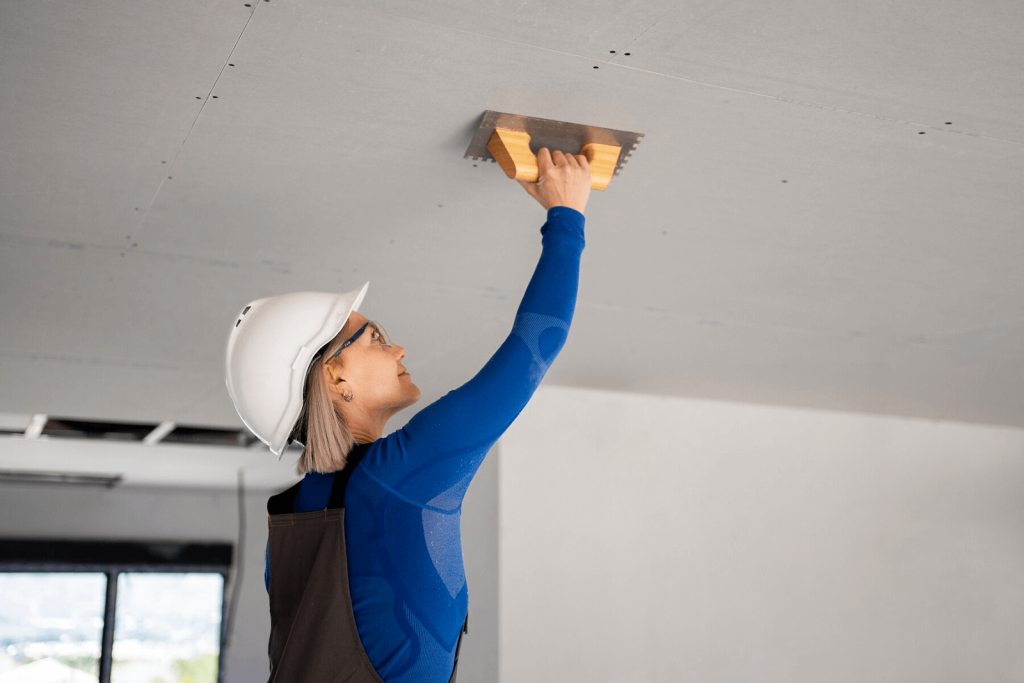
When you’re ready to sand, hold the sander at a small angle to the wall and move it in circular patterns while applying gentle pressure. The VEVOR plasterboard sander’s long handle allows you to reach even the highest areas without straining or stretching.
One of the key advantages of the VEVOR drywall sander is its ability to cover large areas quickly and efficiently. Its wide head and smooth operation make it ideal for tackling expansive wall surfaces, while its maneuverability also allows you to navigate around corners and tight spaces with ease.
Common Drywall Sanding Mistakes to Avoid
Over-Sanding
Oversanding can do more harm than good, despite the desire to keep sanding until the surface is perfect. Oversanding could tear or tear drywall paper, leaving it difficult to repair fuzzy or torn patches. Additionally, it may result in surface depressions or grooves that are nearly impossible to cover even after the paint has been applied.
While sanding, pay careful attention to the surface and stop when you’ve achieved a smooth, even finish to prevent over-sanding. Rather than sanding the same region over and over again, if you find any areas that need additional attention, apply a thin layer of joint compound and sand again once it has dried.
Skipping Grits
Another typical mistake is skipping grit levels while sanding. Although it would seem like it would save time to move straight from coarse to fine grit, doing so could result in scuffs and flaws that show through the finished paint job.
Rather, employ a progressive sanding method, starting with a coarser grit (80 or 100) to eliminate significant imperfections and gradually increasing the grit to finer grits (120 or 150) to achieve a polished, smooth surface.
Not Cleaning Dust
Finally, but just as importantly, improper dust management is one of the major blunders individuals make when employing drywall sanding. Because drywall dust is prone to getting everywhere, you run the risk of getting paint with an uneven, grainy finish if you don’t thoroughly wipe it up.
Use a hoover to clean the surface after sanding, being careful to get into nooks, crevices, and other hard-to-reach areas. Prior to starting painting, you could also want to wipe the surfaces using a mop or damp cloth to get rid of any remaining dust.
Tips for Sanding Drywall Corners and Edges
Tools and Techniques for Corners
Sanding corners and edges is one of the most challenging processes of drywall finishing. These areas are likely to accumulate debris and have irregularities and whilst attempting to sand the same with a conventional sander, it may turn into a nightmare and a substandard job.
That is where specialty tools such as corner sanders come in handy. These useful tools are made to be used in corners and the small size enables one to sand those hard-to-reach areas effectively. Some even have flexible heads that can pivot and adjust to the corner in order to give a uniform finish.
Some corners and narrow strips are too confined to accommodate the corner sander; therefore, a sanding sponge or block can be handy. These basic assets enable you to put a mild force and achieve areas that a more massive sander can’t reach.
Although hand sanding appears to take a long time and effort, it is often the most effective method for getting a smooth surface, especially around edges and corners.
Getting a Smooth Finish on Edges
Edges can be particularly tricky to sand, as they’re prone to developing rough, uneven surfaces that are instantly noticeable once the paint is applied. To avoid this, it’s important to approach edge sanding with care and attention to detail.
One effective technique is to use a sanding sponge or block and sand along the length of the edge, using gentle, consistent pressure. This helps to create a uniform surface and prevent the formation of ridges or grooves.
You might have to use a folded piece of sandpaper to hand sand in confined spaces or places where a sponge or block won’t fit. In certain difficult-to-reach areas, this technique is frequently the only one that can guarantee a genuinely smooth finish, but it does need patience and delicacy.
Advanced Drywall Sanding Tips and Tricks
Sanding After Priming
As you might think it is absurd, but one of the most effective ways to get a perfect finish of the drywall is to sand it after applying a coat of primer. It’s crucial to sand the surface again in an effort to smooth out any fuzziness or imperfections that may have remained after the first pass.
Using extremely fine grit sandpaper (220 or higher) and applying mild pressure are crucial here. It is not about cutting out large volumes of material but about achieving a surface that will take the final layer of paint.
This extra sanding is a little time-consuming but it is more than compensated for by the end product. Sanding and priming of a surface is very important if one wants to achieve that perfect and professional-looking paint job.
Blending Repairs with Existing Walls
If you had to put in some fixes or even patches to your drywall, then sanding is a good way to make them almost invisible to the rest of the wall. This is where the multipurpose nature of the VEVOR drywall sander really comes into play.
Due to its long handle and easily adjustable head, the VEVOR sander helps you get to those repaired areas and sand them flat with the surrounding drywall easily.
For minor corrections or when the area to be repaired is not easily accessible. It is also recommended to use the VEVOR sander’s removable head or a piece of sandpaper to smoothen the surface of the wall and blend the repaired area with the rest of the wall.
Here are some tips that will help you get a perfect and natural finish so that one cannot consider where the repair has been done.
Summary and Final Thoughts
In conclusion, this shows that drywall sanding is a very delicate process that has to be done in the right manner using the right tools and techniques. By using the mentioned tips and techniques in this guide, you will be on the right track to achieving that clean, professional-like finish on your walls.
As you can see there is a huge difference between a good and a great job, and having the best quality equipment like the VEVOR drywall sander is key. Its design and features are specifically tailored for drywall sanding, and you will find everything you need to get the job done and done well.
As mentioned above, it does not matter if you are a professional who likes to do everything by himself/herself or a person who is handling the drywall finishing for the first time, do not forget the aspect of quality. As for tools and techniques, everyone can create masterpieces on the walls.
Make your drywall sanding experience better with the VEVOR drywall sander and start getting professional-like finishes that will make your friends and neighbors green with envy.