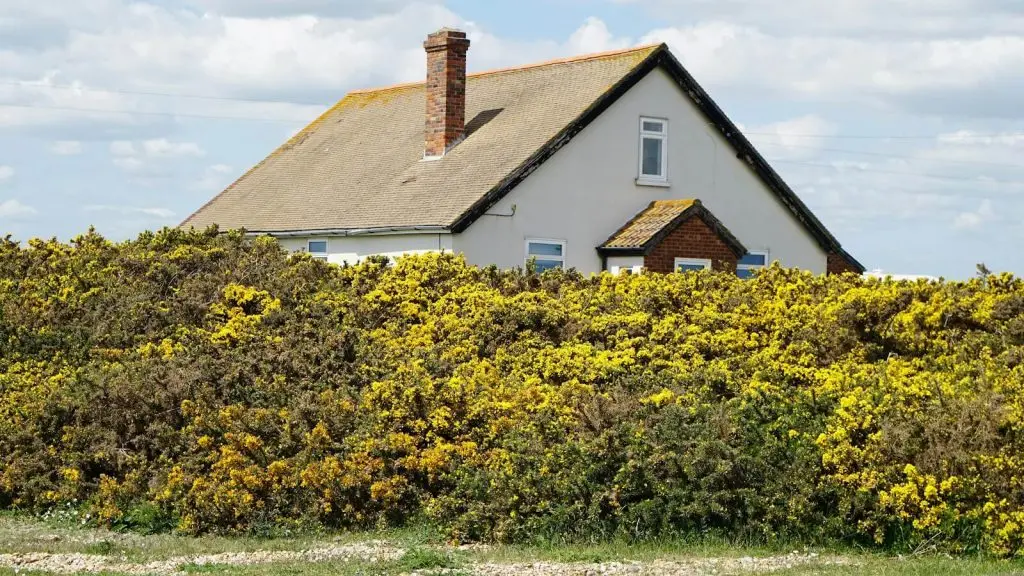
As a result of the openings at the top of chimneys, there are certain problems that are typically associated with them. These problems include animal infestation, debris build-up, and corrosion due to rain and snow falling down the chimney. Therefore, one of the best decisions a chimney owner can make is to capping off a chimney.
To cap a chimney, many people will invite a professional to help, but there are simple steps you can follow to do this yourself. In this article, we will discuss these steps in detail. However, before we get into them, you must first understand why it is important to cap off a chimney. The next section discusses this.
Table of contents
Why Is Capping Off a Chimney Important?
Capping a chimney may seem like a luxury, but it is not. Instead, it is fundamental to the health and durability of your chimney. Some of the significant benefits that capping a chimney brings are:
- It blocks rainwater from leaking into your chimney, protecting it from rapid rusting and corrosion. Furthermore, this also helps to maintain the structural integrity of your chimney.
- It helps to keep animals out of your chimney and home. Some animals that could access your chimney include birds, squirrels, and raccoons.
- It prevents debris and dust build-up, which could obstruct your chimney, affecting its effectiveness.
- It reduces the risk of fire outbreaks by preventing sparks from escaping from the chimney.
Now that it is clear that capping off a chimney is vital to keeping it in good health, you should also note that there are different types of chimney caps that you can use. We discuss these types in detail below.
Which Type of Chimney Cap Can I Use?
There are many different types of chimney caps based on their function or appearance. Some of the most popular ones include:
The Single-Flue Cap: This is used in capping off a chimney that has just one flu/opening.
The Outside-Mount Cap: This cap extends above the edges of the chimney and is installed directly above the crown. With this cap, water does not come anywhere near your chimney at all.
Special-Purpose Caps: These refer to chimney caps that you use to cap a chimney flue based on your specific needs. Examples of such chimney caps include:
- Wind/Storm-resistant Caps: They are designed to resist wind and severe weather, so they typically have corrosion-resistant properties.
- Spark Arrestor Caps: These caps prevent fire incidents by not allowing sparks from inside a chimney to get outside and light up flammable roofing materials
Multi-Flue Caps: These caps are used in capping a chimney structure with multiple flus. They may also be used to cover the entire chimney.
Round Chimney Caps: These caps are for capping off a round chimney flue.
Lastly, note that irrespective of the type of chimney cap you go for, manufacturers typically use any of the following materials to construct them, namely stainless steel, copper, or galvanized steel.
To get the different types of chimney caps at the highest quality, you should take a look at VEVOR chimney caps. VEVOR caps are made of stainless steel and come with reinforced screws. They also come with practical accessories in different sizes and shapes to fit your specific needs. Every single one of them is designed to withstand severe weather, and are rated highly (4.5 to 5 stars) by customers.
Now that you know the different chimney caps you can use, and where to get high-quality ones, the next thing to learn is the tools and materials you will need for the job.
Tools and Materials Needed for Capping a Chimney
You will need a couple of tools to install your chimney cap, and they include:
- Screwdriver
- Drills
- Screws
- Measuring taps
- Sealant
- Scaffolding Tower
- Extension cable.
Some of these tools should be at hand when you are about to cap your chimney, while others will be needed before you cap your chimney. An example of a tool needed before you cap your chimney is your measuring tape, while those you will need at the point of installation include screws, screwdriver and drill. Lastly, it would help if you got a work belt to keep the tools you need when capping a chimney.
So, now that you have everything you need, what are the steps to take in capping off a chimney? That is what the next section is all about.
Steps for Capping a Chimney
You can break down the steps necessary to properly cap a chimney into five, starting with measuring your chimney, then preparing the cap, installing and testing the cap, and then cleaning up after installation.
Each step is essential, and here is what you should do at each stage.
Step 1: Measure the chimney’s opening
To install a chimney cap, the first thing to do is measure the length and width of the flue on your chimney. The flue is the tube that extends from the top of your chimney. Why do you measure your flue? To know the size of cap you will need for your chimney.
Note that if you have a circular or round flue, you will measure the diameter instead. Also note that for a multi-flue chimney, you will have to measure the size of the crown of your chimney. After measuring your chimney, note down the measurements.
Step 2: Prepare the cap
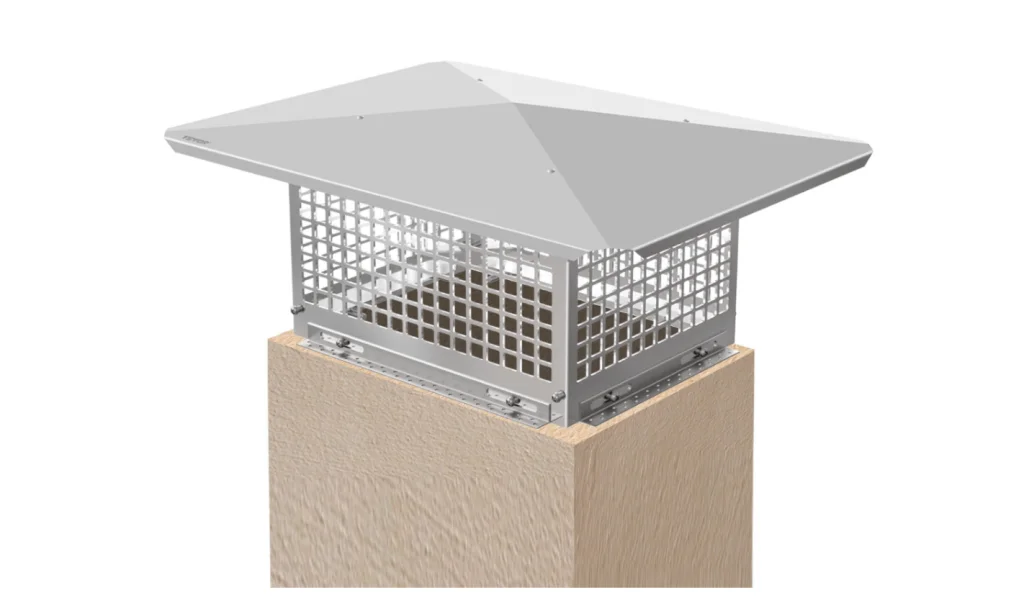
Preparing your cap simply means finding the chimney cap that fits your specifications, and ensuring it is in the best state for installation. At this stage, you check the packaging and measurements on your chimney cap and the material it is made from to ensure that it suits your needs.
Step 3: Install the cap
The first rule at this stage is “follow the manufacturer’s instructions.” So, for any assembling or modifications on the chimney caps that you may do, ensure that you follow the manufacturer’s instructions.
Also, for each kind of chimney cap you may purchase take note of the following:
For metal caps
Place your cap over the chimney, then get a screwdriver to secure it with brackets or screws. Ensure that the chimney cap is well-secured but don’t over-tighten the screw to prevent damage to your chimney.
For mesh caps
Just like with metal caps, you will place your mesh cap over the opening and hold it to it using screws or clips. Also, ensure that you firmly secure the chimney cap so that animals and the wind will not dislodge it.
For combination caps
Here you will first attach your mesh to your metal cap. After this, you will cover the chimney opening with your combination cap.
After installing your chimney cap, the next thing to do is test your installation.
Step 4: Test the installation
After attaching your chimney cap to the chimney flue, the next thing to do is check for gaps and looseness in your installation. You can do this by gently pushing it or trying to shake it. If you notice any looseness or gaps, attach your screw more firmly or recheck the placement of your cap.
Step 5: Clean up
All that is left now is to clean up and ensure no debris on the chimney crown or the immediate surroundings around the chimney. You can use a brush to clean up any debris. Also, remove all the tools you used in capping a chimney.
Can You Cap a Brick Chimney?
A brick chimney is made up of fired cup clay, and what separates it from a metal or steel chimney is that it is built into your home rather than ordered and shipped. Apart from this, it has the same weaknesses like any other chimney, such as water and pest infestations. Therefore, you can cap a brick chimney. How do you cap a brick chimney? The same way you cap other types of chimney.
Now that you understand what steps to take to cap off a chimney, the next thing to know is the cost of capping off a chimney.
How Much Does it Cost to Cap a Chimney?
According to Forbes, If you use a professional company, the average cost for capping off a chimney is about $335. While the highest cost you could spend would be about $920. However, if you were to do it yourself, all the tools you will need may be at most $30; though this does not include the cost of high-quality chimney caps, which may be about $60. Therefore, in total, doing it yourself should cost about $90 or less.

Key Takeaways
- In capping a chimney, The first thing to do is measure your flue and chimney crown. Next is to prepare your cap, then install and test it. When you are sure everything is in place, you clean up.
- Always follow the manufacturer’s installation when installing a cap. If it is your first time capping off a chimney yourself, then following the manufacturer’s instructions is all the more important.
- Ensure you get a high-quality chimney cap like those available at VEVOR. With these caps, you can be confident that your chimney is secure even in severe weather.
FAQS About Capping a Chimney
1. What is the easiest way to cap a chimney?
The easiest way to cap a chimney is to use a chimney C cap. All you have to do is place the cap on your chimney and secure it with spring-loaded wires. The entire process should take you less than 10 minutes
2. Should you cap off an unused chimney?
Yes, you should. An unused chimney is subject to the same vulnerabilities as a used chimney and even more. Therefore, capping it is a great way to preserve it and prevent it from deterioration
3. Can you cap off a brick chimney?
Yes, you can cap off a brick chimney just like any other chimney. The process of capping a brick chimney is quite the same as that of other chimneys.

