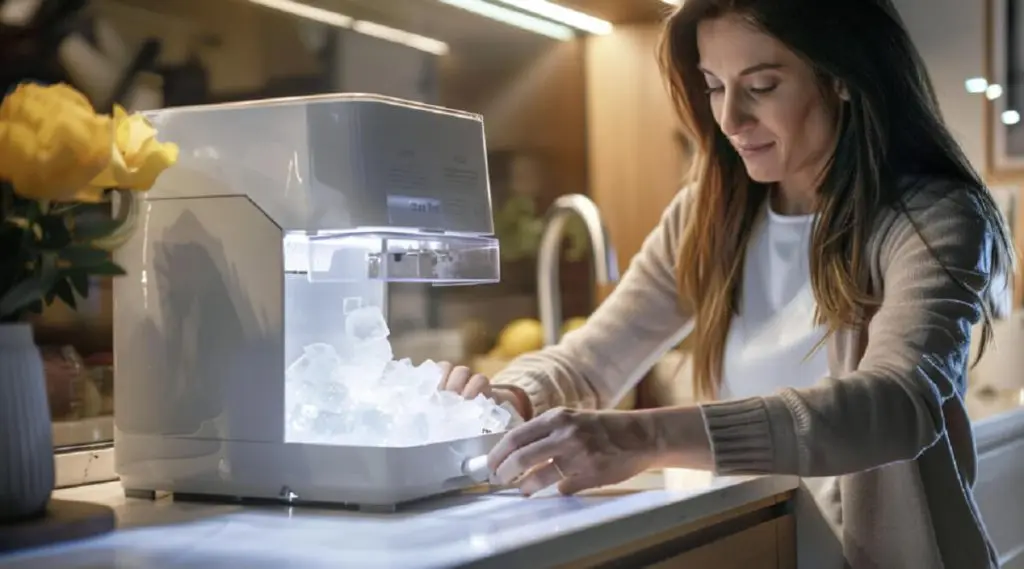
Having a countertop ice maker guarantees you’ll always enjoy your drink chilled when the occasion calls for it. You can now enjoy high-quality ice cubes in the comfort of your home for dinner parties and brunches. But getting a countertop ice maker is only the first step.
Buying the best machine is a bonus, but are you ready to put in the work for the best results?
You must learn how to clean a countertop ice maker for longevity so you don’t spend unnecessary dollars fixing avoidable problems.
Countertop ice makers come in different shapes and sizes, depending on your preference. You can choose any of the VEVOR countertop ice makers in sizes 30 lbs/day, 62 lbs/day, or 37 lbs/day.
This guide shows you why, when, what you’ll need, and how to clean your countertop ice maker. Without wasting time, let’s get to it.
Table of contents
Why You Should Clean Your Countertop Ice Maker
Why is cleaning a portable ice maker important? It may shock you to learn this, but water inside a machine can get dirty or damage its internal fixtures.
Here are three good reasons you should always clean your countertop ice maker —
Preventing Mineral BuildUp and Mold Growth
Firstly, you should know that ice isn’t only formed from water. Some people enjoy turning their fruit juices and sodas into ice cubes. Whatever liquid you put inside your ice machine can get stale when left for too long.
Stale water and other liquids lead to mineral buildup and cause harmful mold growth in the ice maker.
Ensuring Hygienic and Great-Tasting Ice
If you don’t clean your ice maker before and after every use, you risk health issues. Not only is it unhygienic, but it also produces poor-tasting ice.
Unless made from a liquid other than water, ice cubes should be tasteless. If they’re from a drink, they should have the original taste.
Increasing the Lifespan of your Ice Maker
If you’re not sold on good hygiene and avoiding mineral or mold buildup as reasons to regularly clean your countertop ice maker, how about saving money? Yes, you read that right.
Periodic maintenance of your ice maker means you can keep your machine in good condition for as long as possible. Isn’t that better than buying a new one every other year? Or spending money on technical maintenance every other month?
How Often to Clean Your Countertop Ice Maker
You don’t have to deep clean your countertop ice maker every day, but you do have to clean it periodically. The cleaning frequency depends on certain factors like water quality and usage.
General Guidelines for Cleaning Frequency
Factors affecting cleaning frequency for countertop ice makers include water quality, machine type, and time.
- Water Quality: If your water has high mineral contents, you’ll need to clean the ice maker more often than treated water users. That’s because mineral residue can build up and cause molds in your machine.
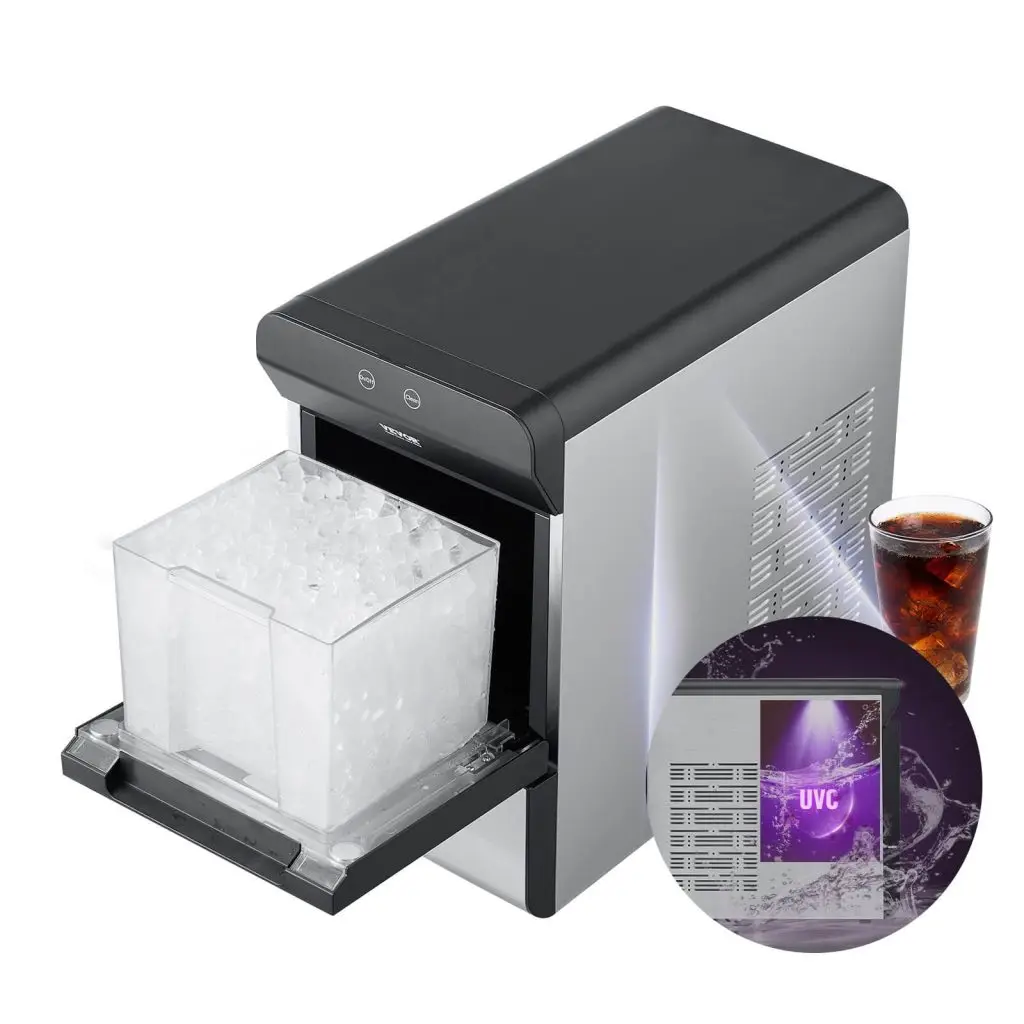
- Machine Type: Most brands require periodic cleaning as often as possible, but not the VEVOR countertop ice maker. It has an intelligent UV feature that automatically comes on when you plug it in.
- Time: You could have all the tools at your disposal but no time to actually take care of your ice maker. That’s why you need a sophisticated machine like the VEVOR countertop ice maker, which self-cleans.
Signs that your Ice Maker Needs Cleaning
Even if you have periodic cleaning sessions, there are warning signs that your ice maker needs sanitization.
- Unusual Taste or Odor: When your ice cubes taste odd, like stale, chalky, sour, or anything that’s not like clean water, it’s time to treat your machine.
- Smaller, Cloudy, or Soft Ice: The machine should make clear and hard but chewable ice cubes. So if it produces soft, cloudy, and smaller than usual ice, it’s time to clean your ice maker.
Clean your countertop ice maker at least once every two months.
Recommended For Your Project
What You’ll Need to Clean Your Ice Maker
Are you ready to clean your countertop ice maker? Here’s a list of necessary supplies to get before cleaning.
- Soft clothes or Sponges: It’s gentle on the machine’s surface and doesn’t leave scratch marks.
- Warm Water
- Dish Soap: Perfect for removing grease, dirt, and mineral residue.
- Vinegar or Ice Machine Cleaner: This is a healthy disinfectant. Instead of using chemical products with harmful compositions, add one tablespoon of white vinegar to a small bowl of warm water.
- Small Brush or Toothbrush: This is for scrubbing out stubborn stains without damaging your countertop ice making machine.
- Microfiber Cloth: To pat the machine dry after a soapy clean.
Step-by-Step Guide to Cleaning Your Countertop Ice Maker
Cleaning a portable ice maker doesn’t take time, but precision is needed. The good thing about VEVOR ice machines is that they have a self-cleaning feature. You can use the UV function to rinse and clean the machine’s interior within 8 minutes.
But for extra reassurance, follow these five easy steps to prepare your portable countertop ice maker for use.
Step 1: Prepare the Ice Maker for Cleaning

First, unplug your VEVOR countertop ice-making machine to prevent potential fire hazards. Then empty its contents, whether it’s ice, water, or any other liquid. You can drain your portable ice maker by removing the stopper so the water inside can flow into a sink.
Next, dismantle the machine and separate the removable parts from the structure. Keep the ice tray and bucket inside your freezer pending the time you complete your cleaning process. But if you also want to clean them, keep them aside.
Now, it’s time to clean each part.
Step 2: Run a Cleaning Solution Through the Machines
Are you using a commercial cleaner or a homemade solution of water and vinegar? Whichever it is, it’s time to prep them for cleaning. Mix your white vinegar with warm water at a one-to-ten ratio or your cleaning solution according to the manufacturer’s instructions.
Fill the water reservoir with the solution and run a cleaning cycle. Plug the machine and let it form the solution into ice. Then, discard the ice produced during cycling.
You can also soak your waterproof parts inside your soapy water or white vinegar and warm water solution.
Step 3: Clean the Interior and Exterior
Sometimes, the cleaning cycle won’t completely clear the mineral buildup or mold if it exists. It’s time to use your soft toothbrush and soapy water to scrub those areas. You can also wipe down the interior with your soft cloth and soapy water if there’s no need to scrub.
In the meantime, you can clean your exterior with a mild detergent dissolved in water and a soft cloth. Once you’re done, rinse the machine thoroughly with clean water.
Step 4: Rinse and Dry the Machine
Drain the cleaning solution after rinsing the reservoir thoroughly with clean water. Failure to do that would taint your ice’s taste. Run a fresh water cycle this time without cleaning agents or solutions.
The VEVOR portable countertop ice maker completes a cycle in 15 minutes, which is 5 minutes less than your average machine. That means you’ll complete two preliminary cycles at least 10 minutes faster than other brands can.
Finally, dry all components using your clean microfiber cloth or air-drying machine to ensure moisture doesn’t form into a mold.
Step 5: Reassemble and Run a Final Fresh Water Cycle
Replace all the removable parts you dismantled in Step One. Ensure all parts are in the right place before plugging your machine, but don’t turn on the ice maker yet. Ensure your plug and wires are completely dry. Then, prepare to run your water cycles.
It’s best to run at least one to two ice-making cycles using clean water before the actual ice-making.
Discard these initial batches of ice cubes because no matter how well you clean your machine, there may still be residual aftertaste from your solutions. On the third cycle, your ice cubes will be ready for consumption. You can now enjoy your chilled beverages.
Additional Tips for Maintaining Your Countertop Ice Maker
If you want to go the extra mile, here are a few more tips for cleaning a portable ice maker.
Use Filtered Water
Using filtered water to make your ice cubes reduces mineral buildup. That’s because the treatment already cuts down on the excess minerals you’ll find in natural tap water. You can also use warm water to mix your white vinegar when cleaning instead of harsh, cold water.
Regularly Replace Water Filters
If your portable ice maker has a water filter, it’s best to regularly replace them rather than using one filter for donkey years. Because the filter regulates water flow, dirt, and dust may clog its holes and cause a blockage.
Deep Cleaning Strategies for Persistent Mold Issues
Leaving water in the ice maker for too long can cause mold. So, always empty the bucket or ice trays when not in use. To remove the mold, use a solution of chlorine and water in a ratio of 20:80.
Once you spray your solution on the affected spot, leave it to air dry for a few minutes. Then rinse it out with clean, warm water.
Using Lemon Juice as an Alternative Natural Cleaner
You can replace white vinegar with lemon juice as a natural cleaning agent. Lemon juice has citric acid, which is a great antibacterial agent for cleaning mold, mildew, and rust. If you grate the peel into the juice, it’ll cut through grease and leave your machine shiny.
The best part? There are no harmful or weird residuals or aftertaste unless you don’t like the zesty taste of lemon.
Conclusion
Do you now know how to clean a portable ice maker for fresh water ice? Follow the five basic cleaning steps six times a year, and your machine will be ready to produce as many ice cubes as you need for your cold drinks.
Remember that you can use homemade cleaning agents like white vinegar, baking soda, and lemon juice instead of chemical products.
Always unplug your ice maker before cleaning it, and run one to two water cycles to remove the solution’s smell and taste. Buy the self-cleaning VEVOR portable countertop ice maker to save yourself the stress of periodic cleaning. That’s a bargain for easy maintenance and a high-quality ice maker.

