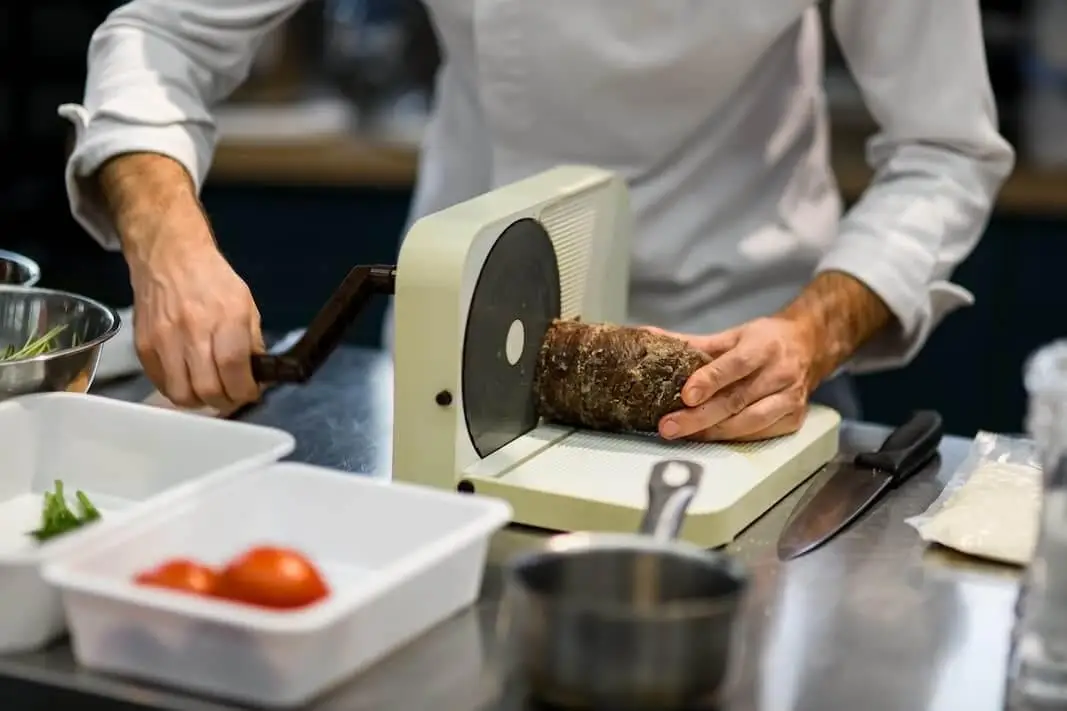
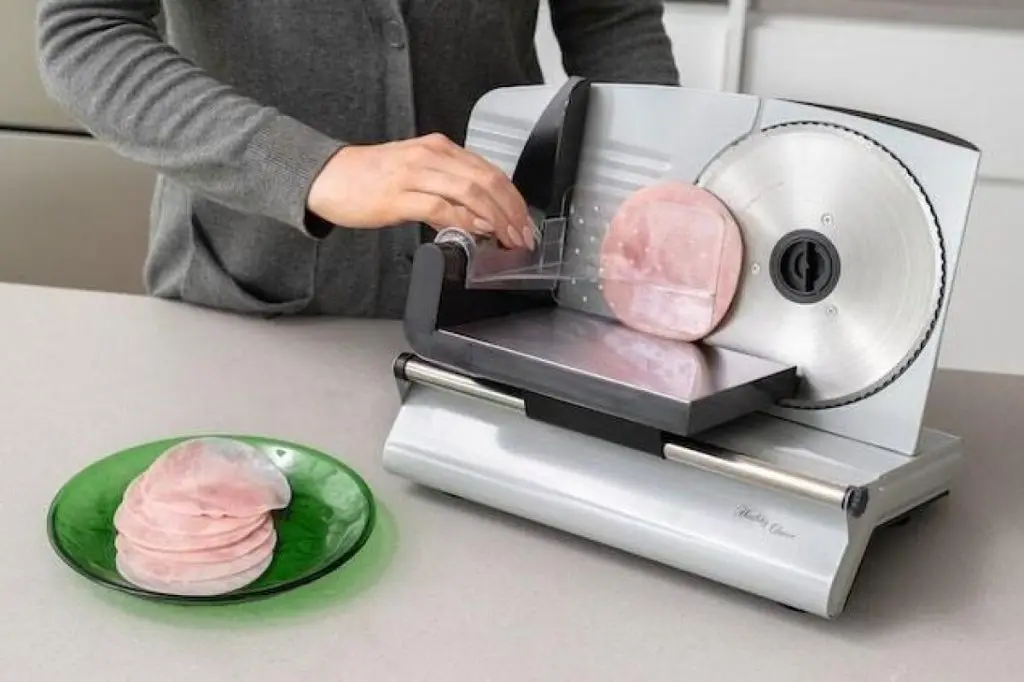
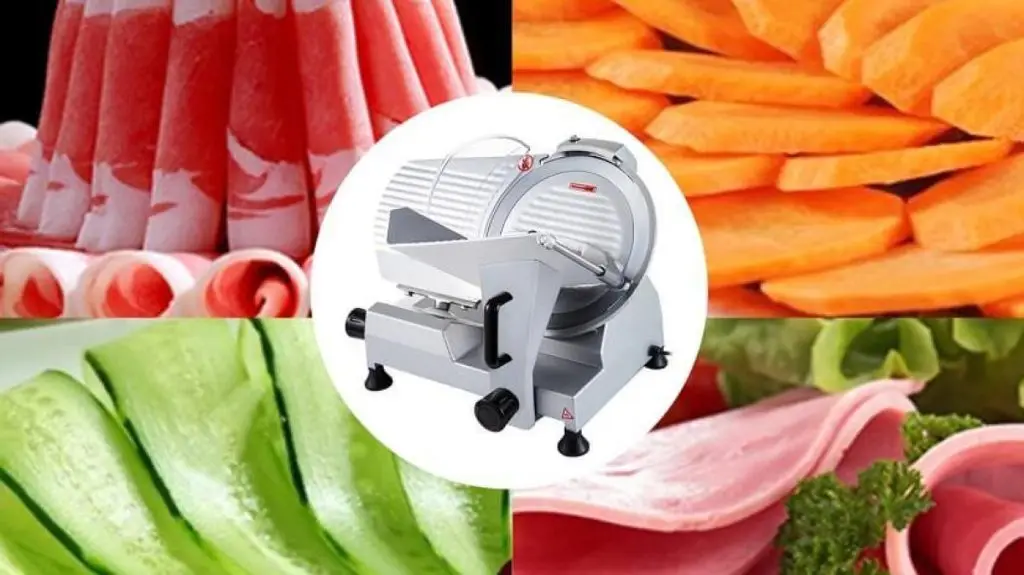
Meat slicers are specifically designed to slice meat. Besides meat, they are also used to slice other food items such as sausages, cheese, and other deli products. Their versatility makes meat slicers indispensable kitchenware for grocery stores, cafeterias, buffets, and other food businesses.
No doubt meat slicers make our lives easy by allowing us to get work done faster and with precision, but with little carelessness, they also tend to increase the risk of foodborne illnesses. The meat residue tends to get stuck around or between their joints and in narrow crevices, becoming a harbor for pathogenic growth. Therefore, it is imperative that after using a meat slicer, you should always clean and sanitize it properly. If you do not know how to clean a meat slicer, continue reading.
This comprehensive guide will address the query “How to and how often should meat slicer be cleaned and sanitized” in detail.
How Often Should a Meat Slicer Be Cleaned and Sanitized?
Cleanliness in any kitchen is paramount, especially when using meat slicers. After using a meat slicer, you should always thoroughly clean and sanitize it to prevent contamination and ensure food safety.
According to FDA Food Code requirements, meat slicers should be cleaned and sanitized every four hours. It also stipulates that before cleaning and sanitizing a meat slicer, it should be disassembled.
Besides being cleaned and sanitized every four hours, it is advised that you should also clean it during shift change and at the end of the working day.

Preparing for Cleaning a Meat Slicer
For maximum sanitation and to avoid any mishaps, you need to prepare for the process of cleaning the meat slicer.
Gather Necessary Supplies
Before beginning the process of cleaning a meat slicer, ensure that you have gathered all the necessary supplies, including a meat slicer cleaning kit, food-grade sanitizing solutions, cleaning cloth, gloves, brushes, etc.
Unplug the Meat Slicer and Cool the Blades
You cannot just unplug the meat slicer and start cleaning it. To ensure your safety and effective cleaning, you must unplug the meat slicer from the power source after usage and let it rest for a while, allowing its blades and components to cool down.
How to Clean a Meat Slicer After Use?
Cleaning a meat slicer after each use is a meticulous task that ensures both hygiene and operational efficiency. A step-by-step approach should be taken to ensure all components of the slicer have been adequately cleansed and disinfected. Here’s our handy guide on how to properly clean a meat slicer:
Step 1: Disassemble the Slicer
Before cleaning and sanitizing a meat slicer after use, you should disassemble it. Following the manufacturer’s instructions, you must detach all removable parts that come into contact with food such as blades, guards, and trays. Properly disassembling components ensures that the slicer is thoroughly cleansed and sanitized, leaving no room for residue that would harbor pathogens.
Caution: Do not forget to wear protective, cut-resistant gloves before beginning to work on the meat slicer.
Step 2: Pre-Clean Larger Debris
Before scrubbing the slicer components with cleaning solution, remove larger food debris using a soft brush or cloth. Focus on areas near blades, corners, and crevices, where food particles tend to collect.
Step 3: Prepare and Clean Parts with Cleaning Solution
For deep cleaning meat slicer, you will need to prepare a cleaning solution by mixing soap or detergent in hot water. Then, you will thoroughly clean each part of the meat slicer by using the cleaning solution and a non-abrasive sponge or a soft brush. You can use a degreaser spray instead of the warm, soapy solution. Make sure that grooves, crevices, and serrated edges are thoroughly cleansed, leaving no sanctuary for bacteria.
Step 4: Rinse And Dry All Parts
Once cleaned, rinse all parts with warm running water to get rid of any soap or detergent. Once rinsed, dry all parts using a clean towel or a cloth. You can also let them air dry. Moisture can contribute to corrosion and bacterial growth, so every component must be fully dried before being assembled back together again.
Step 5: Sanitize the Blade
Now, using a food-grade sanitizer, sanitize the slicer blade and other parts that come into direct contact with meat. After applying the sanitizer, let the slicer air dry for a couple of hours. But if you do not have time to wait, you can wipe it dry with a soft cloth.
Step 6: Reassemble Your Meat Slicer
After thoroughly cleaning, sanitizing, rinsing, and drying all components, reassemble your meat slicer according to the manufacturer’s instructions. Check that all parts are secure and aligned properly. Also, ensure that the blade remains sharp for precise slicing!
Step 7: Final Inspection and Lubrication
Before using your meat slicer again, conduct a final inspection to make sure everything is in place, thoroughly cleaned, and properly secured. If your slicer requires lubricating of moving parts, follow manufacturer guidelines on applying an appropriate lubricant. This ensures smooth operation while reducing wear and tear.
Tips to Clean a Meat Slicer Safely
Regularly cleaning meat slicers is imperative for maintaining both kitchen hygiene and the longevity of the equipment. Here are essential tips on how to clean a meat slicer safely, ensuring your cleaning process is thorough and hazard-free:
Always Wear Protective Gears
Before cleaning and sanitizing a meat slicer, always wear protective gear such as cut-resistant gloves and safety goggles to shield your hands from sharp slicer blades and protect them and your eyes from cleaning solutions and potential debris.
Follow the Manufacturer’s Instructions
Different meat slicer models differ from each other in their configuration and cleaning procedures. Therefore, it is imperative that before you begin cleaning a meat slicer, you must give the manufacturer’s instructions regarding disassembly and cleaning procedures a read and follow them to a tee.
Avoid Abrasive Cleaners and Tools
It is wise to avoid harsh abrasive cleaners such as steel wool when cleaning your meat slicer to prevent scratched surfaces that could lead to corrosion, shortening the slicer’s lifespan.
Regular Inspections for Wear and Tear
It is essential to regularly inspect your meat slicer for signs of wear or damage. Loose parts, bent blades, or worn-out components can compromise both safety and performance. So, you must replace any defective components promptly.
Keep a Cleaning Schedule
It is crucial to establish and adhere to a regular cleaning schedule. Having a cleaning schedule to follow, you will no longer have to worry about “how often must a meat slicer be cleaned.” While developing a schedule for cleaning the meat slicer, remember that it needs to be cleaned every four hours during the shift, at every shift change, and at the end of the working day.
Use Proper Sanitizing Solutions
For sanitizing the meat slicer, you should only use food-grade sanitizing solutions that are specifically manufactured for kitchen equipment cleaning, ensuring effective sanitization without jeopardizing food safety.
How to Maintain a Meat Slicer?
Maintaining a meat slicer requires more than simply cleaning; it involves proper usage, regular inspection, and proper storage to extend its longevity and optimize performance. Here are essential guidelines on how to effectively maintain a meat slicer:
- Sharpen Blades Regularly: Dull blades can compromise meat cuts and strain both motor and slicer components, causing lasting damage. So, ensure that slicer blades are sharp before usage, and follow the manufacturer’s instructions on blade sharpening.
- Proper Lubrication: To reduce friction and wear and tear, you should regularly lubricate the moving parts of the slicer. Refer to the slicer manual to identify which parts require lubrication.
- Routine Inspections: Routine inspections allow you to detect potential issues before they escalate. Check for loose parts and signs of wear or damage, and if you notice any issue, address it immediately before the next use.
- Proper Storage: When not in use, store your slicer in an area that is clean, dry, ventilated, and free from dust accumulation. Consider covering it with a protective case or cloth to reduce dust accumulation.
- Avoid Overloading: Overloading the slicer will strain its motor and cause uneven cuts and increased wear on its components. Therefore, it is crucial that you slice food in manageable portions for smooth operation and reduced stress on your machine.
VEVOR Meat Slicer: The Secure and Hassle-Free Choice for Your Kitchen
If you are looking for a powerful yet easy-to-clean meat slicer, VEVOR might be your top choice. At VEVOR, we understand the need for frequent cleaning of meat slicers. And with regular cleaning and sanitizing importance in mind, we design easy-to-clean meat slicers.
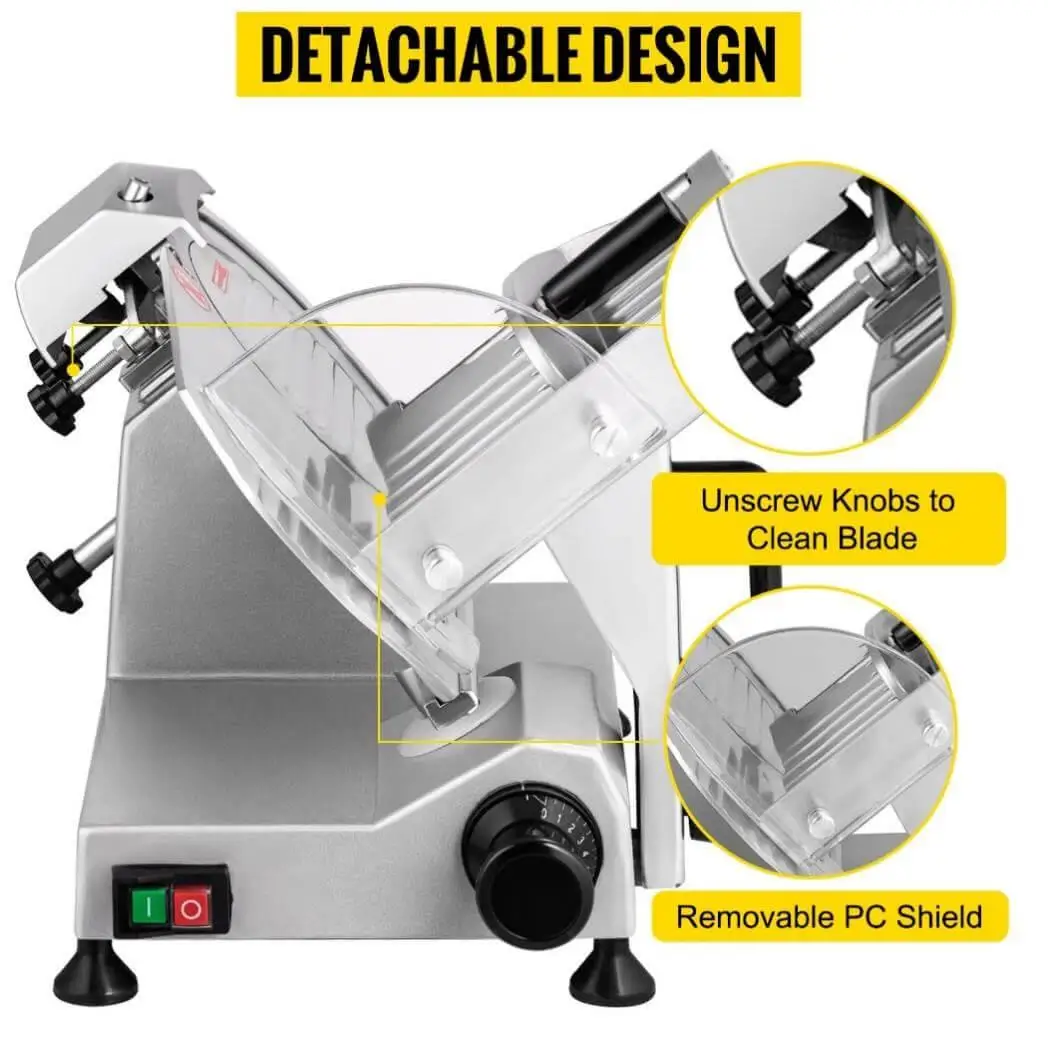
This VEVOR Commercial Meat Slicer and other models adopt a detachable design that makes cleaning meat slicer effortless. By unscrewing the knobs or screws, you can easily detach slicer components. Once detached, you can immerse the slicer components in soapy warm water for a while, scrub them, and then rinse and dry them thoroughly before reassembling them. Besides being easier to clean, VEVOR meat slicers feature powerful motors and are designed to safeguard your hands from hurting during operations.

Conclusion
After using a meat slicer, you should always clean and sanitize it to eliminate the residue, where bacteria tends to grow and bring foodborne illness to your kitchen. Before cleaning and sanitizing a meat slicer, you should disassemble it to ensure that each component comes in contact with the meat. After disassembling, you should clean each part with a degreaser spray or warm, soapy water solution, ensuring there is no harbor for pathogens. Next, wipe it dry before applying a food-grade sanitizer, and then let it air dry before reassembling.
Regularly cleaning meat slicers can be a headache if you do not know how to clean a meat slicer after use or if you have a difficult-to-clean slicer. Therefore, when purchasing one, look for an easy-to-clean meat slicer like Vevor’s.
Happy slicing!


It would be nice to have a video on how to clean the 10 inch VEVOR meat slicer