Clean ice makers are a must for great-tasting drinks and keeping things sanitary. Whether you’ve got one at home or manage a fleet in your business, knowing how often to scrub down that machine matters. Now, you might be wondering how to clean an ice maker.
In this article, we’re going into the nitty-gritty of cleaning your ice maker, covering everything from recognizing when it’s time for a wash-up to choosing supplies. And yes, we’ll take a look at the DIY-friendly vinegar method, too.
We will walk you through some pro maintenance tips that can save you money by extending your machine’s life. Plus, we will also shed some light on an easy-to-clean ice maker while answering some burning questions about upkeep.
So, without further ado, let’s take a look at cleaning the ice machine.
Table of contents
- How Often to Clean Ice Machine?
- How Do You Know It Is Time to Clean Your Ice Maker?
- What Do You Need to Clean an Ice Maker?
- Step-by-Step Guide to Cleaning an Ice Maker
- Can I Clean My Ice Maker with Vinegar?
- Ice Maker Maintenance and Cleaning Tips
- VEVOR Countertop Ice Maker: Powerful and Easy-to-Clean Option
- FAQS About Cleaning an Ice Maker
How Often to Clean Ice Machine?
Cleaning your ice machine isn’t just a good habit; it’s a must for frosty, fresh cubes. Just like you wouldn’t let your coffee maker get grimy, you shouldn’t let your ice maker get dirty, too.
When it comes to household ice makers, they should be cleaned every 6 months. But if you’re constantly using your ice maker or have hard water, go for up to quarterly cleans.
Commercial machines, however, are a different ball game. They need monthly attention because they’re serving up mountains of ice daily. Remember, scale build-up and mold don’t care how often the machine is used. If not cleaned regularly, the machine will get moldy, and it will then require much more time and effort to get rid of them.
Thus, no matter what kind of machine you use to make ice, you need to stick to a strict cleaning schedule. The more regularly you clean it, the better it will work.
How Do You Know It Is Time to Clean Your Ice Maker?
Spotting the signs that your ice maker needs a scrub-down isn’t rocket science, but it sure is important. If you notice any funky odors coming from your cubes or if they start looking cloudy instead of clear, that’s a sign that you need to clean the ice maker.
Another pointer towards cleaning your ice maker is noise. If you find your ice maker is making weird noises like groaning or clicking sounds, then that could mean there is built-up grime. The speed of an ice machine also tells a lot about how clean it is on the inside. In a machine that isn’t very clean, the ice will take longer than usual to pop out.
By keeping these pointers in mind, you can clearly understand when it is time for your ice maker to get a cleaning. These telltale signs can help you know when it is time to give the ice maker a good scrub.
What Do You Need to Clean an Ice Maker?
Just as discussed above, cleaning your ice maker isn’t rocket science, but it does require the right tools. First off, you’ll need a soft cloth or sponge that won’t scratch up the interior of your machine. Next, you would need warm water and soap; this duo works wonders for wiping away grime.
Moving along, you can’t forget about descaling solutions or specialized ice machine cleaners, which fight against mineral build-up or grime. And while we’re at it, let’s talk about white vinegar and how it can help clean your ice maker. White vinegar is an everyday household item that doubles as an eco-friendly cleaning agent when commercial products aren’t handy.
Apart from these cleaning tools, you need to grab some rubber gloves to protect your hands and keep things sanitary. Also, remember to have fresh water filters on hand because swapping these out is key to keeping things running smoothly.
Step-by-Step Guide to Cleaning an Ice Maker
Now that we have talked about the cleaning tools you need, it is time to understand how to clean an ice maker and take a closer look at the steps involved. So, let’s break down the process.
Step 1: Turn Off and Remove the Ice
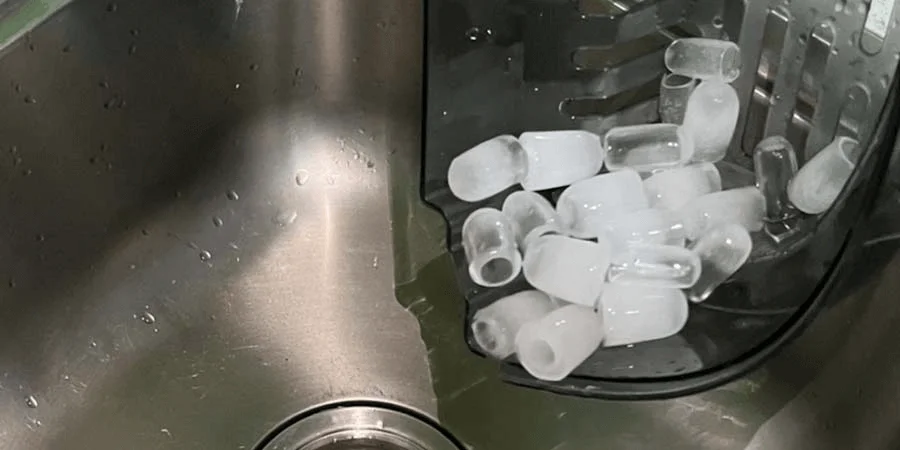
The first step in dealing with any machine involves turning it off. Because safety should always come first. Once you turn it off, the next step is to take out any remaining ice. This way, you will ensure that there is no ice or water left behind in the machine.
Step 2: Drain Water and Dismantle Detachable Parts
After you take out any ice or water from the ice maker machine, you need to detach its parts. Most models will let you remove trays or storage bins easily. Once they’re out, give them a good soak in warm soapy water. This step ensures even the toughest of stains and grease are cleaned from the insides of your machine.
Step 3: Squeaky Clean Interior
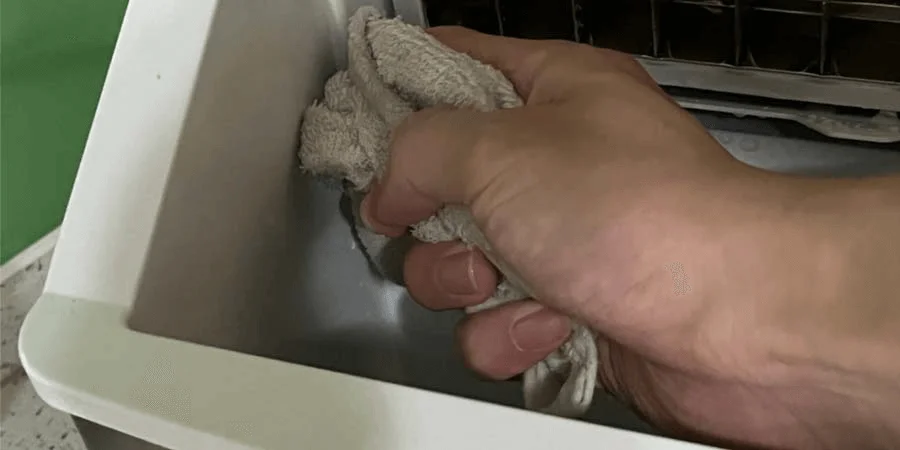
Just as the outside needs to be cleaned with a soft cloth, the insides should also be cleaned with a soft cloth. A cloth dipped in diluted cleaner specifically designed for ice machines, you can smoothly clean the inner parts of the ice maker. Gently scrub away at surfaces where mineral build-up may have been left behind.
Step 4: Freshen Up the Water Filter
A water filter works wonders when it comes to cleaning the impurities left behind in your ice maker machine. This is the main part of an ice-making machine that needs thorough cleaning. But keep in mind that you need to replace or clean it according to manufacturer guidelines. Plus, don’t compromise on this; the cleaner the water filter, the better your ice will be.
Step 5: A Little Diluted Cleaner Solution
You also need to get hold of an approved ice machine cleaner solution. By mixing it with water, you get a cleaner that reaches every nook of your ice maker. But remember to follow the label instructions so you don’t add more or less than the required water with the cleaner.
Step 6: Gleaming Exterior and Sanitization Finish
Wipe down that exterior until it is shiny and clean. Sanitize using either a bleach mixture or sanitizer solution fit for food contact surfaces so there are no germs left behind when you use the machine next time.
Step 8: Running a Sanitizing Cycle
Next, run a sanitizing cycle, if your machine has this feature. If not, simply let the sanitizing solution sit for the recommended time before rinsing.
Step 9: Cleaning the Water Filter
A crucial yet often overlooked step in how to clean ice machine is cleaning the water filter. If your ice maker has a water filter, refer to the user’s manual on how to clean it, or replace it if necessary. A clean water filter ensures your ice is not only clean but also tastes good.
Step 10: Reassembling the Machine
Once all components are cleaned and the interior of the machine is sanitized, it’s time to reassemble. Follow the order in which you removed the components, making sure everything is secure and in its proper place.
Step 11: Running a Batch of Ice
After reassembly, run a batch of ice to verify if the machine is working properly. Discard this ice as it may still contain remnants of the cleaning and sanitizing solutions. Your commercial ice maker is now ready for regular use.
Throughout the cleaning process, it’s important to ensure the machine is cleaned thoroughly. This includes reaching every corner, ensuring all grime and scale buildup is removed.
Regular cleaning of your ice maker will not only extend the lifespan of your commercial ice machine but also maintain the quality of the ice it produces. Regular cleaning also helps prevent costly repairs and replacements down the line.
Can I Clean My Ice Maker with Vinegar?
Vinegar isn’t just for salad dressing; this essential pantry item can be your ice maker’s best friend when it comes to cleaning the ice machine. It’s the go-to solution if you’re looking for a natural and inexpensive way to descale and disinfect your machine.
The acetic acid in vinegar works wonders by breaking down mineral deposits and mold that can hinder your ice maker’s performance. But don’t just pour the vinegar into your ice maker directly. Instead, you have to dilute the vinegar and follow the proper procedure. To help you out, we have discussed the procedure in detail below.
What is the Vinegar Cleaning Method?
There is nothing much different when it comes to cleaning your ice maker with vinegar. To start off, empty the ice bin, then mix equal parts water and white vinegar. Fill up your ice maker’s water reservoir with the diluted mixture. If you have a larger commercial unit, check the manual, as they often hold more liquid than household models.
Run a cleaning cycle on your machine to get rid of the residue, and if there’s no specific setting for this, let it run its normal cycle but stop before it freezes completely. Afterward, drain out all the vinegar solution from inside; rinse thoroughly with clean water several times so that next time around, your iced tea doesn’t come with an unwanted side of pickles flavor.
Last step: wipe down everything dry. A soft cloth will help prevent any leftover moisture from becoming tomorrow’s mildew problem. This small step will ensure the ice maker stays clean for the next day.
Ice Maker Maintenance and Cleaning Tips
Maintaining your ice maker isn’t just about keeping drinks cool for the next backyard bash. It’s also about ensuring that this mini-ice factory in your home or business is hygienic and efficient. So, roll up those sleeves; it’s time to get into the basics of extending your machine’s lifespan.
Tip 1: Schedule Regular Cleanings
Just like you wouldn’t wait until your car breaks down to change the oil, don’t wait for signs of trouble before cleaning your ice maker. Schedule a cleaning session every six months for household units and more frequently for commercial ones so there is not much build-up in these machines.
Tip 2: Use The Right Cleaner
Avoid harsh chemicals that could turn your ice cubes into a science experiment gone wrong. Instead, opt for solutions designed specifically for cleaning ice makers. These will help dissolve mineral deposits without leaving behind any unwanted flavors or odors.
Tip 3: Keep Those Coils Cool
The condenser coils are where the magic happens or where the heat dissipates. When these get dirty, efficiency drops very fast. Make sure they’re free from dust particles and other debris to keep things running smoothly.
VEVOR Countertop Ice Maker: Powerful and Easy-to-Clean Option
If you’re looking for a powerful ice-making machine for your drinks, the VEVOR Countertop Ice Maker is the best choice for you. It stands out as both sturdy and user-friendly. With its strong construction designed to tackle demanding usage, it’s a must-have in any busy kitchen or a bustling bar.
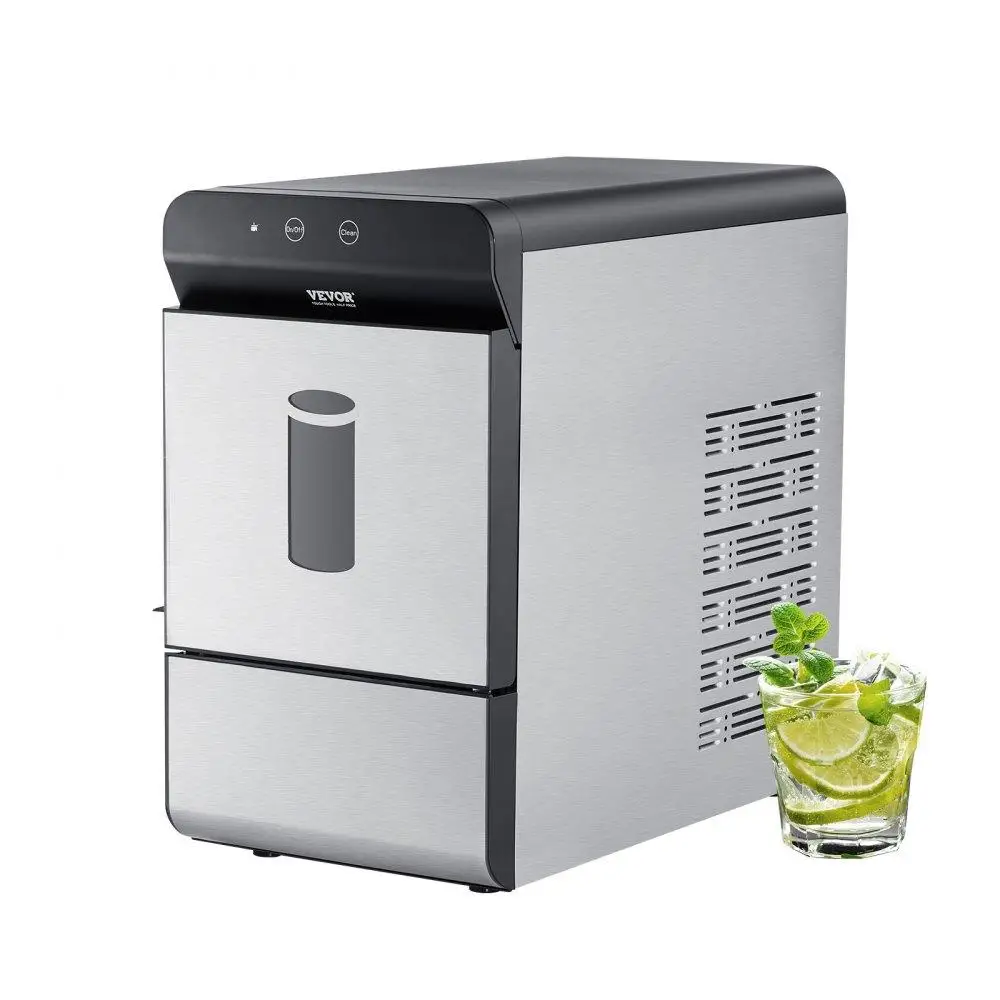
Cleaning this appliance is very easy due to its auto-cleaning option. It comes with a one-button cleansing function that rinses all pipes and trays, thus ensuring the ice cubes are clean and free of odor.
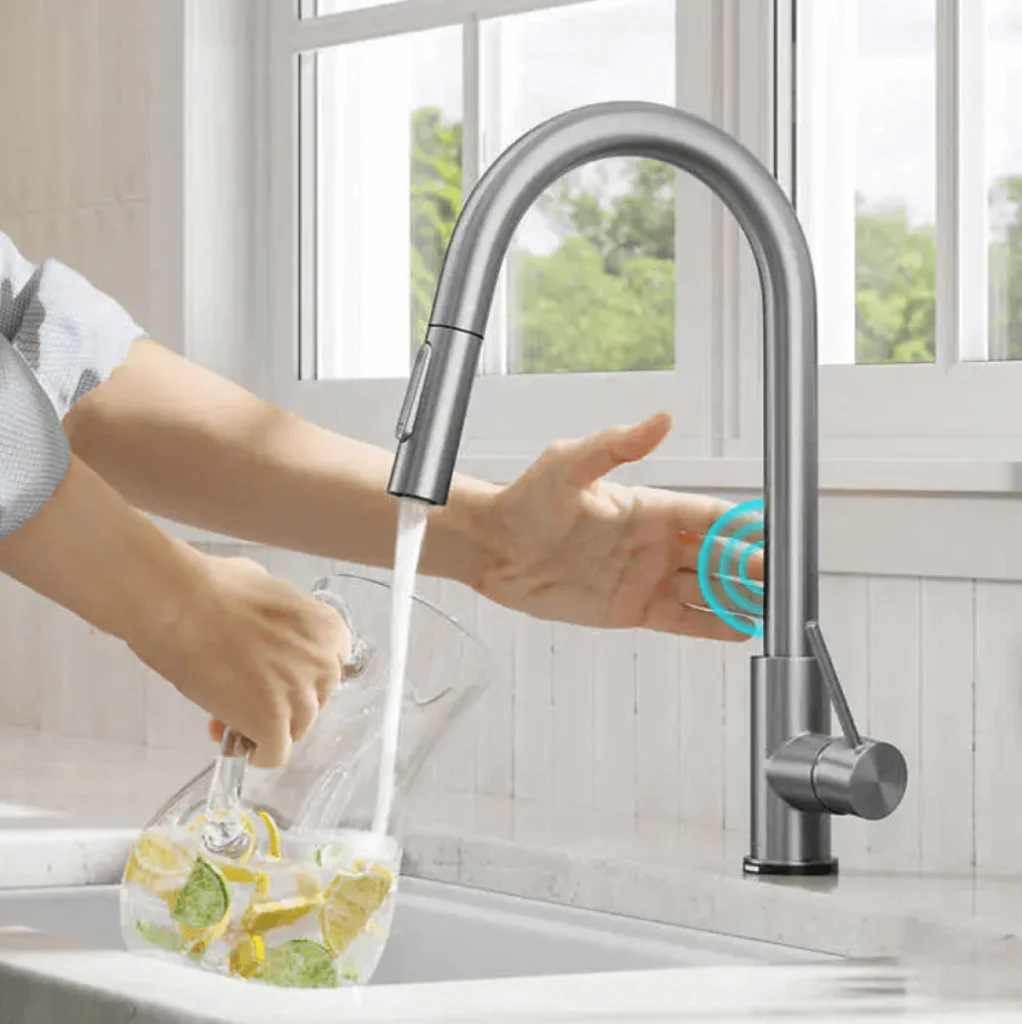
The water filter of the VEVOR ice maker makes it effortless to turn tap water into pure water. Built with heavy-duty stainless steel, this ice maker is sturdy and durable.
FAQS About Cleaning an Ice Maker
After you have learned how to clean ice maker machines, there are a few other questions that many people want to know the answers to. So, to help you out, we have answered some of the most frequently asked questions below.
How to clean a moldy ice maker?
To clean a moldy ice maker, start by tossing out any old ice and giving the bin a good scrub with warm water and vinegar. It is a natural disinfectant that will help you get rid of any mold inside your ice maker.
How to clean the ice maker’s ice dispenser chute?
When it comes to your machine’s ice dispenser chute, vinegar is your friend here again. Grab an old toothbrush, dip it in vinegar solution, and brush away any grime build-up.
How do ice makers self-clean?
There are a few ice maker machines that can clean themselves. If you have one with self-cleaning capabilities, simply press the button according to manufacturer instructions and let technology do its thing.
How do you run a clean cycle on an ice machine?
To run a manual clean cycle on an ice machine without fancy buttons, fill it up with cleaning solution or white vinegar, switch on the cleaning mode if available, or just turn it back on for older models; then rinse thoroughly after cycling through. It will clean up your appliance thoroughly.
What happens if you don’t clean an ice machine?
Last but definitely not least—what happens when you ignore your icy friend? Well, besides funky-tasting cubes that could ruin even the best-iced coffee—the neglected build-up can lead to costly repairs because the grime that builds inside your ice maker can damage the internal parts of the appliance.
Conclusion
So, you’ve got a detailed article on how to clean ice maker machines. Remember: whether it’s for your home or business, regular cleaning is key. Catch that grime before it builds up by keeping an eye out for signs of necessary scrub-downs. Freshen up with a scheduled cleaning routine and consider vinegar as a natural alternative. Keep those tips in mind; they’re lifesavers for machine longevity. If you are looking for an easy-to-clean ice maker, then consider investing in one of the VEVOR ice maker machines that comes with an auto-cleaning option. With their user-friendly functions and sturdy build, they will definitely be a smart addition to your kitchen.

