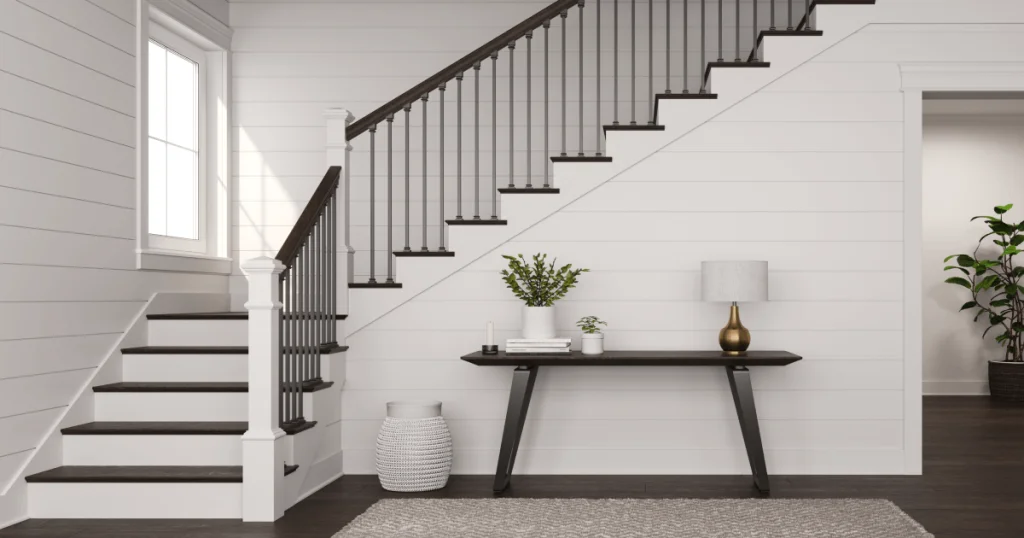
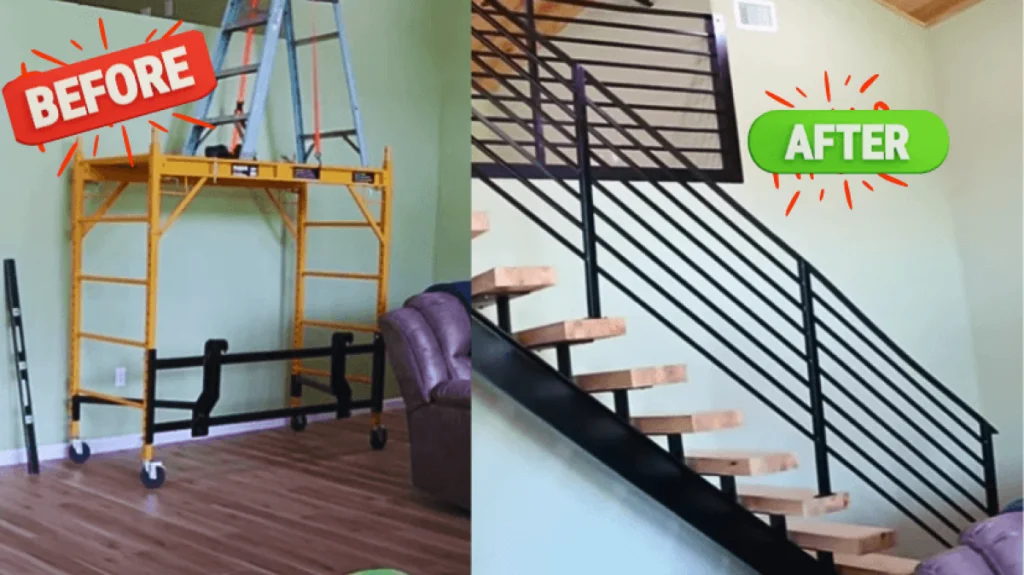
A secure and well-installed handrail is an essential safety feature in any staircase, providing support and stability for individuals going up and down the stairs. VEVOR Handrails stand out as a preferred choice among homeowners and contractors due to their exceptional durability, stylish design, and ease of installation.
But how to install a VEVOR handrail?
This comprehensive guide will walk you through the step-by-step process of installing a VEVOR handrail or any other handrail. From selecting the right tools and materials to securing the handrail in place, we will outline everything clearly, with detailed instructions and helpful tips.
We’ll also provide essential safety precautions to prioritize your safety throughout the installation process.
But before getting to work, here are a few words on VEVOR handrails.
Why Choose VEVOR Handrails?
When it comes to selecting a handrail for your staircase, there are numerous factors to consider, ranging from durability and safety to design aesthetics. Among the many handrail options available to you, VEVOR handrails consistently stand out as a preferred choice among homeowners and contractors alike.
This is due to a combination of exceptional features, a few of which we have discussed below:
Durability and Safety
VEVOR handrails are crafted from high-quality materials, ensuring exceptional durability and longevity. The use of heavy-duty carbon and stainless steel components provides remarkable strength and resistance to wear and tear.
This means that your VEVOR handrail will maintain its structural integrity for years to come. Additionally, the smooth, non-slip surface of the handrails provides a comfortable and secure grip, minimizing the risk of slips and falls.
Design
VEVOR handrails not only excel in terms of functionality but also offer a range of stylish designs to complement any décor. From sleek and modern to traditional and elegant, there’s a VEVOR handrail to perfectly match your aesthetic preferences.
Want a pipe stair handrail? Get this pipe handrail made from carbon steel, which comes in various sizes.
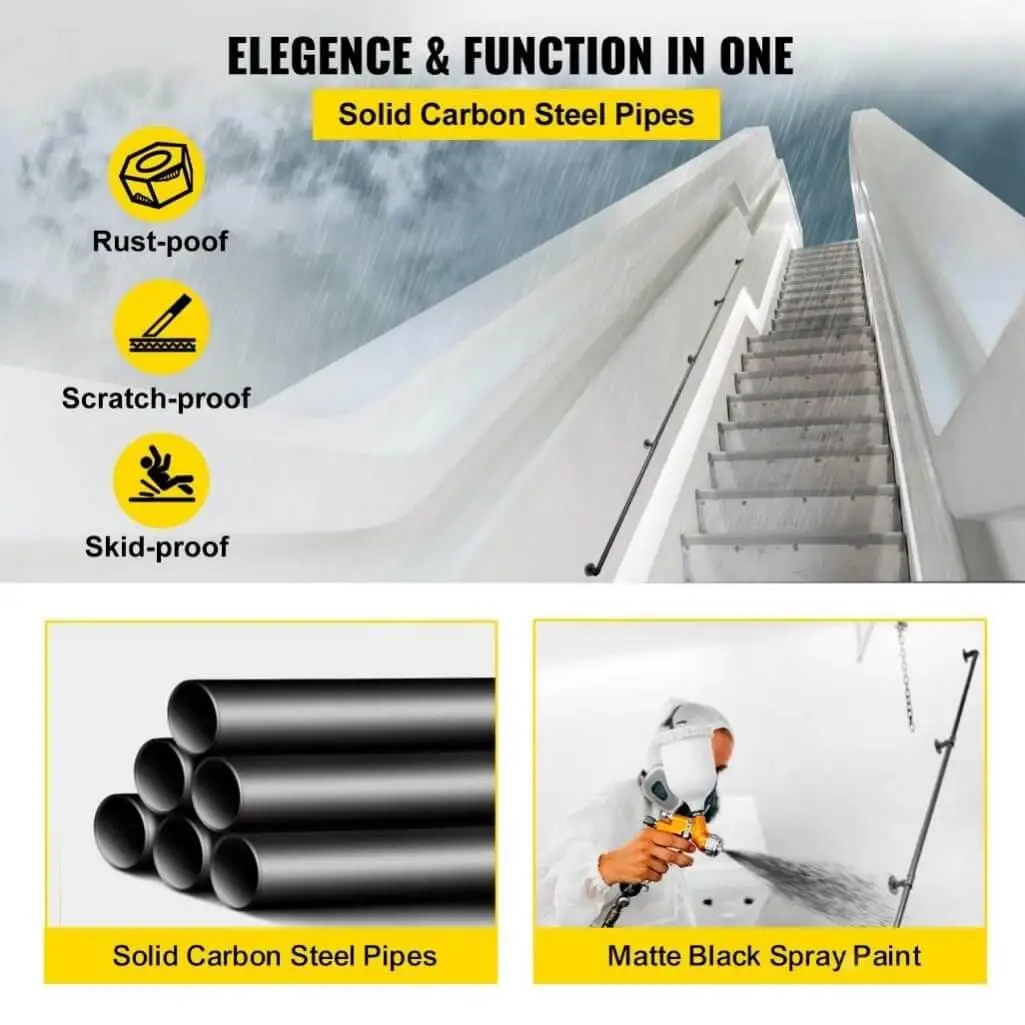
Are you a fan of black metallic colors? Here’s a handrail of your choice. Would white go well with your existing décor? We have covered you. Visit our handrails page and find handrails in different sizes, designs, and colors here.
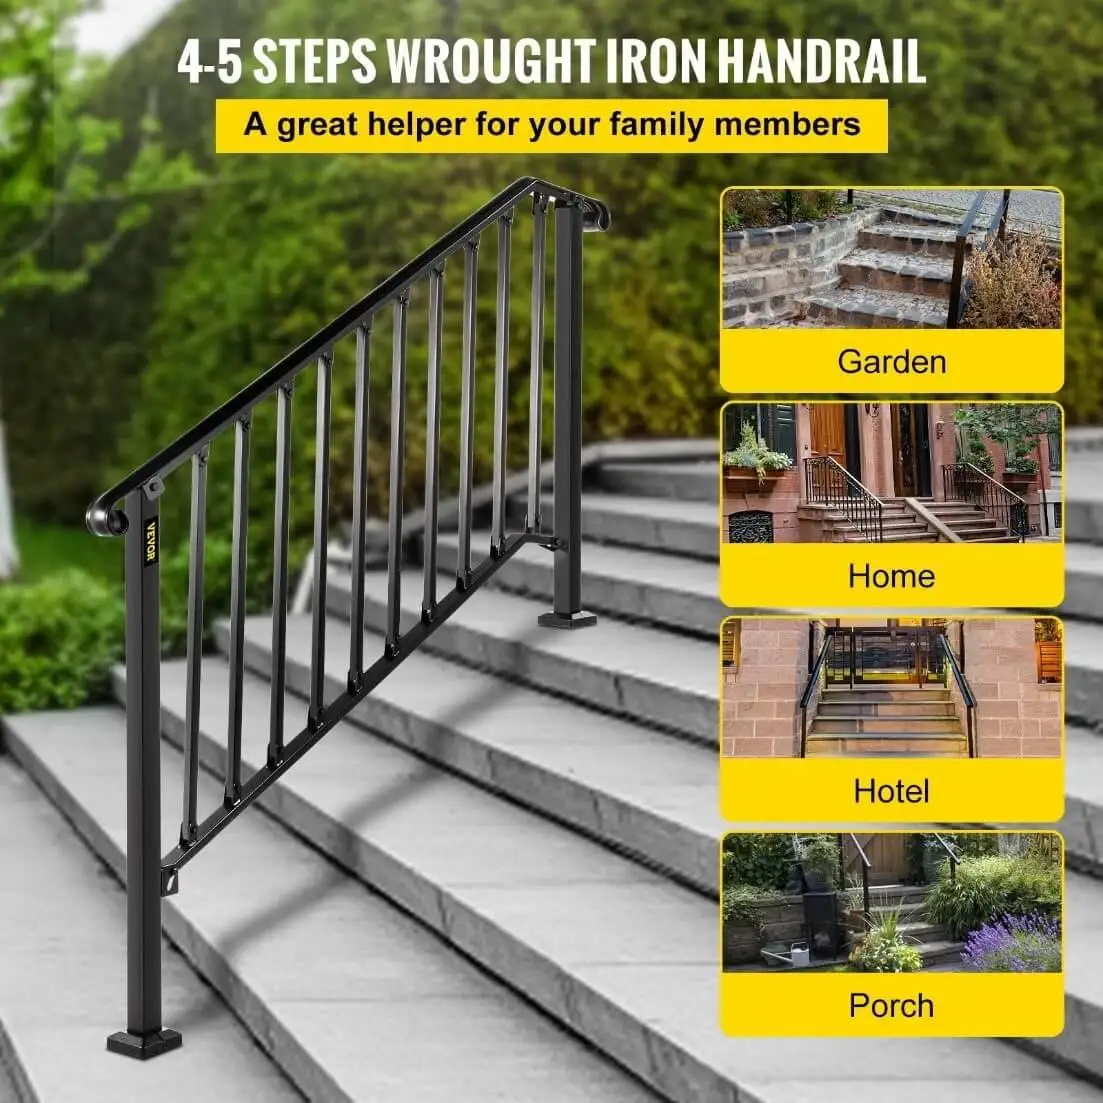
Ease of Installation
VEVOR Handrails are designed for hassle-free installation, even for those with limited DIY experience. The straightforward design and included hardware make the installation process efficient and straightforward.
Affordability
Despite the premium quality and features we offer, we keep our handrails competitively priced. Not only handrails but all tools at VEVOR are priced with affordability in mind, offering you excellent value for money.
Tools and Materials Needed for Installing a VEVOR Handrail
Before starting work on the installation of your VEVOR handrail, or any other handrail for that matter, it’s wise to gather all the necessary tools and materials.
By having the right items readily available, you can avoid delays and interruptions that can leave you annoyed—a lot. Speaking of myself, it does annoy me when I sit to carry out a task, and I need a tool that is not readily available.
Essential Tools for Installing a Handrail
● Drill—a power drill is essential for creating pilot holes for the handrail brackets and screws.
● Level—a level is crucial for ensuring the handrail is installed straight and level, preventing wobbles or unevenness.
● Stud Finder—a stud finder helps locate the studs in the wall, providing a secure mounting point for the handrail brackets. This is if your wall is made with wood or drywall. You will use anchors if your wall is made of masonry material, such as concrete or bricks.
● Tape Measure—a tape measure is essential for accurately measuring the length of the handrail and determining the placement of the brackets.
● Pencil—a pencil is used to mark the locations for pilot holes and bracket placement on the wall.
● Screwdriver—a screwdriver is needed to fasten the handrail brackets and screws securely to the wall.
● Hammer—you may need a hammer to gently tap the handrail or brackets into place, ensuring a snug fit.
These were the tools required. Now, the materials.
Required Materials for Installing a Handrail
● VEVOR Handrail—the specific VEVOR Handrail model you have chosen. If you have not chosen one yet, you can choose one here.
● Mounting Brackets—you do not have to worry about them, as they already come with the VEVOR Handrail.
● Hardware—the screws and anchors that come with the VEVOR Handrail.
Besides these, some other materials are not immediately needed but may come in handy during the process, such as:
● Wood Filler—wood filler may be needed to fill any gaps or imperfections in the wall after drilling pilot holes.
● Sandpaper—sandpaper is used to smooth out any rough edges or imperfections on the handrail or mounting brackets.
● Cleaning Cloth—a cleaning cloth is used to wipe away any debris or dust from the handrail and mounting brackets before installation.
Preparation Before Installation
You have gathered all the tools? Perfect. Let’s do some pre-installation preparation now.
Measure and Mark the Installation Points
Using a tape measure, carefully measure the length of the staircase where the handrail will be installed. Mark the starting and ending points of the handrail on the wall with a pencil.
Locate the Wall Studs
Employ a stud finder to identify the locations of the wall studs behind the marked points. Studs provide a secure mounting surface for the handrail brackets. As said earlier, you can skip this step if your wall is made of bricks or concrete.
For concrete, see the table below, where we have outlined the differences in the installation process.
Transfer Markings to the Wall
Using a pencil, transfer the markings for the pilot holes from the handrail onto the wall, ensuring they align with the wall studs.
Prepare the Work Area
Clear the work area around the staircase. Removing any furniture, obstacles, or loose items that could cause interruptions in the work. Cover the floor with a drop cloth to protect it from debris or scratches.
Gather Tools and Materials
Before starting the installation, ensure you have all the tools and materials listed in the section above readily available. This will prevent interruptions and delays during the installation process.
Protect Flooring and Wall
Lay down a drop cloth to protect the flooring from scratches or debris during the installation process. Additionally, use painter’s tape to protect the wall surface around the marked points for pilot holes.
How to Install VEVOR Handrail: Step-by-Step Installation Guide
Now that you’ve gathered the necessary tools and materials and properly prepared the work area, it’s time to install your VEVOR Handrail. Follow these step-by-step instructions carefully to ensure a successful and secure installation.
Step 1: Drill Pilot Holes
Using a power drill equipped with a suitable drill bit, carefully drill pilot holes at the marked locations on the wall. Ensure the pilot holes are deep enough to accommodate the screws that will secure the handrail brackets.
Step 2: Attach Mounting Brackets
Align the mounting brackets with the drilled pilot holes and hold them firmly against the wall. Using a screwdriver, fasten the brackets securely to the wall using the provided screws. Ensure the brackets are firmly attached and leveled.
Step 3: Position the Handrail
Carefully lift the handrail and position it onto the mounting brackets, aligning the pre-drilled holes on the handrail with the corresponding holes on the brackets.
Step 4: Secure the Handrail
Using a screwdriver, insert the provided screws through the pre-drilled holes on the handrail and into the mounting brackets. Tighten the screws firmly to secure the handrail in place.
Step 5: Check for Level and Stability
Use a level to ensure the handrail is installed straight and level. Gently tug on the handrail to check for stability. If it feels loose, tighten the screws further.
Step 6: Apply Wood Filler (Optional)
If any gaps or imperfections around the pilot holes remain, fill them with wood filler. Allow the wood filler to dry completely and sand it smooth once dry.
Step 7: Clean Up
You have done almost all the heavy lifting—well done! Now, remove the drop cloth and clean up any debris or dust from the work area. Dispose of any used tools or materials properly.
That was the final step. Step back and admire your newly installed VEVOR handrail.

How to Install VEVOR Handrail in Concrete?
The process of installing a VEVOR handrail in concrete is almost the same as above. There are only a few differences in the installation process in walls made of wood or drywall and concrete. We simplify that in the table below:
| Installation Step | Installation Step | Wood or Drywall Wall |
|---|---|---|
| Locating mounting points | Mark the locations for the handrail brackets on the wall. | Use a stud finder to locate studs. |
| Drilling pilot holes | Use a hammer drill with a masonry bit to drill pilot holes. | Use a drill with a wood bit to drill pilot holes. |
| Fastening brackets | Use anchors to secure the brackets to the wall. | Use screws or nails to secure the brackets to the wall studs. |
Safety Tips During Installation
Safety should always be the top priority when undertaking any installation project, including the installation of handrails. Our DIY experts have offered some tips on how to maintain safety during the installation.
● Work in a well-lit area—first of all, the work area should be well-lit to prevent tripping hazards and allow you to see clearly while handling tools and materials. It’s better to install the handrail in the day rather than in the dark.
● Wear proper protective gear—wear safety glasses to protect your eyes from debris and dust. Additionally, consider wearing gloves to protect your hands from sharp edges, splinters, or any mishit of the hammer.
● Use the right tools—always use the correct tools for the job. Avoid using makeshift or damaged tools, as this can increase the risk of accidents.
● Handle tools with care—handle all the tools with care and attention. Avoid swinging or throwing tools, and store them properly when not in use.
● Work on a stable surface—ensure you have a stable and secure work surface to prevent falls or slips. If working on a ladder, confirm that it is properly positioned and secure before climbing.
● Lift with proper technique—when lifting the handrail or other heavy objects, use proper lifting techniques to avoid straining your back or muscles. Seek assistance if necessary.
● Mind electrical hazards—be cautious while working near electrical outlets or wiring. Consult a qualified electrician if you are unsure about electrical safety or if the electric connections are coming in your way of installation work.
FAQs about How to Install a VEVOR Handrail
Q: Why is leveling so important during installation?
Leveling is important for both safety and aesthetics. A properly leveled handrail provides a stable and consistent grip, preventing any wobbles or unevenness that could lead to slips or falls. Additionally, a level handrail maintains a pleasing visual appearance, adding to the overall aesthetic appeal of your staircase.
Q: How often should I check the stability of my handrail post-installation?
While VEVOR Handrails are designed for exceptional durability and long-lasting performance, it’s still recommended to periodically check the stability of your handrail to ensure it remains secure. A quick visual inspection and a gentle handrail tug can help identify potential issues. If you notice any signs of looseness or instability, tighten the screws that secure the handrail to the brackets.
Q: What should I do if my handrail becomes loose over time?
If you notice that your VEVOR Handrail has become loose over time, don’t panic. Simply tighten the screws that secure the handrail to the mounting brackets. If the looseness persists, it’s advisable to inspect the screws for any damage or wear and replace them if necessary.
Additionally, check the mounting brackets for any signs of damage or deterioration. If any issues are found, consider replacing the brackets with new ones to ensure your handrail’s continued stability and safety.
Conclusion
With a durable, safe, and stylish design, VEVOR handrails are an excellent choice for enhancing the safety and aesthetics of your staircase. By following the step-by-step instructions outlined in this guide above, you can successfully install your VEVOR handrail and enjoy its benefits for years to come. Remember to always prioritize safety during installation, and don’t hesitate to seek assistance if needed.

