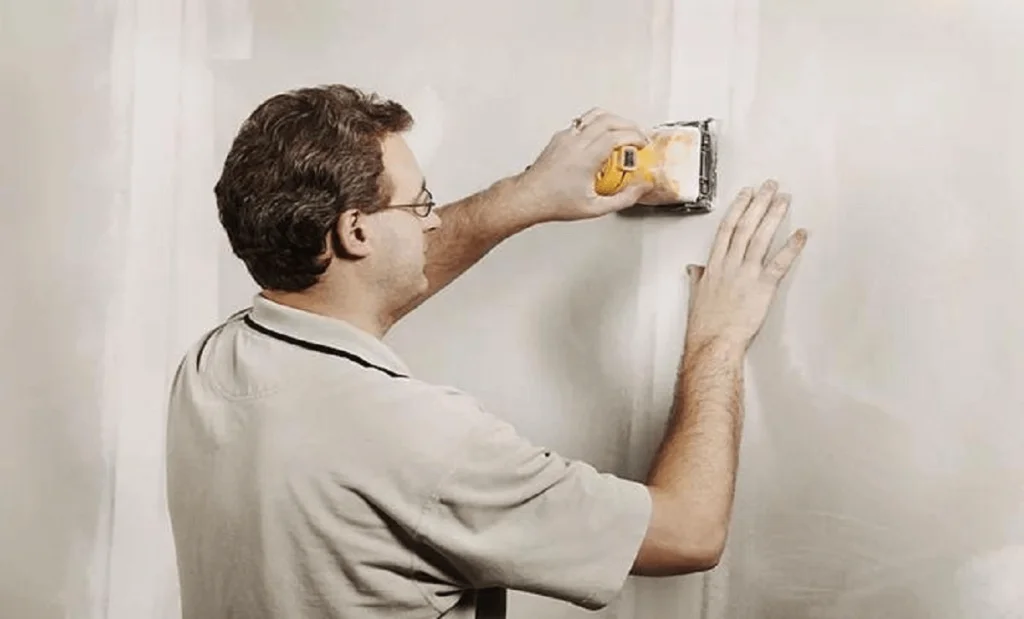
You’ve hung, taped, and mudded your drywall – now it’s time for the all-important sanding phase. Sanding might seem like a tedious chore, but don’t overlook this essential step. Properly sanding those mudded areas creates a sleek, uniform surface for your primer and paint to glide on flawlessly.
Trying to paint over unsanded drywall is a recipe for disaster – every flaw and imperfection will show through like a bright neon sign. But have no fear! With the right tools and techniques, you can achieve that coveted smooth-as-silk drywall finish. That’s where the awesome VEVOR drywall sander comes in.
Table of contents
- Why Sanding Drywall is Important?
- Essential Tools and Materials for Sanding Drywall
- How to Prepare Your Workspace for Sanding Drywall
- Step-by-Step Guide on How to Sand Drywall
- How to Wet Sand Drywall for a Smoother Finish
- How to Sand Drywall Mud for a Perfect Finish
- Common Mistakes to Avoid When Sanding Drywall
- Expert Tips for Sanding Drywall Like a Pro
Why Sanding Drywall is Important?
Achieving a Smooth Finish
Can you imagine running your hand along a freshly painted wall, only to feel every bump and ridge? Ugh, such a mood killer for your beautiful new room. Proper sanding prevents this nightmare scenario by knocking down any high spots and smoothing out those mudded drywall joints for a level, uniform surface.
Preparing for Painting or Wallpaper
Whether you’re painting or hanging wallpaper, you need a slick base for stunning results. Skipping sanding is like building a house without a foundation – everything will eventually crack and peel. A smooth sanded surface allows paint and primer to adhere properly for long-lasting beauty.
Eliminating Imperfections
From accidental dents and dings to inevitable scuffs and scratches, drywall tends to pick up bumps and bruises during installation. Sanding gently buffs away these eyesores so they stay hidden behind your primer and topcoats.
Essential Tools and Materials for Sanding Drywall
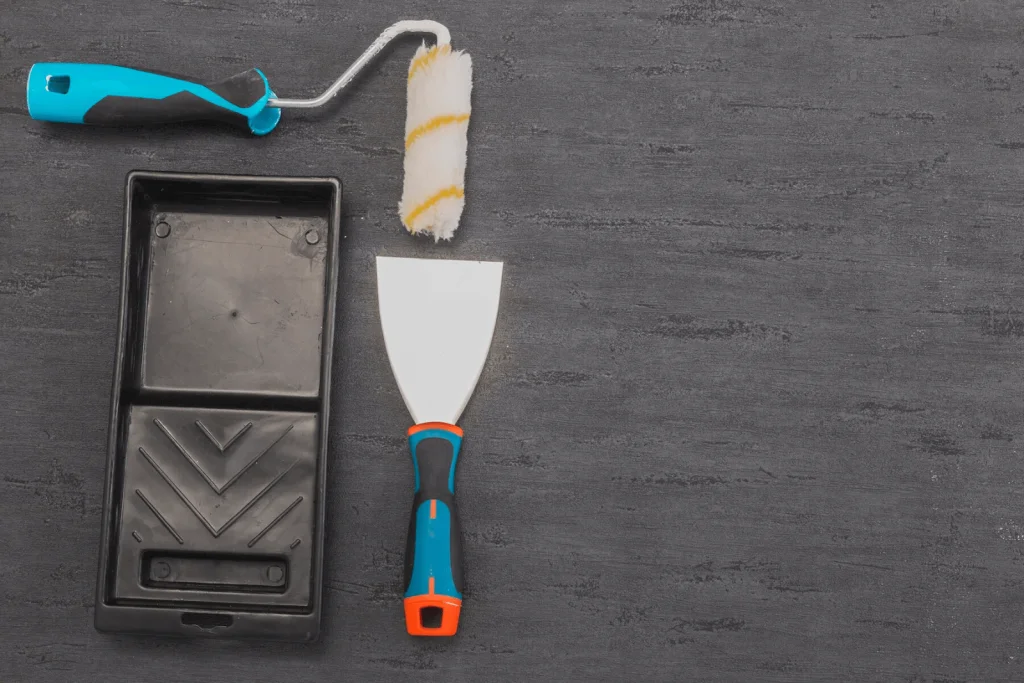
While you can technically sand drywall by hand, using the right power tools makes the job exponentially faster and easier. The VEVOR drywall sander is a game-changer!
VEVOR Drywall Sander and Its Features
This top-rated VEVOR model has several unique features that set it apart:
- Powerful dual 800W motor provides ample sanding force
- Adjustable head allows customized angles for corners, edges, and flat surfaces
- Built-in dust collector keeps your workspace clean
- Lightweight design at only 6 lbs lessens user fatigue
- Variable speed control from 800-1900 RPM for precision sanding
- Quick-release sanding discs for fast paper changes
- Extendable handle reaches up to 10 feet for effortless ceiling work
With its superior suction power and dust-sealed design, the VEVOR drywall sander is a pro at keeping your workspace free of that chalky drywall dust.
Additional Tools You May Need
- Sanding sponge for tight corners and finish point work
- Pole sander attachment for high walls and ceilings
- Drywall sandpaper in various grits – 120-150 grit for most sanding, 220 for final finishing passes
- Putty knife and drywall joint compound for touch-ups
- Work light to inspect the sanding quality
Safety Equipment and Precautions
Drywall dust is no joke – those tiny particles can wreak havoc on your lungs if inhaled over time. Always take these precautions:
- Wear an N95 or N100-rated respirator mask
- Use safety goggles to protect your eyes from dust
- Cover any exposed skin
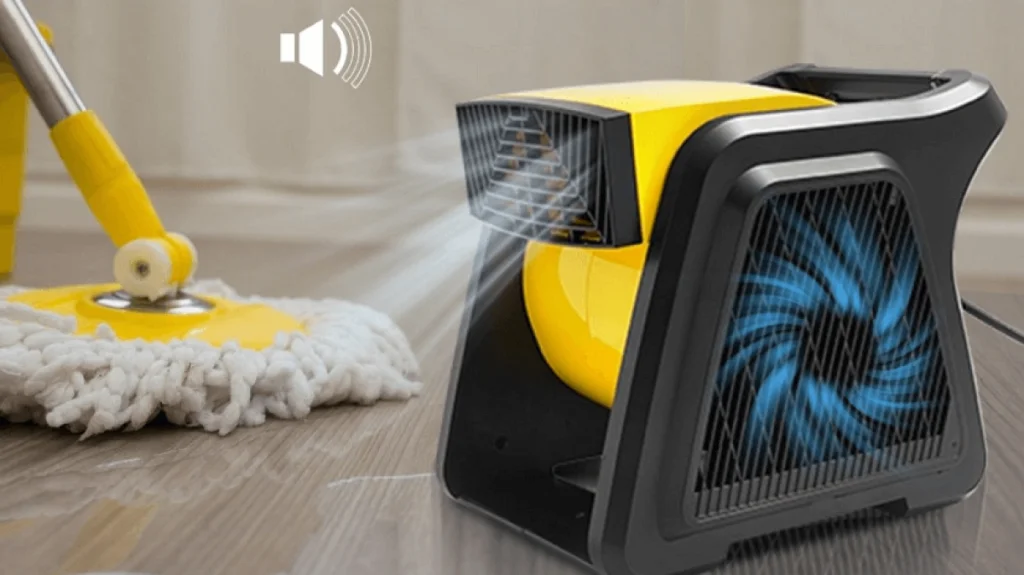
- Work in a well-ventilated area and set up fans if needed
How to Prepare Your Workspace for Sanding Drywall
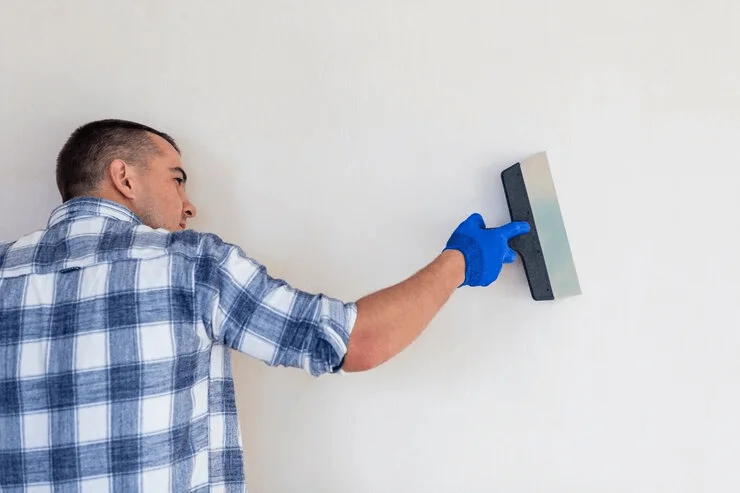
Before you power up that VEVOR sander, it’s crucial to prep your space and protect surrounding areas from drywall dust fallout.
Covering and Protecting Surfaces
Drywall sanding kicks up a shocking amount of powdery dust that seems to get everywhere. Here’s how to contain that mess:
- Lay drop cloths over floors
- Use plastic sheeting to seal off doorways
- Cover furniture, cabinets, fixtures with plastic sheeting or drop cloths
- Close air vents and cover with plastic to prevent dust infiltration
- Remove any detachable light fixtures or cover them completely
Ensuring Proper Ventilation
All that airborne drywall powder needs an escape route to keep your breathing air clean. Be sure to:
- Open windows on multiple walls to allow for cross-ventilation
- Set up box fans blowing outwards to actively exhaust dust
- Consider renting a portable air scrubber with a HEPA filter
- Work in manageable sections rather than all at once if space is limited
Setting Up Your VEVOR Drywall Sander
Once your prep work is done, get that VEVOR sander ready to rock:
- Snap-on a new disc of 120-150 grit sandpaper
- Adjust the head angle and extendable handle as needed
- Connect the dust hose to the built-in dust port
- Plug the dust hose into a shop vacuum with a HEPA filter
- Power on and test the sander before starting
With everything in place, you’re all set to experience the sanding power and convenience of the top-rated VEVOR drywall sander!
Step-by-Step Guide on How to Sand Drywall
Sanding drywall might seem straightforward, but there’s definitely a right way and a wrong way to approach it. Follow these pro tips for perfect results:
Step 1: Inspecting the Drywall Surface
Before you start sanding, do a thorough inspection of all the taped drywall seams and screw holes filled with joint compounds. Use a bright work light to clearly identify:
- High spots that need more vigorous sanding
- Low areas requiring an extra skim coat of mud
- Consistent, even areas ready for a light once-over
Step 2: Choosing the Right Sandpaper Grit
Not all sandpaper is created equal! Using the proper grit level at each sanding phase is key:
- Start with 120-150 grit to smooth down high spots and flatten uneven areas
- Move up to 220 grit for your final passes to create that glassy finish
- Only use grits over 220 for distressed or specialty finishes
Step 3: Using the VEVOR Drywall Sander

Now the fun begins! Firing up your VEVOR drywall sander makes quick work of large, flat sections:
Benefits of Using the VEVOR
- Adjustable handle and tilting head get perfect angles on ceilings, walls, and floors
- Trigger speed control allows you to increase RPMs for stubborn high spots
- Built-in vacuum suction whisks away all that pesky drywall dust
- Ergonomic design prevents fatigue during big sanding jobs
How to Operate It
- Start on a low speed and increase power as needed for different areas
- Use firm pressure and keep the sander base flat for best results
- Work in overlapping lines, feathering each pass into the previous one
- Take it slow and pay close attention to seams and inside corners
- Apply more mud to any areas that get over-sanded
Step 4: Sanding Techniques for Best Results
Even with the VEVOR’s helpful features, there are still strategies for more efficient, quality sanding:
Tips for Even Sanding
- Always go with the grain instead of against it to avoid fuzzy paper texture
- Apply firm, even pressure – no need to bear down excessively
- Use an overlapping X pattern in square rooms, following walls from opposing corners
- Check your work frequently with a bright light to identify any missed spots
How to Avoid Common Mistakes
- Don’t rush and create uneven surfaces
- Be careful not to over-sand and expose drywall seam tape
- Lift instead of grinding when passing over screws or nails
- Don’t neglect to feather and blend seams into flat areas
Step 5: Sanding Corners and Edges
Those tricky corners and vertical edges require different tools and techniques:
- Switch to a pole sander with a swiveling head for tight inside corners
- Use a detail sanding sponge to smooth inside corner seams
- Always sand vertically along corners instead of horizontally to prevent over-sanding
- Wrap sandpaper around a block for hand sanding edges
- Take it slow and use a light touch – these areas are easy to gouge
Even with the awesome VEVOR drywall sander, some finesse is still required for flawless corner and edge work.
Step 6: Inspecting and Touching Up
After your initial round of sanding, it’s time for a detailed inspection:
- Use a powerful work light to examine the surface from multiple angles
- Look for any remaining high spots, ridges, or unevenness
- Mark these areas with a pencil for touch-ups
- Skim coat with a thin layer of lightweight drywall compound
- Allow mud to fully dry before sanding again
Don’t rush through and skip this touch up phase – consistently smooth surfaces are worth the extra effort.
Step 7: Cleaning Up After Sanding
You made it through the hard part! But before you admire your handiwork, proper cleanup is a must:
- Use a utility vacuum with a HEPA filter to remove every last speck of drywall dust
- Wipe down all surfaces with microfiber cloths to pick up the remaining particles
- Remove any masking or plastic sheeting from fixtures
- Inspect floors, window tracks, vents etc. and clean thoroughly
- Consider having HVAC ducts professionally cleaned to remove circulating dust
With a clean blank canvas, you’re all ready for priming and painting to really showcase your like-a-pro sanding job!
How to Wet Sand Drywall for a Smoother Finish
While power sanding dry drywall is incredibly effective with the VEVOR, wet sanding offers some unique advantages. Here’s when and how to incorporate this technique.
When and Why to Wet Sand Drywall
Wet sanding is particularly useful for:
- Skim coating applications – avoids dry compound cracking
- Final finishing passes – eliminates airborne drywall dust
- Tight spaces like corners – wet paper conforms better
- Any low ventilation areas – minimize respiratory issues
The moisture helps soften the drywall compound for smoother, more even sanding with less airborne particulates.
Tools and Materials for Wet Sanding
To wet sand effectively, you’ll need a few extra supplies:
- Drywall sanding sponge designed for wet use
- Buckets for clean and dirty water
- Lots of microfiber cloths for surface wiping
- Paint brush for applying water to work areas
- Consider a small portable wet/dry vacuum for easy cleanup
Step-by-Step Guide to Wet Sanding
The process of wet sanding has a few key differences:
- Thoroughly dampen the drywall area you’ll be working on with a brush
- Wring out your sanding sponge to achieve a damp, not drenched, texture
- Use the moistened sponge to gently sand, refreshing its dampness frequently
- Wipe up slurry residue often with microfiber cloths to prevent drying
- Go over high areas with additional coats of drywall mud after wet sanding
- Allow any fresh mud to fully dry before the final dry sanding passes
The extra time and effort of wet sanding pays off with a satiny smooth, dust-free finish.
How to Sand Drywall Mud for a Perfect Finish
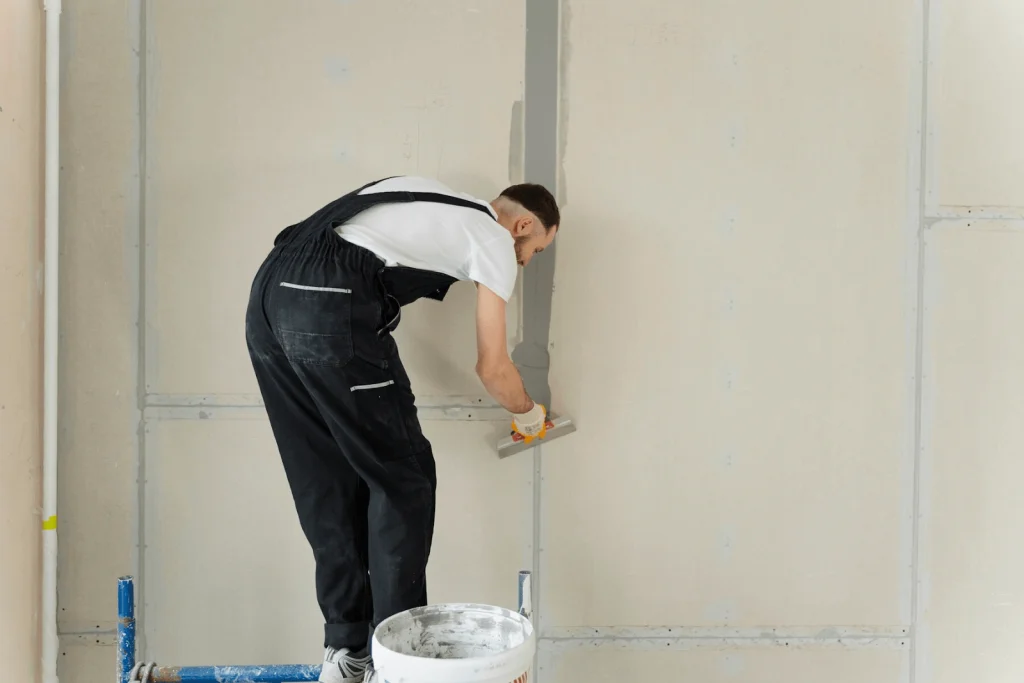
While proper drywall mud application is critical, how you sand that dried compound makes a huge difference too. Let’s look at some pro tips for expertly sanding mud.
Understanding Drywall Mud
Also called joint compound, this specialized gypsum-based material has some unique properties:
- Shrinks slightly as it fully cures and dries
- Develops a hard, cementitious surface when dry
- Available in premixed buckets or dry powder form
- “All-purpose” weighs less but requires more mudding layers
- “Lightweight” varieties are denser with better one-coat coverage
The type of mud and how thickly it’s applied impact your ideal sanding strategy.
Best Practices for Sanding Drywall Mud
Depending on your project needs, try these techniques:
- For basic mudding, start sanding with 120-150 grit paper after compound dries
- Use 220 grit for lightweight or hot mud varieties to prevent over-sanding
- Always sand in multiple light coats when working with hot mud
- Consider wet sanding lightweight hot muds for a smoother finish
- Vacuum thoroughly between each round of sanding
Whether you’re a rookie DIYer or a seasoned pro, perfecting your drywall mud sanding skills takes some practice.
Common Mistakes to Avoid When Sanding Drywall

Sanding may seem pretty straightforward, but there are some pitfalls that can seriously derail your efforts. Stay aware of these frequent issues:
Over-sanding
While it’s important to thoroughly sand down high spots, taking it too far is a common problem:
- Over-sanding can scratch or tear the drywall surface paper
- It may also inadvertently expose the seam tape beneath dried mud
- Both issues require re-mudding and add way more effort
- Use a light hand and take your time, checking work frequently
Using the Wrong Grit
Having the right grit sandpaper for each phase is crucial:
- Too coarse a grit leaves visible scratches you’ll have to re-sand
- Too fine won’t cut through thickly mudded high spots effectively
- Follow the recommended 120-150 grit for bulk sanding
- Stick to 220 for final finish sanding to avoid over-abrading
Not Wearing Proper Safety Gear
Drywall sanding creates huge amounts of airborne particulate that is hazardous to inhale over time:
- Use an N95 respirator or better mask – no exceptions!
- Wear safety glasses to prevent dust exposure to eyes
- Cover any exposed skin, especially if sanding overhead
- Ensure the work area is well-ventilated to disperse dust
Don’t let a lax attitude about safety jeopardize your health and the project quality. Gear up properly every time!
Expert Tips for Sanding Drywall Like a Pro
Even armed with the phenomenal VEVOR drywall sander, there are still techniques that separate the pros from the amateurs. Try incorporating these expert-level strategies:
Maintaining Your VEVOR Drywall Sander
Get the most out of your top-rated VEVOR by keeping it in peak operating condition:
- Routinely remove the sanding disc and thoroughly vacuum out the dust port
- Check brushes and bearings, replacing any worn components
- Keep the power cord in good shape and replace it if it is damaged
- Always use the proper vacuum attachments to maximize dust collection
A well-maintained sander makes your job faster, easier, and higher-quality.
Achieving a Flawless Finish
A few pro tricks can take your drywall sanding from good to absolutely flawless:
- Use a fresh, bright work light and inspect at multiple angles
- Feel along sanded areas to identify any lingering imperfections
- Skim coat with a thin layer of lightweight all-purpose mud
- Sand between coats using the VEVOR with 220 grit paper
- Vacuum thoroughly after your final sanding pass
Taking these extra steps ensures a surface so smooth, that your paint will look like molten glass!
Time-saving Techniques
No one wants to spend ages sanding drywall. Adopt some time-saving methods:
- Work in defined sections, completing each area before moving on
- Pay close attention to inevitable dust buildup and vacuum frequently
- Use the variable speed trigger to rapidly remove stubborn high spots
- When sanding corners and edges, work vertically in long strokes
- Enlist an assistant to help with vacuuming, cleaning, and inspection
Working smarter, not harder, is key to efficient drywall sanding – your VEVOR was designed with this in mind!
Conclusion and Final Thoughts
There’s no denying that sanding drywall is a labor-intensive process. But taking the time and care to properly sand creates a flawless canvas for your paint or wallpaper to shine.Thanks to innovative tools like the VEVOR drywall sander, what was once a painfully dusty, back-breaking chore is now an efficient task. With its powerful suction, swiveling head, and convenient extendable handle, the VEVOR makes quick work of even the most expansive drywall projects.

