Drywall installation is a common home improvement project, but the sanding process can be a real headache. It’s often described as one of the worst jobs in renovating – tedious, messy, and potentially hazardous with all that fine drywall dust floating around. But fear not! With the right tools and techniques, you can skip the drama and achieve perfectly smooth walls, ready for paint or wallpaper.
Enter VEVOR’s top-quality drywall sander – your secret weapon for tackling this task with ease. This powerful yet user-friendly tool, combined with our expert tips, will streamline your sanding experience and deliver flawless results. Say goodbye to backbreaking manual labor and clouds of dust – VEVOR’s drywall sander is about to change the game.
Table of contents
Understanding Drywall Sanding
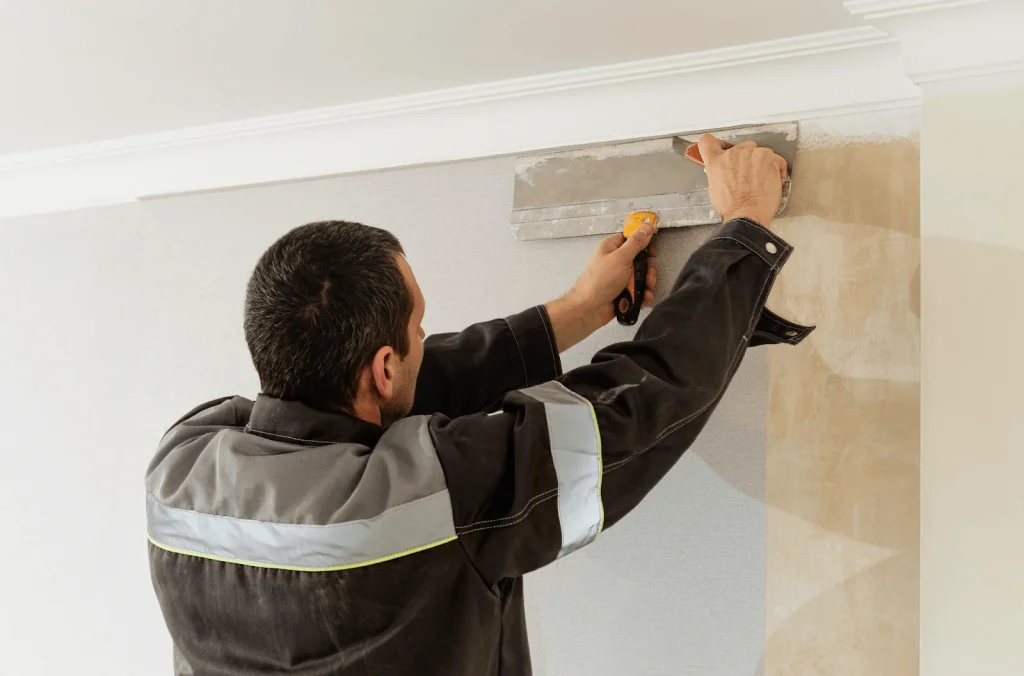
Before we get down to the details of sanding drywall with a power sander, it is high time to discuss why this process is so important. Sanding is the final process of the drywall installation where you get to make your newly hung and taped walls smooth and flawless.
The least humps or inequalities will become very conspicuous as soon as you paint or wallpaper the wall. That is the reason why getting a perfect, smooth plane with a sanded surface is of paramount importance.
If this step is ignored, then all the efforts that you have put in to prepare and install the drywalls will be in vain. The last coat will reveal any imperfection or irregularity and thus, if not well dealt with, you will end up with a poor surface finish.
Sanding also eliminates these irregularities but at the same time prepares your item for the final coat of varnish. Giving it a polished and professional finish that will not peel or chip easily and which you will be glad to display.
Preparing for Drywall Sanding
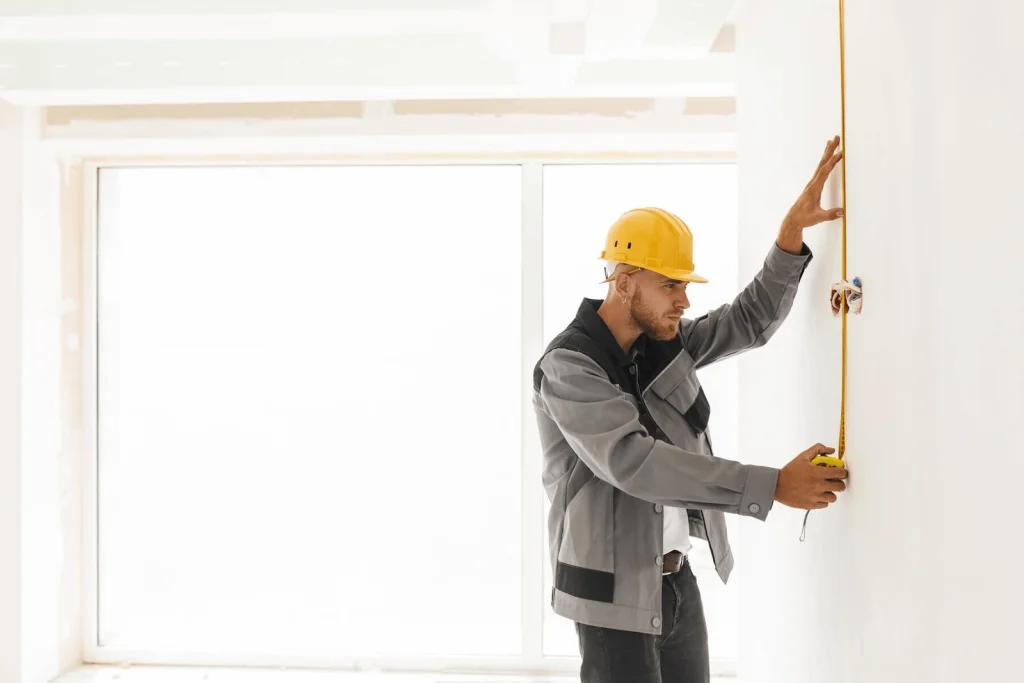
There are a few important preliminary things that should be done before you start using your power sander like a real expert. First of all, creating the environment.
Sanding is particularly messy when done on drywalls; therefore, you need to cover the doorways or vents with plastic sheets to ensure the dust does not circulate in your house. Place a drop cloth on the floor and put a dust cover on any furniture or fixture you do not want to be dusty.
Now it is high time to put on our gears for safety. For the same reason, one should invest in a good quality dust mask as breathing in drywall dust is not a pleasant experience. Glasses are also necessary to protect your eyes from dust and any other particles that may be in the air. Wearing gloves is useful in protecting your hands as well as offering you a better grip on the sander.
Once you have your work area ready and your protective gear in place, you can focus on the drywall. Closely examine the surface for any possible damages such as dents, scrapes, or uneven seams on the joints.
These problem areas will require to be reprimanded and then covered with a new layer of joint compound before you proceed to sanding. Let it dry for a few hours or until it is completely dry, then it is time to bring in the big guns, the VEVOR drywall sander.
Choosing the Right Power Sander
It’s now time to take a closer look at the tool that’s going to change your drywall sanding life forever: The power sander is another important piece of equipment that is used when working with wooden products. But let’s be honest: with so many models and types out there, how do you know which one to go for?
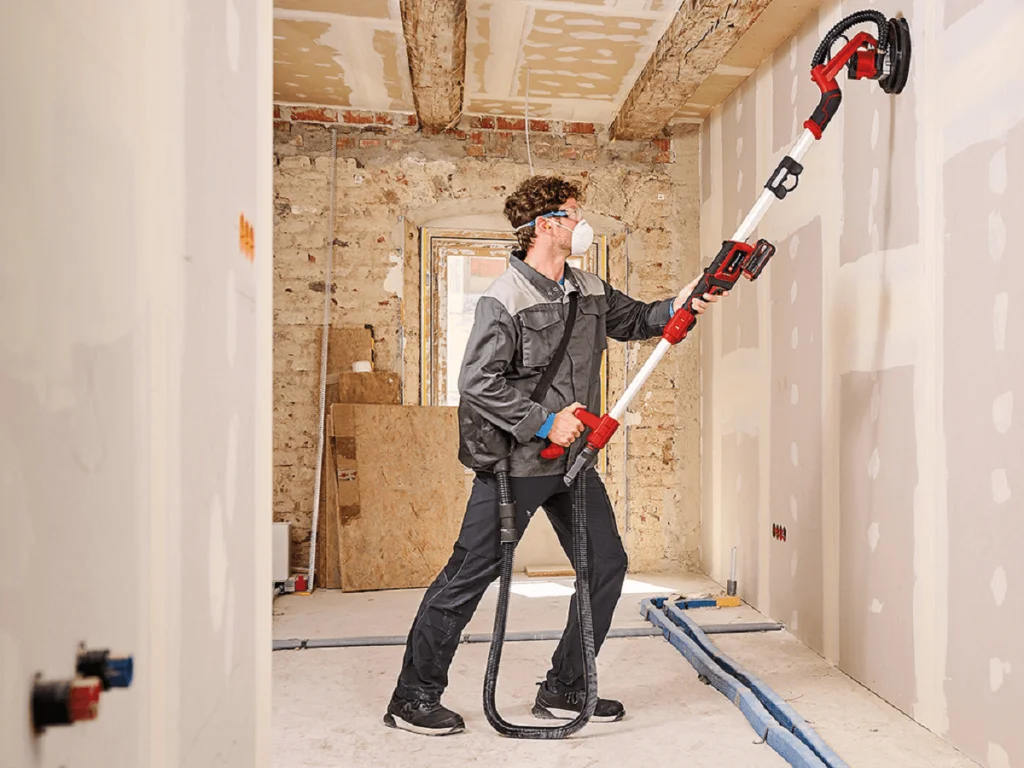
To begin with, let’s outline the main categories that will be crucial for further analysis. You’ve got your orbital sanders; these are the compact and handheld ones that vibrate in circular motion to flatten surfaces. They are ideal for expansive open walls. There are pole sanders with extendable limbs for those of you who want to reach the ceiling without putting in a lot of effort.
Last but not least, there are detail sanders that are designed for intricate work in small, limited spaces such as corners and edges.
No matter which type suits your needs best, there are a few must-have features that separate the total game-changers from the duds. Right at the top of that list? An integrated dust collection system. These vacuum-powered bad boys whisk away drywall particles as you work, keeping your space clean and preventing dust clogs inside the sander.
Variable speed settings are another biggie – they let you crank up the power for tough spots, or dial it back for final finish sanding. And of course, you’ll want an ergonomic design that’s lightweight yet sturdy enough to minimize user fatigue over long projects.
Now for the real star of the show: VEVOR’s premium drywall sander model. This device checks every box with robust dust extraction, adjustable speeds, and an ultra-comfy ergonomic grip. But it doesn’t stop there – it’s also built to withstand even the most demanding sanding jobs year after year.
In other words, when it comes to taking your drywall finish from “blah” to “wow!”, VEVOR’s sander is the ultimate wall smoothing weapon. But don’t just take my word for it – keep reading to learn the simple tips and techniques for using this game-changing tool like a total pro.
Step-by-Step Guide to Sanding Drywall with a Power Sander
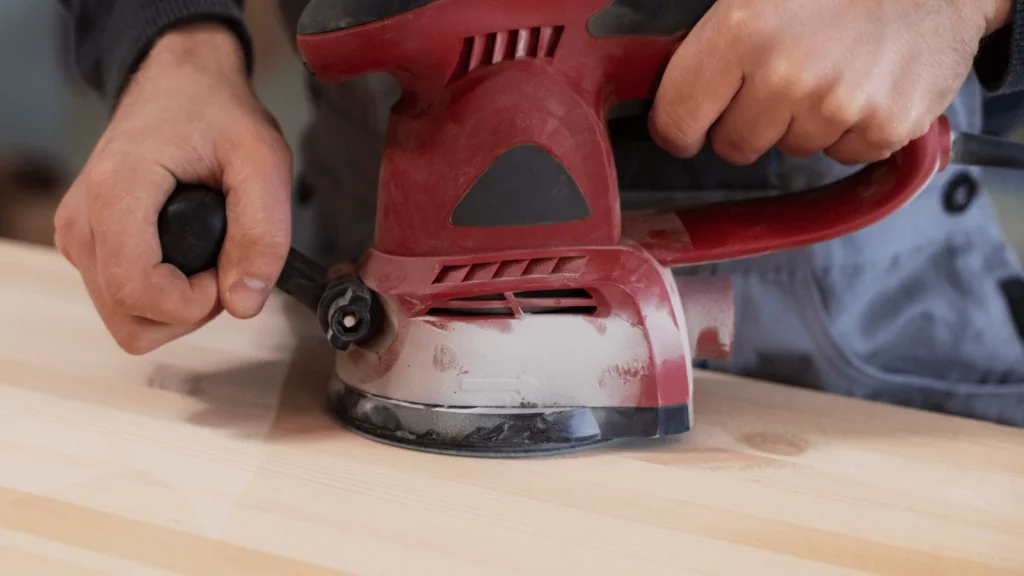
Okay, let’s get down to business! Here’s the step-by-step game plan for sanding your drywall to perfection using VEVOR’s top-notch power sander:
Initial Sanding Steps
First things first – gear up that sander with some coarse 80-100 grit sandpaper. We’re talking about the heavy-duty scratchy stuff to start knocking down any major ridges, bumps, or valleys on the wall surface. Work in long, even strokes across the wall, keeping the sander flush.
For bigger open areas, position yourself so you can make nice long horizontal passes from one end to the other. A little overlap between each pass ensures full coverage without any missed spots.
Edges and Corners
Once those bigger stretches are smoothed out, it’s time to shift focus to the edges and corners. This is where having a quality detail sander really comes in clutch – those compact heads can wiggle into every little nook and cranny that a full-size orbital can’t quite reach.
If corners are your nemesis, try using a flexible sanding sponge instead. These dense little blocks curve right into the corner to smooth it out without scuffing up the adjoining walls.
Final Touches
After that initial rough sanding, we’re going to progressively work our way up through finer grits – maybe 120, then 150 or 180 if you’re really going for that baby’s-bottom sheen. This final pass is all about buffing out any little scoring left behind from the coarser papers.
Keep a sharp eye out for any stubborn spots that might need a little extra elbow grease. Inside corners are a common culprit, since those drywall seams can leave behind faint ridges if not properly feathered out. A few extra careful passes and you’re golden.
Throughout the whole process, avoid some of those classic sanding slip-ups like over sanding (which can rough up the drywall paper) or using uneven pressure.
With that flawless, uniform finish finally achieved, you’re ready to break out the paint, primer, or wallpaper. Prepare to be amazed at the difference a little diligent drywall sanding makes!
Benefits of Using a Power Sander
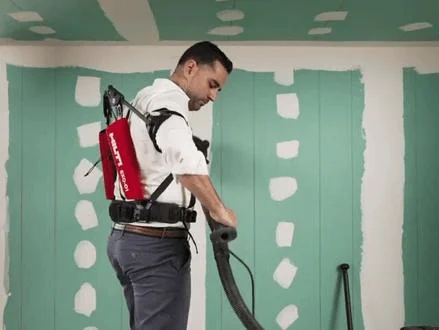
If you’ve made it this far, we’re hoping we’ve successfully convinced you that sanding drywall by hand is a miserable experience best left in the past. Enter the power sander, your new best friend for this toilsome task.
Beyond just making the whole ordeal about a zillion times faster and easier, power sanders deliver a level of consistency that’s practically impossible to achieve by hand. We’re talking perfectly even with sanding pressure from start to finish – no more weird ripples, dips, or unevenness from fatigue or human error.
Here’s more on the benefits of using a power sander:
After hours of vigorous manual sanding, you’d be left feeling like you just went 12 rounds in the ring. Using a power sander drastically reduces that physical toll on your body. No more aching shoulders, deadened hands, or lower back pain.
Then there’s the dust factor. Drywall sanding is a notoriously messy business, coating every surface in that ultra-fine particulate mess. But models like VEVOR’s drywall sander come equipped with heavy-duty dust extraction systems to keep that airborne gunk locked down as you work. No more sneezing fits or cleaning drywall debris out of your houseplants for weeks after!
Sure, a quality power sander is an investment upfront. But for any serious DIYer tackling big drywall jobs, it’s a worthy one. These tools turn a painfully tedious chore into an efficient, clean, downright pleasant task. Your future sanded walls (and body) will thank you!
FAQs About Sanding Drywall with Power Sander
Still have some lingering doubts about mastering the power sander? Let’s cover a few common queries:
Can I use a power sander on painted walls?
In a word – yes! While you’ll definitely want to start with coarser grits to cut through that topcoat, power sanders are awesome for refreshing and smoothing painted drywall. Just be sure to take proper precautions against fumes and use integrated dust collection.
What grit sandpaper should I start with on bare drywall?
For bare, freshly hung drywall, opt for 80-100 grit paper on that first sanding pass. This allows you to level any major ridges but doesn’t overdo it. You can work up through higher grits after.
How do I handle tough spots and repairs?
For heavily damaged areas or patches, it’s best to apply a skim coat of joint compound first, let it dry fully, and then sand. A good pole sander makes quick work of those tricky ceiling spots too.
Conclusion
There you have it – all the tips and tools you need to sand drywall like an absolute pro! By combining VEVOR’s premium power sander with the proper techniques, you’ll achieve a smooth, consistent finish every single time. No more back-breaking drudgery or hazardous dust storms.
So what are you waiting for? Make your next drywall project a total breeze and invest in VEVOR’s top-rated drywall sander today. With this game-changing tool on your side, you’ll not only get flawless walls – but peace of mind too. Upgrade your sanding game right here!

