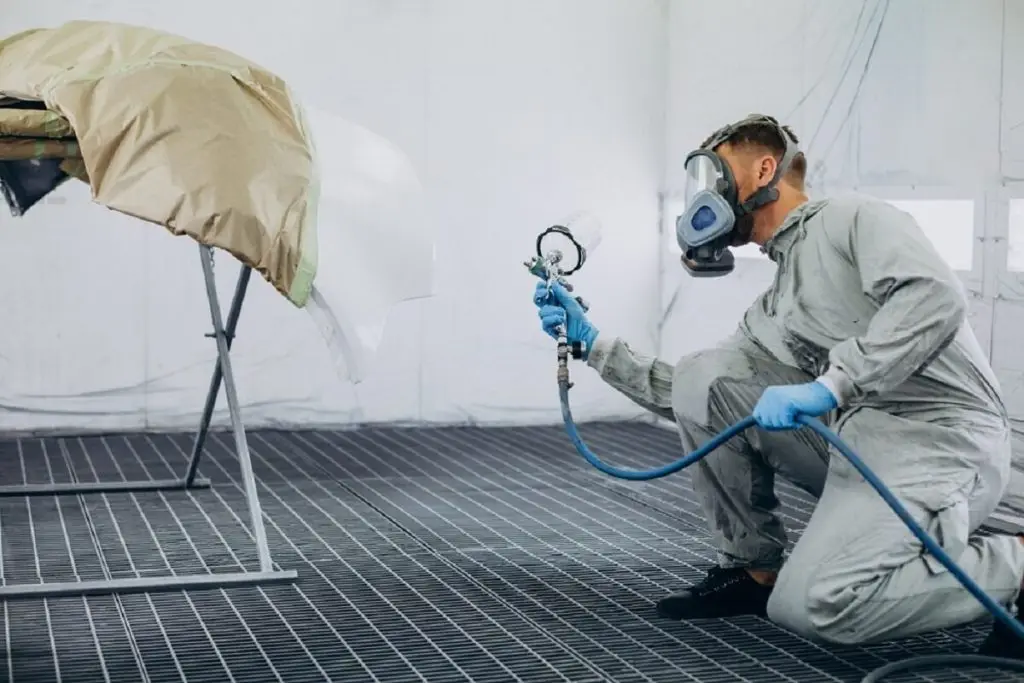
When painting, paint sprayers come in quite handy. They expedite and simplify the work. They work best for a glossy, tidy appearance. Use a paint sprayer if that’s what you’re asking for! Many people now rely on this multipurpose instrument as an effective substitute for conventional brushes and rollers. Any serious painter needs a paint sprayer because it allows them to produce consistent results faster. This guide will teach you how to use spray paint step by step.
Regarding the sorts of paint sprayers that are accessible, the VEVOR model is a popular choice that some people think is the greatest paint sprayer for them.
Table of contents
What Is a Paint Sprayer and Its Uses
What is a Paint Sprayer?
A paint sprayer is an equipment that allows the painting process to be done using forceful air or a motorized pump. The sprayer works by discharging liquid paint in the form of a fine mist that is perfect for easily painting large areas.
Paint sprayers are used when a uniform finish of a wall, furniture, deck, fence, or any surface to be painted is required.
Types of Paint Sprayers
- Airless Paint Sprayers
These employ a high-pressure pump to spray the paint and get it directly to the intended area. They are perfect for big areas and heavy layers of material. You will not need a compressor to bring it up to high pressure. It is important to learn how to use airless paint sprayer for proper painting.
- HVLP (High Volume Low Pressure) Sprayers
In HVLP sprayers, the air volume is high, but its pressure is low, giving the fine spray. They are ideal for touch-ups and any other work that you would like to offer a sleek surface, like cabinets, trims, and furniture.
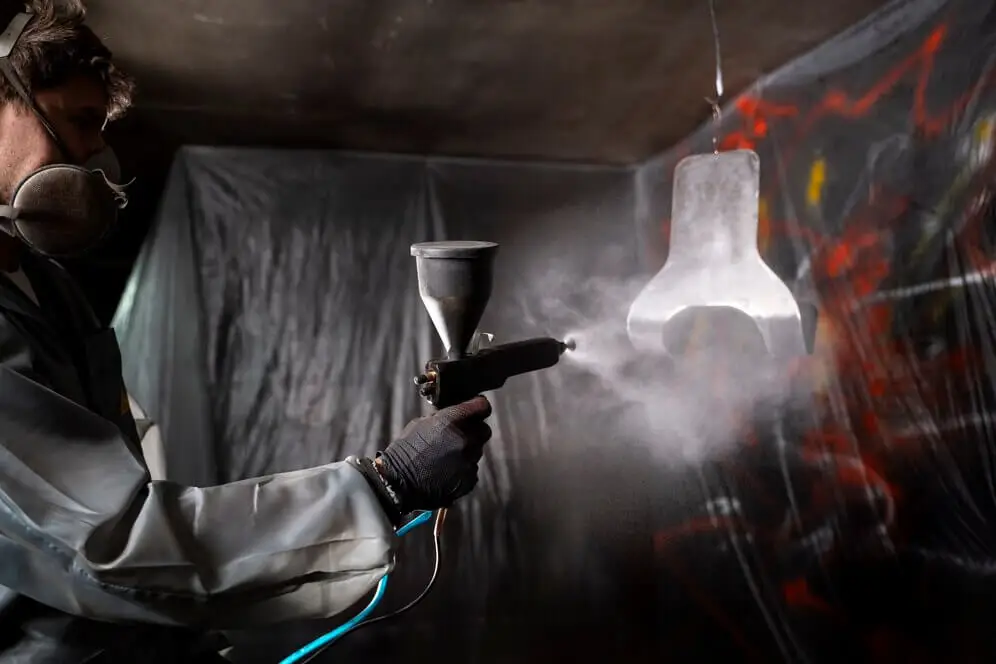
- Compressed Air Sprayers
These sprayers work by generating air pressure through an air compressor, which results in the creation of a fine mist. They are normally applied where the project scale is relatively small and tight control is achievable.
Why Use a Paint Sprayer?
- Efficiency
A paint sprayer can paint a large area at once, making it an effective tool compared to a brush or roller.
- Smooth Finish
Spray painting creates a slippery surface on the covered area, and it doesn’t leave traces, like brush strokes or roller marks, on the area to be painted.
- Versatility
Regardless of whether you are painting walls, furniture, or a fence, paint sprayers are suitable for various surfaces and materials.
- Cost-Effective
Though paint sprayers may be a bit costly compared to brushes or rollers, the time and effort taken in painting can be conserved besides the quality of the surface finish.
Types of Paint Sprayers and Their Uses
Airless Paint Sprayers
These are suitable for large areas, such as painting walls, fences, and other large surfaces. They operate on the principle of spraying paint at high pressure, enabling it to set very fast as it paints irregular surfaces. An airless sprayer is useful when one wants to accomplish a lot quickly.
Recommended For Your Project
HVLP Sprayers
HVLP is recommended for tasks that necessitate accuracy and finishing details. These are low-pressure sprayers, which help reduce the problem of overspray and add to the accuracy of the spraying.
They are most effective when the area to be painted has complicated features such as furniture, cabinets and trims. The low pressure also entails less paint use, making the HVLP sprayers eco-friendly.
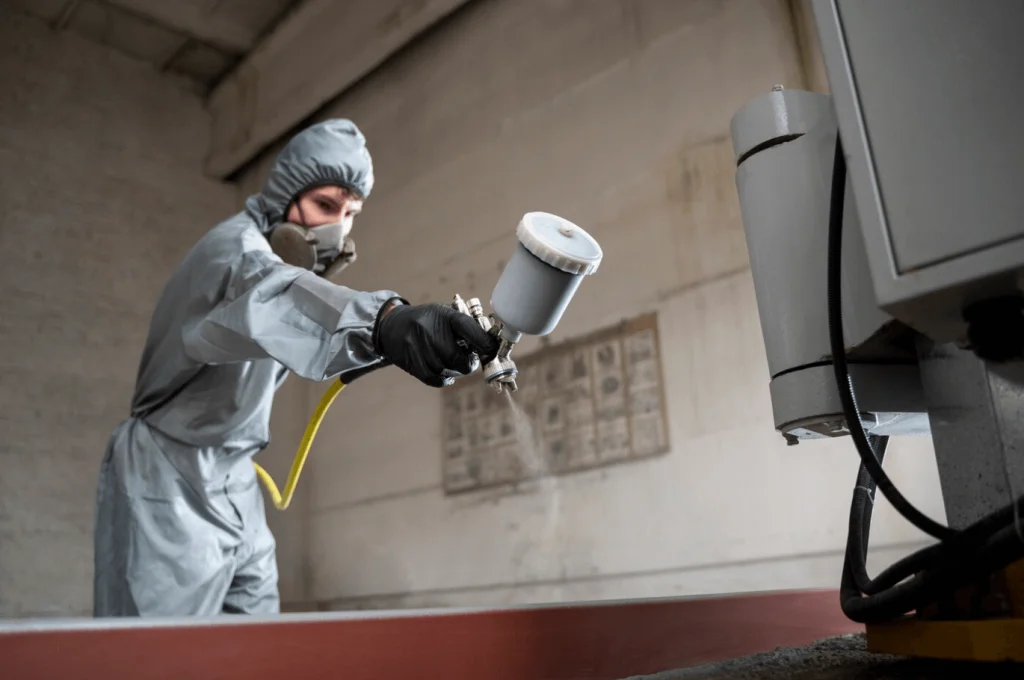
Compressed Air Sprayers
Another common type is compressed air sprayers, which can be used for small to medium-sized work. It has a fine and even mist and is typically employed for auto refinishing, small DIY projects, and spot repainting. These need an air compressor, making them less portable than the other types, but they provide a lot of control and surface finish.
When to Use Each Type
- Airless Sprayer: Ideal for use on large exterior surfaces including walls, decks, and fences.
- HVLP Sprayer: Best suited for fine interior jobs such as woodwork, paneling, and moldings.
- Compressed Air Sprayer: Extensively ideal for spot painting, fixing and repainting small areas, and revamping automobiles.
How to Prepare for Using a Paint Sprayer
Gathering Necessary Tools and Materials
- Decide on the type of sprayer as this depends on the task which is to be performed.
- Choose the correct type of paint for the given surface area.
- Ensure you cover yourself with a mask, goggles, and gloves to shield you from the paint vapors and the flying particles.
- Plastic Sheeting for floor and furniture cover and any other material that you want to shield from paint.
- Put the masking tape anywhere one does not want the paint to accumulate, such as the trim or the window.
Prepping the Area
- Cover Furniture and Floors: Lay newspapers or mats on any furniture or floor or any other object in the particular room. Secure the coverings with painter’s tape in order not to shift around during the process.
- Tape Off Trim and Windows: Make sure to cover up frames, windows, doors and any other body part that is not supposed to be painted with painter’s tape. It is crucial to apply substantial pressure on the tape to avoid paint from dripping under it.
- Ventilate the Area: If you are working inside, ensure the area is properly ventilated by cracking windows or using a fan. This will help to clear paint fumes and speed up the drying time.
Thinning the Paint
- Check the Manufacturer’s Instructions: Read the paint sprayer manual to learn how thick or thin the paint should be.
- Test the Paint: Before pouring thinner, spray a small area of the paint to ensure perfect spraying. If the paint is too thick, it will block the sprayer, or it may not spray right across the surface being painted.
- Thinning the Paint: If necessary, use the right thinner, which is water for latex paints, and paint thinner for oil-based paints, and then stir properly. To check the consistency of the aerosol, it is applied to a piece of scrap material.
How to Use Paint Sprayer: Step-by-Step Guide
Setting Up Your Workspace
- Cover Surrounding Areas: Check and evaluate all the areas that do not need paint and cover them accordingly with drop cloths or plastic sheets.
- Ventilation: If you are indoors, surround the space with curtains, leave doors open, or turn on a fan for the required airflow. Ventilation is very crucial in ensuring that the structure is safe and the time taken in the drying process.
- Organize Your Tools: All extra paint, stir sticks or gloves, and all other relevant items and or materials should be close by handy at any time.
Testing the Spray Pattern and Adjusting Settings
- You should use a piece of cardboard or scrap wood to determine the spray pattern. This will assist you to know how the paint has been applied and whether any modifications have been made.
- Almost every paint sprayer has a control for the width and shape of the spray. Depending on your project, it may require a broad or concentrated pattern. Tweak the settings until they are ideal for a spray effect.
- When using an airless sprayer, regulate the pressure level. High pressure can lead to overspray whereas low pressure will lead to uneven spraying.
Painting Techniques for Even Coverage
- Maintain a Consistent Distance: Keep the sprayer about 6-12 inches from the surface you’re painting. Moving closer or further away can result in uneven coverage.
- Use Smooth, Even Strokes: Move the sprayer in a steady, horizontal, or vertical motion. Overlap each pass slightly to ensure even coverage and avoid missed spots.
- Keep Moving: Don’t pause in one spot while spraying, which can lead to drips and uneven coverage. Keep the sprayer moving consistently.
- Multiple Coats: If needed, apply multiple light coats instead of one heavy coat. This helps to build up the paint evenly and avoids runs or drips.
Handling Corners, Edges, and Difficult Areas
- Corners: For corners, angle the sprayer slightly to avoid overspray onto adjacent walls. You may need to adjust your spray pattern to a narrower setting for precision.
- Edges: When painting edges, use a steady hand and keep the sprayer moving to avoid buildup.
- Difficult Areas: Consider using a brush or roller for touch-ups after spraying for intricate areas, like around fixtures or trim.
How to Clean and Maintain Your Paint Sprayer
How to Properly Clean Your Paint Sprayer After Use
After painting, clean your sprayer thoroughly.
- Empty the Sprayer. If there is leftover paint, pour it back into the paint can.
- Flush the Sprayer. Run water (for latex paint) or a suitable cleaning solution (for oil-based paint) through the sprayer to remove any remaining paint. Follow the manufacturer’s instructions for cleaning your specific model.
- Disassemble the Sprayer. Take apart the nozzle, tip, and other removable parts. Clean each piece individually to ensure no paint residue is left behind.
- Reassemble and Store. Once everything is clean and dry, reassemble the sprayer and store it safely, away from dust and moisture.
How to Maintain Your Paint Sprayer for Longevity
Regular maintenance will help extend the life of your paint sprayer:
- Regularly inspect your sprayer to look for any indications of wear and tear, such as hose cracks or worn-out seals. Make careful to repair any ripped parts right away if there are any.
- Certain components of the sprayers include moving systems, therefore it’s a good idea to lubricate them occasionally. In the event that the user manual contains instructions on how to do a task, it is also crucial to refer to it.
- Make sure your sprayer is kept in a dry, clean place at all times. To prevent blockages in circumstances when long-term storage is necessary, putting a storage solution through the sprayer can be helpful.
Common Mistakes to Avoid When Using a Paint Sprayer
Over-Spraying and Uneven Coverage
- Avoid Overlapping Too Much: While some overlap is necessary, avoid going over the same spot multiple times.
- Watch Your Speed: Moving too quickly can result in thin, uneven coats while moving too slowly can cause drips.
Clogging Issues and How to Prevent Them
- Thin Your Paint Properly: You should always ensure that your paint is mixed well and ready for use with your sprayers.
- Clean the Sprayer Regularly: Cleaning on a regular basis helps prevent dried paint from forming lumps that block the drains.
- Use a Filter: Some sprayers incorporate filters that trap debris before it can reach the nozzle.
FAQs
Which kind of paint works best with a paint sprayer?
It is significant to remember that the majority of paint sprayers have many uses and work with various paint types, including stains, acrylic, water, and oil.
Can a paint sprayer be used for interior work?
Yes, the paint sprayer is good for interior application. Ideally, this should be done in a room with proper ventilation since inhaling the fumes is dangerous and to prevent paint from dripping onto the floor, furniture, and other property.
How Do I Use an Airless Paint Sprayer Safely?
It is recommended that you wear safety gear like masks and goggles. Before starting your task, ensure the sprayer is working and that you know how to use it.
Conclusion
One piece of equipment that may significantly improve your painting experience is a paint sprayer, which makes the job appear easy to do and professional. No matter the size of the painting project, you may do it with ease if you follow these fundamental criteria. You are aware of the appropriate type of sprayer to use and the best methods for applying paint and finishing up without overlooking any crucial details. Just take into account the value that a high-quality paint sprayer, like the one given by VEVOR, offers to finish your tasks.