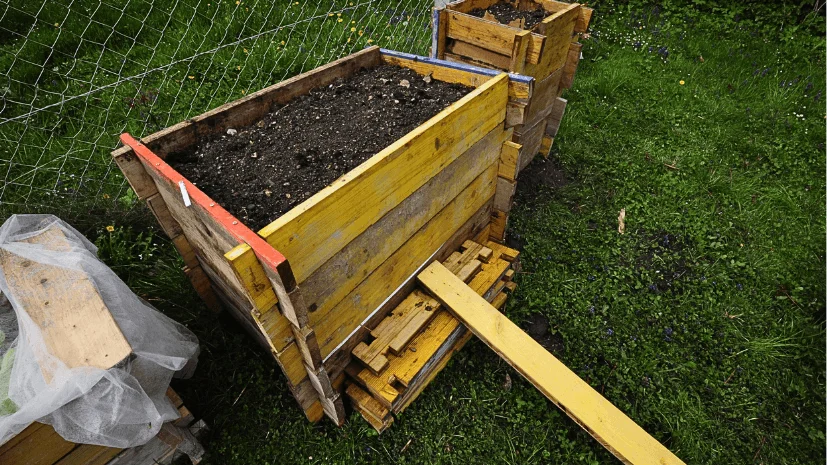
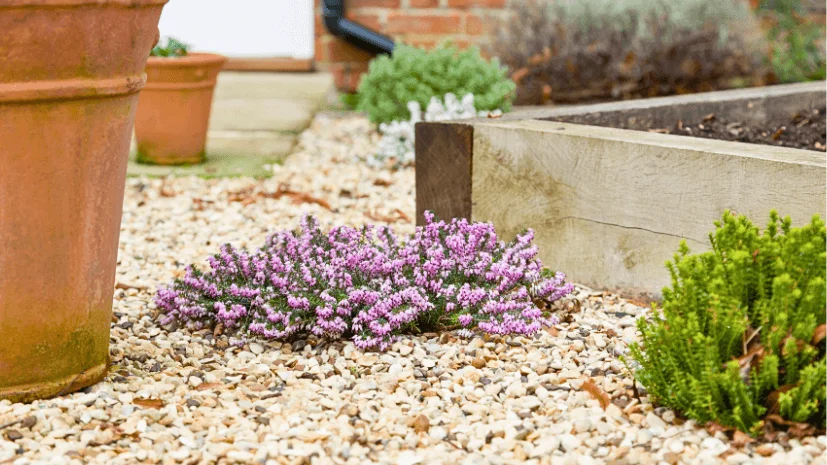
How to winterize garden beds? Winterizing garden beds means preparing them for the colder weather to ensure the soil, plants, and the garden ecosystem are healthy during the colder months. This process is crucial as winters, such as freezing temperatures and frost heaves, are usually challenging for raised gardens.
In spring, the soil tends to thaw faster than ground soil, allowing you to start gardening earlier. Once the snow melts, you’ll face serious consequences if you don’t winterize your raised-grade bed promptly. You have several options to reduce a winter weed invasion, whether you use the leaves to cover the raised garden bed or sow a winter cover crop to keep the soil healthy.

It prevents plants from frost damage and soil erosion. Winterizing garden beds also involves adding mulch to insulate the soil and cleaning debris to prevent diseases and pests. But with VEVOR-raised garden beds, gardeners can winterize their gardens by ensuring their soil and plants are well-protected. It provides a reliable and efficient solution if you want to cultivate a thriving garden all year round.
Table of contents
Understanding the Impact of Winter on Raised Garden Beds
If you leave your raised garden bed untouched throughout the winter, snow accumulates on top of plants. Of course, when spring comes, you’ll have to face a slimy, yucky mess! This will encourage bacterial and fungal growth, and you’ll not want to contaminate your soil.
However, raising garden bed soil thaws faster offers you to plant earlier. But if you have a lot of plants in your garden, there’ll be more work to do before planting.
Preparing raised beds for winter should be your priority as a DIY enthusiast. Ignoring it can result in soil erosion because of winter precipitation, which, as a result, causes damage to the soil and exposes plant roots. Furthermore, cold temperatures cause damage to plant roots where the soil can face more exposure.

Preparing for Winterization: Essential Supplies and Tools
Before winterizing your raised garden beds, ready the tools on hand, later facing any disappointments:
- Gloves
- Rake
- Pruning Shears
- Compost or mulch
- Row covers
- Frost Protection
- Garden Hose
Winterizing Your Raised Garden Bed: Step-by-Step
How to prepare garden beds for winter? A winterized raised garden bed is essential to protect your plants and infrastructure from harsh winter conditions. To prepare your raised garden bed for winter, here you can follow step by step process:
Step 1: Clean Up and Clear Out
It’s the first and foremost step in winterizing a raised garden bed, including clearing leaves, debris, and dead leaves. This method tidies up your garden and plays a vital role in maintaining health and productivity. Removing dead plants allows you to eliminate hiding spots for diseases and pests, reducing soil infestation and spreading infections through the soil. Furthermore, it also improves healthy air circulation and soil quality.
Furthermore, removing plant debris also allows you to spread pests to neighboring plants. Getting rid of infected or infested plants can minimize the outbreak and its impact.
Step 2: Nourish the Soil
Nourishing the soil while preparing raised beds for winter involves nutrient replenishing while improving the soil health. But many people neglect this step. However, add organic matter to the soil to maintain fertility as these materials are rich in phosphorous, nitrogen, and potassium. You automatically provide a steady nutrient supply to plants when incorporating manure or compost into the soil, resulting in a healthy harvest.
It improves the soil structure and promotes the growth of beneficial microorganisms. With the breakdown of compact soil, compost offers a loose and crispy texture that allows root growth. Furthermore, this compost serves as a sponge, retaining moisture, which helps soil to die and dry out in the winter. Compost contains beneficial microorganisms like fungi, bacteria, and earthworms, essential in decomposing organic matter, such as toxic pathogens.
Step 3: Protect Your Plants
For perennial plants or raised garden bed-sensitive crops, consider covering them with covers, frost blankets, or cloches. Take a look at the type of perennial plants to winterize them accordingly.
1. Tender Perennial
Tender perennials are vulnerable to winter temperatures; proper protection is required to survive the colder months. Utilize insulating materials like leaves, straw, or pine needles to build a protective layer around the plant base. You can provide extra insulation to your raised garden bed while protecting perennials with frost blankets or covers. It covers them tightly to prevent them from any thunderstorms or heavy winds.
2. For Dormant Perennials:
Protect dormant perennials in dormant weather when extreme temperature and moisture fluctuations occur. Adds mulch around the dormant perennials helps them regulate the soil and moisture level and minimize root damage.
Step 4: Address Soil Moisture
Winterize the raised garden bed or plants before the winter to save the plants from dehydration. Deep soil soaking before freezing the ground helps to moderate winter temperatures around plants’ roots and control frost damage while getting insulation.
Ensure you avoid excess plant watering during this time, as it invites root rot and various fungal diseases. However, wet roots suffocate the plant’s roots and encourage pathogen growth. Ensure your soil is evenly moist before the winter comes. To avoid soil waterlogging, adjust the water level accordingly.
Step 5: Winterize Your Raised Garden Bed
Before winterizing the raised garden bed, ensure it’s in good condition and can withstand any weather.
- Wooden Beds: Spare some time in inspection for cracks, rot signs, and loose boards. If necessary, repair the wooden raised bed if damaged and save it from further degradation in the colder season.
- Metal Beds: The same will apply to metal beds and, before winter starts, address any issues like rust damage.
Opting for a VEVOR-raised garden bed provides confidence in durability and weather resistance. It’s built with high-quality materials that withstand harsh weather and resist corrosion and rust. Throughout the winter, you’ll get protection from the weather. Its premium construction allows you to use them for years, and its sturdy material doesn’t blow them out in the strong wind.
Additional Winter Protection Tips
In regions where winters are usually harsh, remember to provide extra protection to your raised garden bed for optimal health of your plants. Frost protection and row covers can be additional layers to your plants, providing insulation against chilling winds, frost, and colder temperatures.
In Harsh Winter Regions
By trapping the heat around the plant, these materials act as a barrier and create a microclimate. By doing this, you’ll increase the survival rate of your plants and vegetables. In the end, you’ll be happier investing in row covers and frost fabric, as these will extend the life of your crops in colder climates.
Additionally, a raised garden bed location is vital in providing winter protection. Choosing a sheltered location near tall shrubs and trees or a building on the southern side offers natural windbreaks. After placing your raised garden beds in sheltered areas, you can prevent your plants from being exposed to winter conditions while creating a favorable environment for them and their crops.
In Dry Winter Regions
It’s necessary to monitor the situation closely in regions with dry winters. In these areas, the need for water is increased due to excessive dry weather. If you live in a dry area, keep an eye on the water level and provide sufficient water when necessary. Deep watering can help plants stay hydrated throughout the winter after getting excessive water without stress and dehydration.

Embrace Spring: Preparing Your Winterized Bed
Now, when the winter fades, and spring is just around the corner, it’s time to prepare your winterized raised garden bed for the new season. Follow the steps to prepare a raised garden bed for spring weather:
1. Removing Winter Protection
Remove row covers, the first fabric, and any other materials you used to winterize the garden bed and allow sunlight to reach the soil. Clean up the area if any debris or mulch accumulates over the winter months.
2. Inspect Soil Conditions
After examining soil conditions, add organic nutrients to the soil to improve its structure. It’ll ensure the plant’s growth and allow them to get the proper nutrients through compost or organic matter.
3. Conduct Soil Test
Determine soil pH level and adjust it if required. Doing this will allow plants to get the optimal growth.
4. Planting
After soil preparation, now plant your spring garden with your favorite vegetation and flowers. Fill your raised bed garden with multiple plants while considering their needs. To discourage pest infestation and maximize yield, consider companion planting.
5. Maintenance
Last but not least, don’t forget proper care and maintenance of plants for a successful spring garden harvest. Determine soil level and watering when required. Take proactive measures if there are any pests, infestations, or diseases.
Summing Up
To ensure the health and productivity of your garden, follow all steps of winterizing raised garden beds. These steps include removing debris, nourishing the soil, protecting your plants, preventing soil from dehydration, and determining additional protection measurements such as protected locations and watering dry areas.
Winterizing the garden beds offers multiple benefits and sets the stage for a cultivated spring garden. Protecting soil and plants from harsh weather will reduce frost damage risk and ensure healthier plants. Furthermore, it’ll also promote the earlier planting opportunities in spring. For your next gardening project, discover VEVOR-raised garden beds.
With its weather-resistant features and durable construction, VEVOR provides reliable seasonal protection. Whether you’re a professional or just started, VEVOR raised garden beds are ideal for a productive and thriving garden.


