With the VEVOR Button Maker Machine, creating custom buttons has become super easy. It doesn’t matter if you’re making personalized gifts, promotional items, or creative projects. This machine provides a smooth & efficient way to produce high-quality buttons.
In this article, you’ll explore the features & benefits of this button maker machine. We’ll guide you step by step through the process of making buttons. We’ll also answer some frequently asked questions to help you make an informed decision.
Table of contents
Features of the VEVOR Button Maker Machine
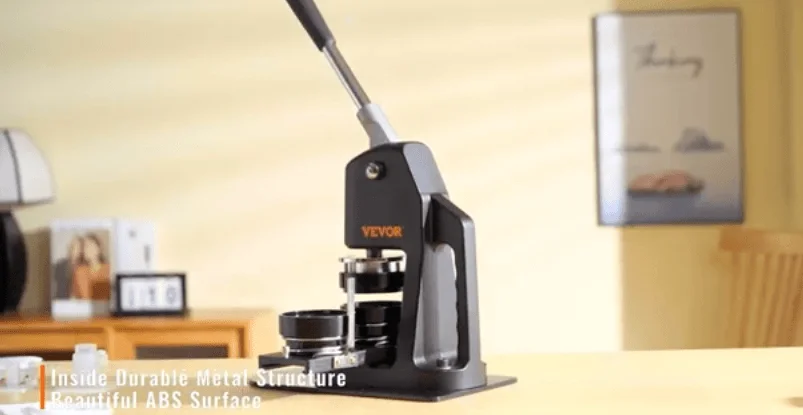
Our button maker machine has a strong design & user-friendly features. Here are the main qualities of this button maker machine.
1. Durable Construction
The machine is made of high-quality materials. It ensures long term & consistent performance. The strong metal body is built to withstand regular use. Hence, it is ideal for both hobbyists & professionals.
2. Versatile Usage
This button maker comes with dies. They can produce 1.25 & 2.25-inch buttons. It provides flexibility for different projects. It’s perfect for creating custom badges, pins, & promotional items.
3. Complete Kit
The package includes 500 free button parts. This means you can start making buttons right out of the box. The kit contains all the components you need. This includes,
- Button Parts
- Mylar
- Pin Backs
4. Easy To Use
The ergonomic handle is designed for comfortable use. It reduces hand fatigue during long working sessions. The design of the machine ensures smooth & precise button making every time.
5. Efficient Production
This button maker comes with an easy to follow set up & operation. Hence, you can produce a large number of buttons quickly & efficiently.
6 Steps To Use The VEVOR Button Maker Machine
The video guide provides a simple tutorial on how to use this button maker machine. Here are the steps you need to follow.
1. Assemble the Machine: Firstly, you’ll set up the machine on a stable surface. Attach the die set for the button size you want to create.
2. Prepare Your Design: Print or cut out your designs to fit the button size. Use the provided circle cutter to ensure your designs are the perfect size for the buttons.
3. Layer the Components: Place the button parts in the die in the following order.
- The Metal Button Shell
- Your Design Facing Up
- Mylar Cover
4. Press the Button: Pull down the handle to press the components together. This step secures the design & mylar onto the button shell.
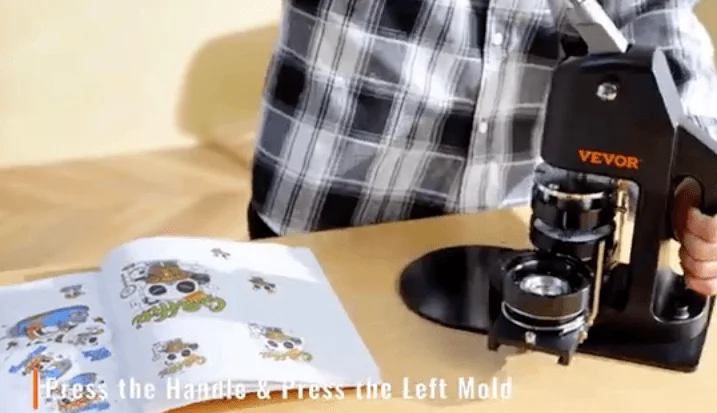
5. Attach the Pin Back: Place the pin back into the die. Align it with the pressed button shell. Pull down the handle again to crimp the pin back onto the button.
6. Finish & Inspect: Remove the finished button from the machine. Inspect it to ensure everything is aligned & secured properly.
Frequently Asked Questions
What materials can I use for the button designs?
You can use any paper that can be printed or cut to size. For example, photo paper, regular printer paper, or even fabric.
How many buttons can I make with one kit?
The included kit allows you to make 500 buttons. It comes with 500 sets of button parts.
Is the machine easy to set up and use for beginners?
Yes. This machine is user-friendly. It comes with simple instructions to assemble & use it.
Can I buy additional button parts separately?
Yes. You can purchase the additional button parts separately. This way, you can continue your projects without interruption.
Final Thoughts
The VEVOR Button Maker Machine is an excellent investment if you’re interested in creating custom buttons. It offers strong construction, versatility & ease of use. Hence, it’s suitable for both beginners & experienced users. It comes with 500 button parts. So, you can start crafting right away. You’ll enjoy the process of making personalized buttons for any occasion.
It doesn’t matter if you’re making buttons for a school project, promoting a business, or simply having fun with a creative hobby. This button maker machine provides reliable & high-quality results.
Visit our website today & start making buttons right away!

