Button making is fun until you start experiencing crimping issues such as buttons coming apart, bubbles under the mylar, and button maker mylar not crimping. These challenges can quickly turn a creative endeavor into a frustrating puzzle. Investing in a good button maker machine could help minimize these issues, but even top-notch button makers, such as VEVOR, could also face crimping issues.
But worry not, crimping issues are manageable—you can easily troubleshoot these problems and continue your creative project. With proper maintenance, you can prevent these issues from happening in the first place. If your VEVOR button maker is not crimping, continue reading.
In this comprehensive guide, we are going to discuss the possible reasons why a VEVOR button might not crimp, relevant VEVOR button maker troubleshooting tips, and also share tips for proper care and maintenance of a button maker.
So, let’s get started!
Why is My VEVOR Button Maker Not Crimping?
VEVOR button makers offer a seamless button-making experience, but when not properly maintained or due to some other reasons, you may experience crimping issues. Here are some of the underlying reasons why your button maker might not be crimping properly:
- Button Component Misalignment
Button makers rely on the proper placement and alignment of all the button-making components, such as the front shell, graphic, mylar, and back shell. Any misalignment of the components could lead to the button maker mylar not crimping properly.
- Material Thickness
Different models of button makers are designed to deal with different types of materials and material thicknesses. For machines that can work with different materials, you need to adjust the settings according to the material you are using. Inappropriate material or settings could lead to button maker mylar not crimping.
- Lubrication
Most button-making machines require regular lubrication of their moving parts. Lack of regular lubrication could affect the crimping process. You should consult the user manual for lubrication guidelines, as improper or excessive lubrication could also negatively affect the button-making process.
- Insufficient Pressure
For effective button-making, you need to apply appropriate crimping pressure. In case of too much or too little pressure, the button maker might produce faulty buttons—not crimped properly. So, if your button maker is not crimping, you might not be applying the appropriate amount of pressure, and you need to check the crimping pressure settings of your button maker.
- Unsuitable Die or Button Size
Button makers rely on precise alignment for making premium pins and buttons. If the die size does not match the button components, it could affect the alignment of the components of the button, causing crimping issues.
- Button Material
The quality of your button components can also affect how well they crimp. Using low-quality button components could lead to crimping issues. Also, if the material is unsuitable for your button-making machine, it might not crimp.
- Air Space at the Edge
Air space at the edge of the button that often occurs due to factors such as humidity and air moisture could also lead to crimping issues.
- Worn-out or Damaged Die
If you have been using your button maker machine for a long time, its worn-out or damaged die might be causing the crimping issues.
- Foreign Elements
When not maintained properly, debris often accumulates on different parts of the machine, which could obstruct smooth crimping. So, if your machine was working fine but suddenly stopped crimping properly, you need to check for foreign elements.
- Loose Nuts
If the mylar is crimping but not all the way, the two nuts at the bottom of the machine might have come loose.
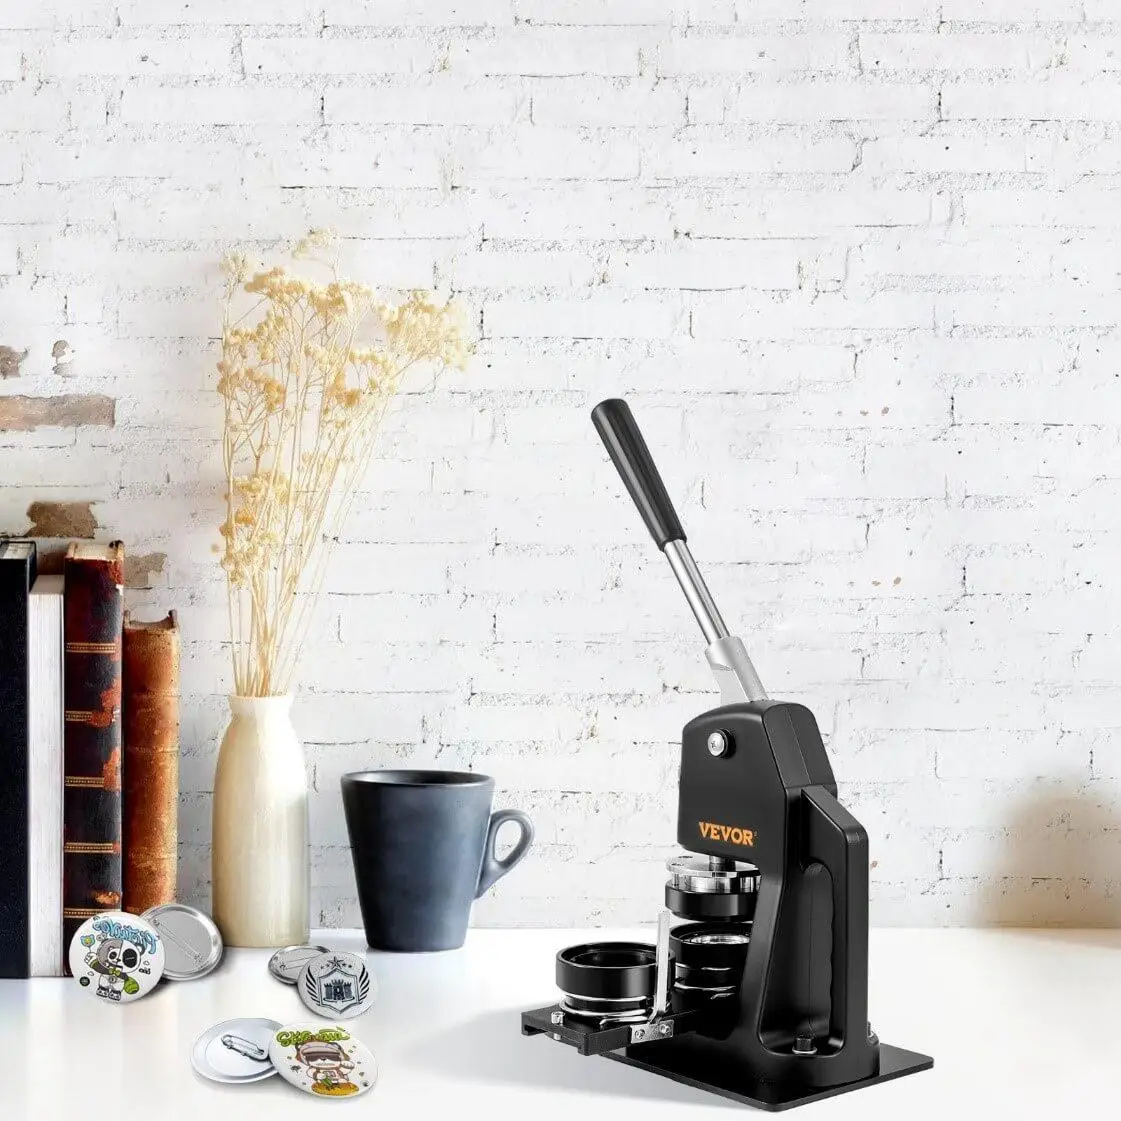
Solutions for VEVOR Button Maker Not Crimping
If your VEVOR button maker is not crimping properly, you will need to find the underlying reasons so that you can address them and continue making awesome badges with smooth operations. Depending on the underlying reasons, here are some solutions for VEVOR button makers not crimping:
- Check Button Components: If your button maker is not crimping, you need to check if you are using all the right button components. Ensure that the size and type of the button components are not mismatched.
- Picking the Right Paper: For effective crimping, you need to make sure that you are using the correct paper weight. If the paper is too thin, it might not crimp at all, or crimping might not be firm. On the other hand, if the paper is thick, besides causing crimping issues, it might also jam the machine.
- Examine Die: Examine the die and replace it if you see any signs of wear or damage. In case there is debris or foreign elements, consider cleaning the machine, especially the die.
- Alignment of Components: Before applying pressure for crimping, you need to ensure that all button components are properly aligned and centered.
- Adjust Crimping Pressure: If the button maker allows pressure adjustment, you need to adjust the crimping pressure according to the material used. Consider slightly increasing or decreasing the crimping pressure until you find the right pressure settings for optimum results.
- Clean the Machine: if nothing seems to be wrong with the machine, consider cleaning it if you see any adhesive or debris that could interfere with the crimping process.
- Lubricate Moving Parts: Refer to the manual and check if you need to lubricate any moving parts of the button maker machine for smooth operations.
- Test with Different Materials: If you are experiencing crimping issues with a particular material, try using different materials to see if the problem persists. Consider making pressure adjustments if you are crimping issues with only a specific material. You can also consider using high-quality and recommended material.
- Review User Manual: Consider referring to the user manual that came with your button maker for specific troubleshooting guidelines.
- Contact Customer Support: If none of the solutions discussed above seem to work out for you, you can contact VEVOR customer support. If you think the machine is faulty and it is still under warranty, you can consider exploring the option of claiming the warranty.
At VEVOR, we stand behind our button makers and thus offer a 12-month warranty, and our customer support is available round the clock to help you out on every step of your VEVOR journey.
Maintenance and Care Tips
Proper care and maintenance are crucial to ensure the longevity and optimal performance of your VEVOR button maker.
- Regularly Clean Your Button Maker: Dust, debris, and residual materials may accumulate over time and compromise crimping performance, leading to decreased success rate of button making.
- Periodic Lubrication: To ensure the smooth operation of your machine, lubricate the moving parts of your button maker periodically, depending on the usage. Lubrication helps reduce friction and ensures smooth operations.
- Proper Storage: When not in use, consider properly storing your button maker to prevent dust and debris accumulation. To avoid misplacing parts, keep all button components, such as shells, backs, and images, in an organized fashion in a clean location to prevent misplacement.
VEVOR Button Maker for Smooth Operation and Firm Crimping
The button maker not crimping can be frustrating and make you throw the button maker out of the window. If you are seeking a seamless button-making experience, you need to explore our collection of button makers, boasting a 98% success rate in making flawless badges without any crimping issues.
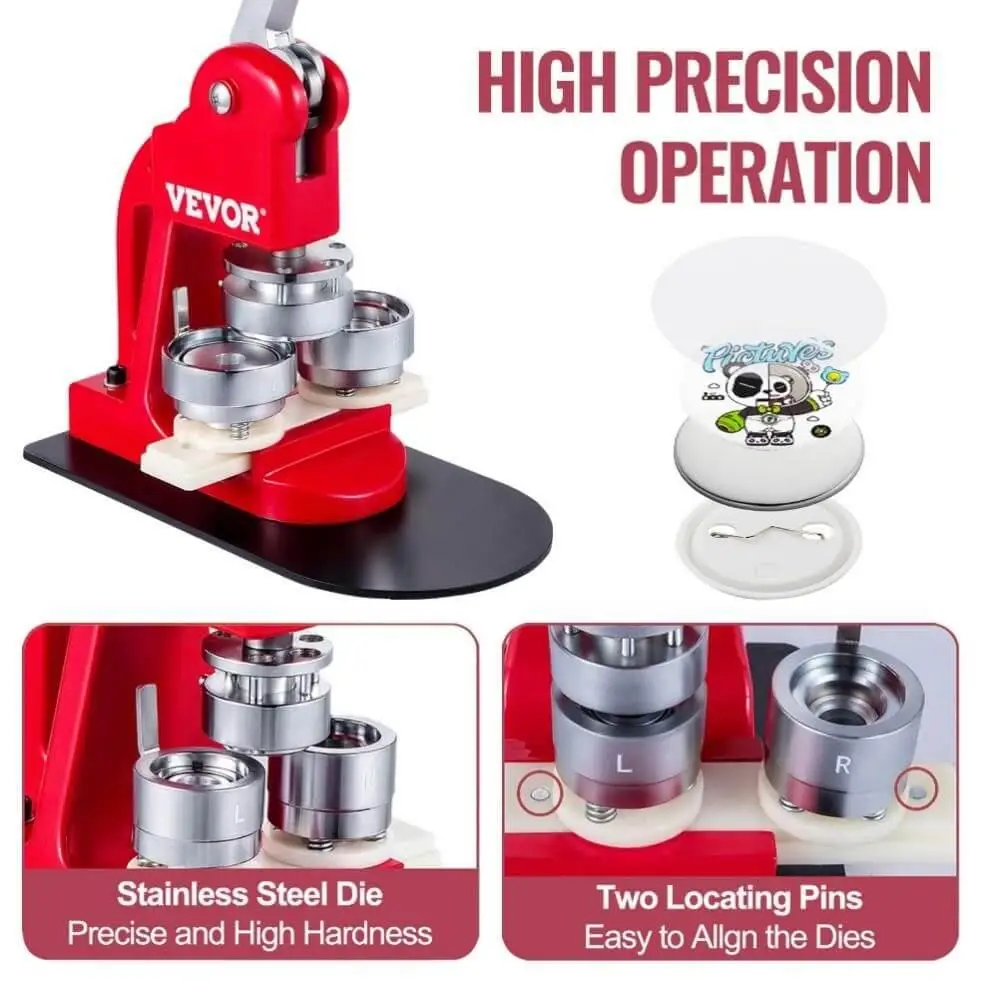
We have designed our button makers to ensure maximum precision and proper alignment of badge components. Features like reinforced springs and two locating pins on the bottom plate contribute to the high precision of our button maker, ensuring a maximum success rate.
So harness your creative potential by equipping yourself with a reliable button maker from VEVOR, and make personalized and heartwarming badges and pins for your loved ones.
Conclusion
At VEVOR, we offer top-of-the-line button makers for a smooth button-making experience with a maximum success rate without annoying crimping issues. But when not being used properly, your VEVOR button maker might not crimp properly.
If your VEVOR button maker is not crimping, you need to consult the user manual and identify the possible reasons and the troubleshooting tips. You can also see if any of the above-discussed reasons are hampering your button maker’s crimping abilities. Once you have highlighted the reason, apply the relevant fix and resume your button-making operations.
To enjoy a seamless button-making experience, equip yourself with a reliable VEVOR button maker. To prevent any crimping issue, regularly clean and lubricate the button maker and use it according to the instructions in the user manual.


Thanks for your very helpful tutorial. When I started making 2.5 inch buttons with my new machine, I was so frustrated when the mylar film either partially or totally failed to crimp on every button, despite the image disk crimping perfectly. My first thought was that the mylar disks that came with the machine were slightly undersize, but they naturally fit the template perfectly, so I thought that the only item that could be too small or too large was the image disk that I had cut out with the cheap little circle cutter that came with my machine. Upon close examination, I found that the foot of the cutter was preventing the blade to move in close enough to cute small enough disks. So after grinding a couple millimeters off all around the foot, I am now able to cut the image disks to the perfect size and now every button I press is a success. I’m wondering if your readers have ever had this issue that caused me so much frustration and ruined buttons.