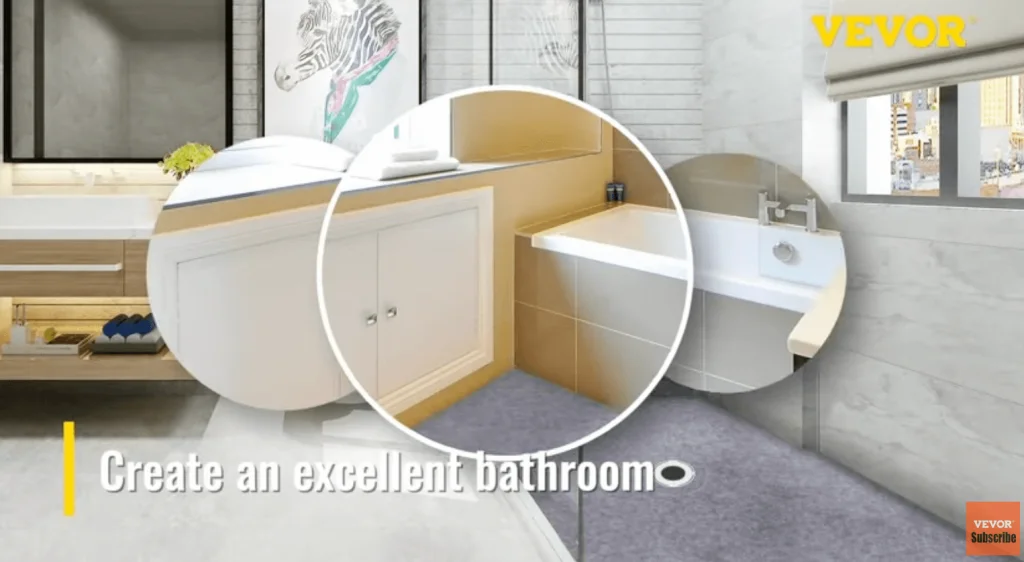
Are you tired of leaky, outdated showers that mess up your daily routine? Then, it’s time to bring a luxury revolution in your bathroom. VEVOR 38’’x60’’ Waterproof Shower Kit is the ultimate solution for those leaky showers. It guarantees efficiency and elegance in bathroom setups. This premium kit caters both, new constructions as well as renovations. It ensures a leak-proof foundation for your shower area.
Let’s get into the features & benefits of this bathroom kit. We’ll walk you through a step by step process of its installation.
Table of contents
4 Amazing Features of VEVOR Waterproof Shower Kit
1. Elevated Durability and Reliability
The VEVOR’s Waterproof Shower Kit is sized at 38″x60″. It is made tough with high-quality PVC. This material ensures the shower base stays strong even with daily use. It also has a smart central drain design that stops water from pooling & prevents leaks. So, you get a shower kit that lasts long.
2. Effortless Installation
It’s so easy to set up the VEVOR’s Waterproof Shower Kit. The installation process is really simple. So, you don’t need to hire someone to fix it for you. Instead, you just have to follow the clear instructions included in the kit to assemble it. Everything you need is right there, so there’s no need to run to the store for the extra parts.
3. Customizable & Flexible
This shower kit is flexible. You can easily trim and shape it to fit your bathroom, no matter the size or layout. This makes it a great pick for any renovation job. You’ll get the perfect fit for your space, improving both the look and function of your bathroom.
4. Easy Installation
You can enhance your bathroom’s look and functionality with this curb kit. Our step-by-step installation guide, based on our instructional video, makes setting up your shower curb kit an easy task. With clear instructions, you can install it confidently and precisely.
Step-by-Step Guide To Install VEVOR Shower Curb Kit
Step 1: Prepare the Area
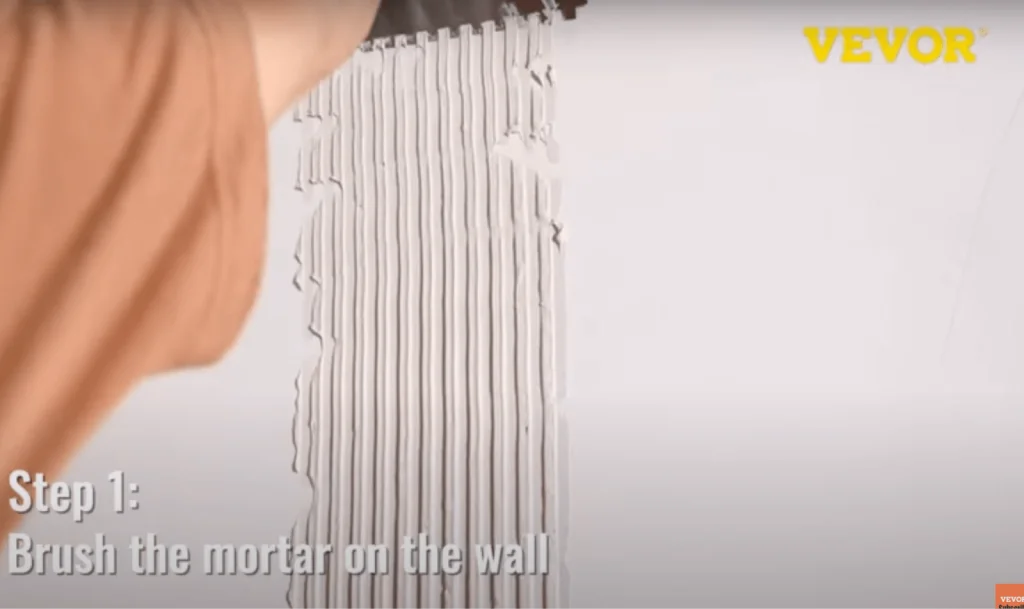
Before beginning the set up, ensure that the area where you will install the shower curb is clean and level. Remove any debris, dust, or old fixtures. Check the floor level using a spirit level. If there’s any unevenness, you have to correct it before proceeding.
Step 2: Plan The Layout
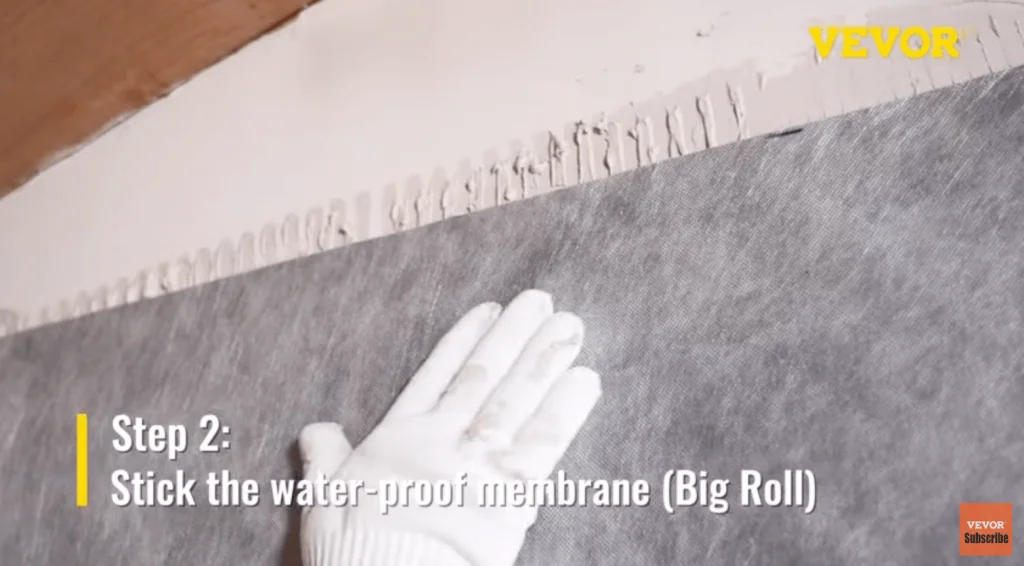
Measure and mark the area where the shower curb will be placed. It’s important to ensure that the layout fits your shower’s dimensions and the placement of the curb aligns with the entrance of the shower.
Step 3: Apply the Waterproof Membrane
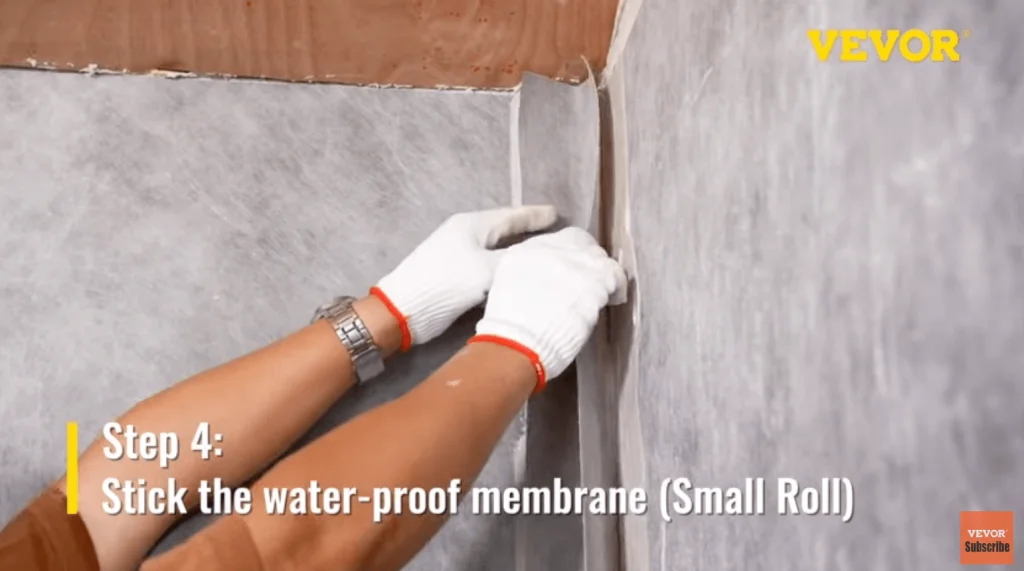
Roll out the waterproof membrane provided in your VEVOR kit. Cut it to fit the area of your shower floor and curb. Place the membrane on the floor and make sure it extends up the walls by at least 6 inches. Use adhesive to secure the membrane in place, removing any air bubbles for a smooth, flat surface.
Step 4: Install the Shower Curb
Place the shower curb onto the designated marks you prepared earlier. Apply a bead of construction adhesive on the bottom of the curb to bond it securely with the waterproof membrane and the subfloor. Ensure that the curb is perfectly level and stable.
Step 5: Sealing Joints and Corners
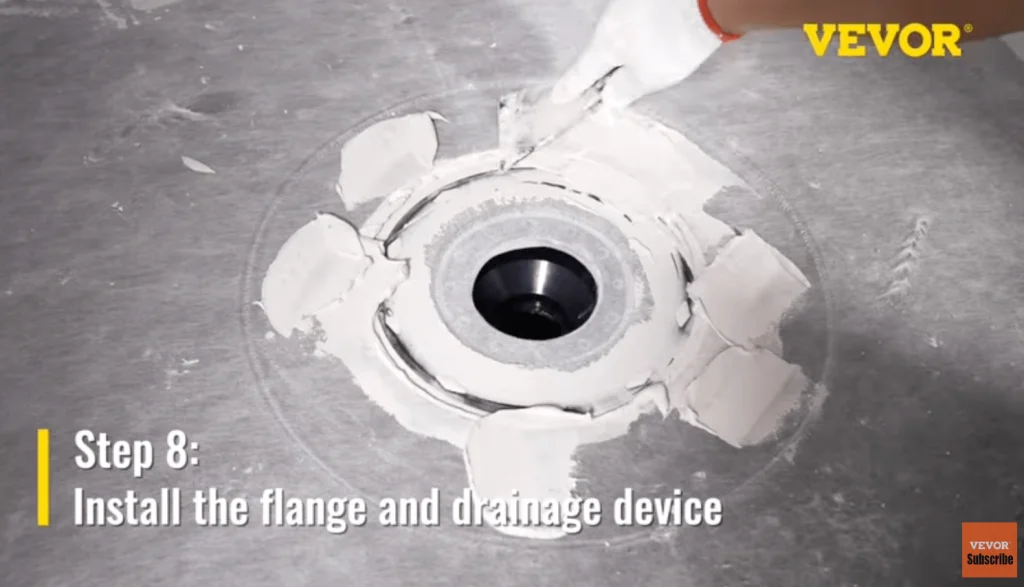
By using the waterproof sealing paste from the kit, seal the joints where the curb meets the floor and the walls. This step is important to prevent any water leakage. Apply the sealant smoothly and evenly to ensure complete coverage.
Step 6: Attach the Drain Assembly
Place the drain assembly in the designated area of the shower floor. Connect the drain to your home’s plumbing following the manufacturer’s instructions. Ensure all connections are tight and sealed to prevent leaks.
Step 7: Test for Leaks
Before proceeding to tile or finish the shower, it’s important to test for any leaks. Block the drain and fill the base of the shower with water. Mark the water level and leave it for a few hours. If the water level drops, check all seals and connections, and reapply sealant as necessary.
Step 8: Finishing Up
Once you confirm there are no leaks, you can proceed to tile the shower floor and curb. Follow tile installation procedures. Apply adhesive and set tiles firmly in place. After the tile adhesive has cured, apply grout between the tiles & wipe away any excess.
Frequently Asked Questions
Can the glass shower door be installed on the curb?
Yes, glass shower doors can be installed on the curb. It provides a sleek and modern look while ensuring water containment within the shower area.
Can the shower kit be installed on any surface?
Yes, the VEVOR shower kit can be installed on different surfaces, like concrete and wooden subfloors. It can easily adapt to different base materials.
What are the maintenance requirements for the shower kit?
The PVC material makes the shower kit easy to clean and maintain. You should regularly clean with non-abrasive cleaners. It is recommended to keep the surface pristine and functional.
Is the VEVOR shower kit suitable for commercial use?
Yes. Its durability and easy maintenance make it ideal for both residential and commercial settings, such as hotels and gyms.
Closing Words
The VEVOR 38’’x60’’ Waterproof Shower Kit offers an amazing combination of durability, ease of installation, and aesthetic appeal. With its strong structure and easy setup, this shower kit is a reliable choice for all. If you’re upgrading your bathroom or renovating a commercial space, VEVOR’s shower curb kit gives outstanding performance and style. With this product, you can enjoy a refreshing shower experience with confidence and ease.
Visit VEVOR today & take your bathroom to the next level. Purchase this wonderful kit & enjoy a seamless shower experience!

