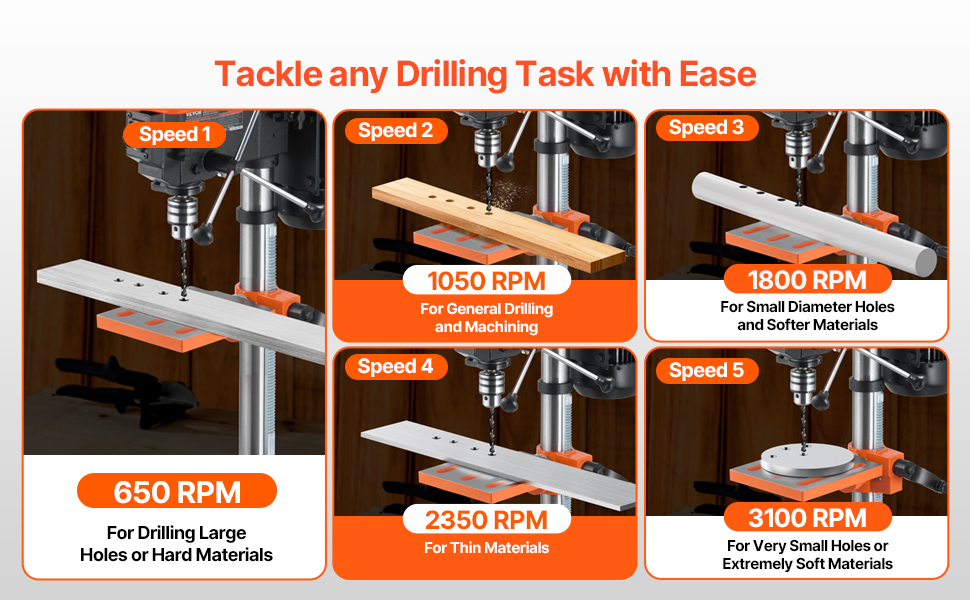
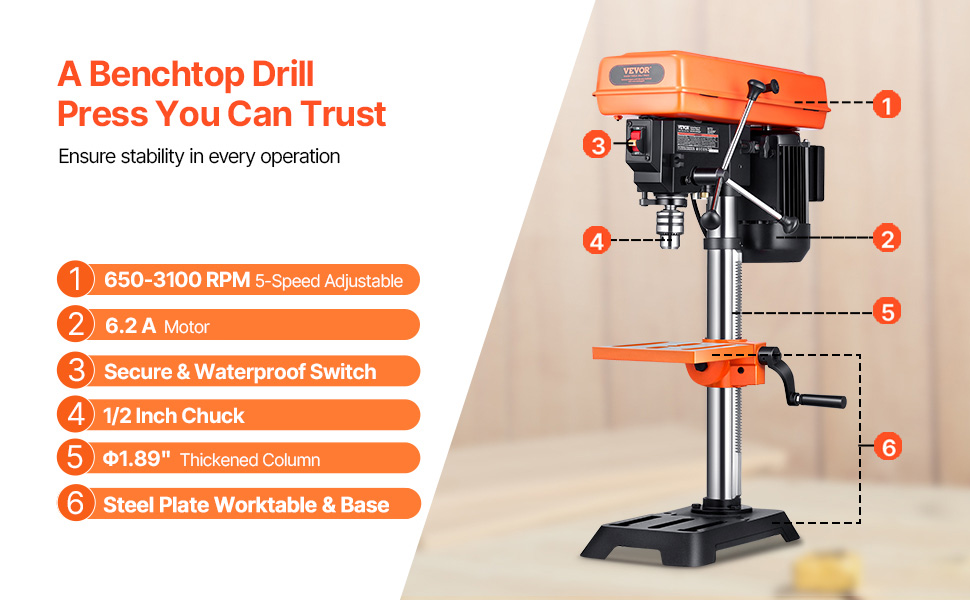
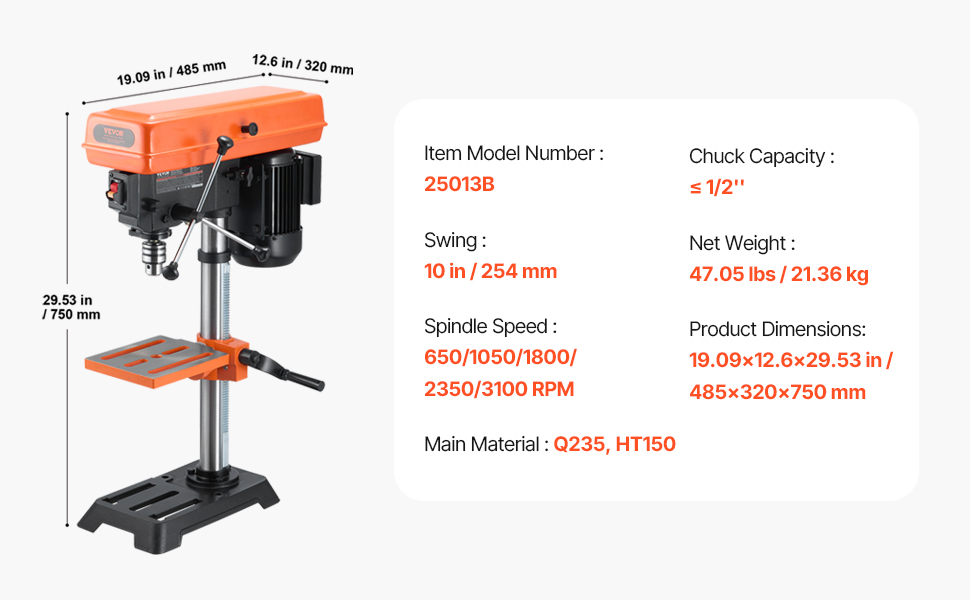
Setting up out of the box: The user needs to attach the press tower to the powder-coated cast-iron base (using your own wrench), the cast and machined-flat table to the press tower, and the drive assembly to the top of the tower. Once this is complete, the user needs to clean the mating surfaces of the chuck and spindle, then use a hammer to attach the chuck onto the spindle. I did this, tested the trueness of my chuck assembly, and discovered some wobble. A couple more medium whacks with the hammer, and the chuck was set nice and true. The table on mine was not squared to the drill bit axis. I used a long Philips screwdriver stuck in the chuck, handle side down, with a small carpenter's square, to get the left-to-right (X-axis) alignment correct. The indicators for degrees of tilt on the table should not be trusted out of the box. Luckily, the table is square front to back (Y-axis), as this is not adjustable on this model. I then adjusted the pulleys to the lowest speed, easily done with no tools.
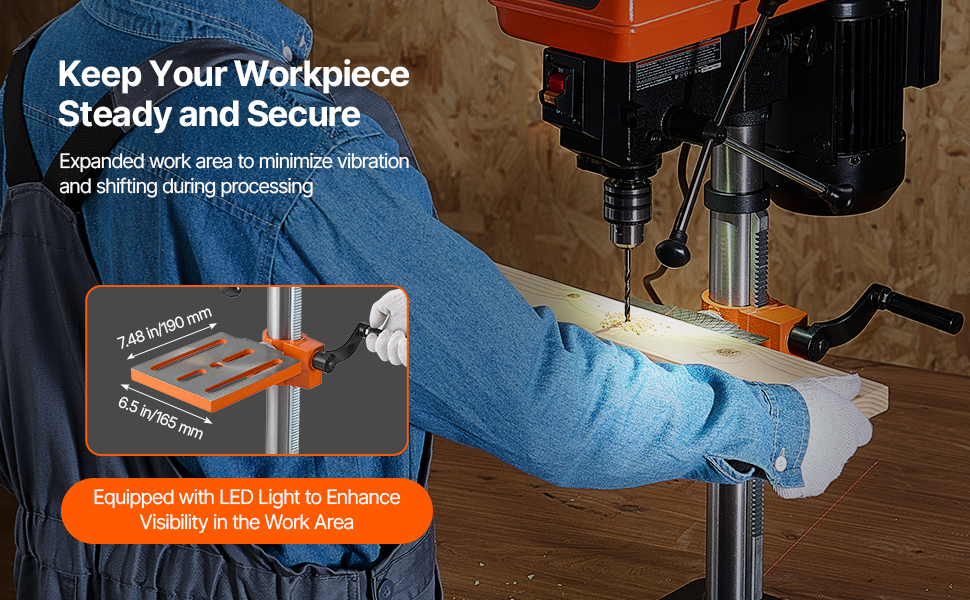
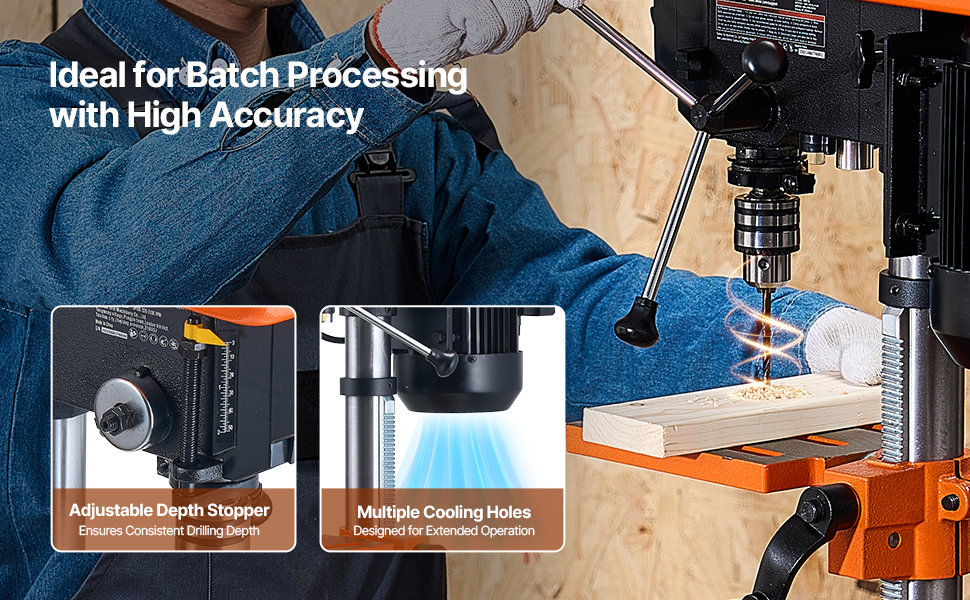
My impressions: Once set up, I was able to rattle off several small home and hobby projects that had been held up due to needing good, 90-degree holes made, including counter-sinking, using the chuck stop on the left side of the press. Get yourself some small C-clamps for holding work steady on the table (different hardnesses in the wood grain can can make pull your project out of alignment) and supply your own work light to shine on the project area, as one is not included with this model.
*For the money* this is a good little beginner drill press that has met and, in some cases exceeded, my expectations. If you want more bells, whistles and convenience, spend more on another more expensive model. For occasional home and hobby uses, this is a great little press.


