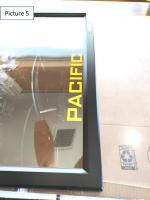
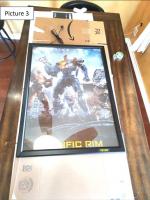
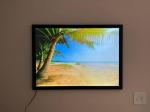
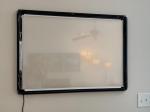
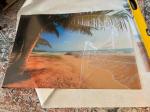
Just the facts folks. Would I buy again, yes, but I'm not sure people understand the compromises. There are 2 types of movie posters, 2-sided and 1-sided. 2-sided is what the theaters have, as the name suggests, the image is printed on both sides (inverted on the back) so when light passes through, it passes through two layers of colors giving an HD look. As expected 2-sided is more expensive and majority of "cheaper" posters are 1-sided. Those don't look so good in lighted panels.Real movie posters are 27x40". These are 24x33". As seen in PICTURE #1 and PICTURE #2, you will need to trim them to fit. Not too difficult, a new razor blade is a must. There's a plexiglass cover for the poster with these. I put some spare cardboard on the table, the poster over that and the plexiglass over that. I used the plexiglass as a template and decided how best to trim to get the best compromise. You can see the finished trim in PICTURE #3.However, these have a frame which are spring hinged, meaning, the plexiglass is larger than the visible area when the frame rails are snapped into their locked position. You loose 5/8" from each side. As you can see in PICTURE #4 and PICTURE #5, some of the text is hidden under the frame. You just have to plan for it and although you trim to the size of the plexiglass, you have to account for an addition 5/8" loss all around.The back of the frames have two main mounting options. You have the typical wall hangers. Easy to do, but you will see them hanging. The other option are pre-drilled holes under the trim hinge. You lift the trim on the hinge and underneath are the pre-drilled holes you can then screw into your surface. The REDSTRIPE is 2-sided tape but I don't recommend trying to "HANG" using tape only. If you use the pre-drilled holes, the frame doesn't like to fully rest flat on the wall (the bottom pops out a bit). Remove some the tape and firmly press the bottom against the wall solves this.In finale, PICTURE #7 is the final product. I c


